
Friday, 7th August 2026
… The Final Stretch …
Welcome to the final ‘Introduction’ section of the Overlocker Foot Challenge!
There will be just two more shorter posts after this one, covering the accessories themselves without all the additional information that usually accompanies each challenge. Including them all together as I’d mentioned at the end of the last post, just wouldn’t work … it would have been way too much!
It’s very late on Wednesday night as I’m writing these final posts, and the hours seem to be ticking by far too quickly! There are never enough hours in the day to get everything done that I want to do—although, after almost 2½ years of writing these Blog Challenges, perhaps it really is time I learned to work at a gentler pace. I’m sure I’ve said that before… but it really is at the front of my mind at the moment!
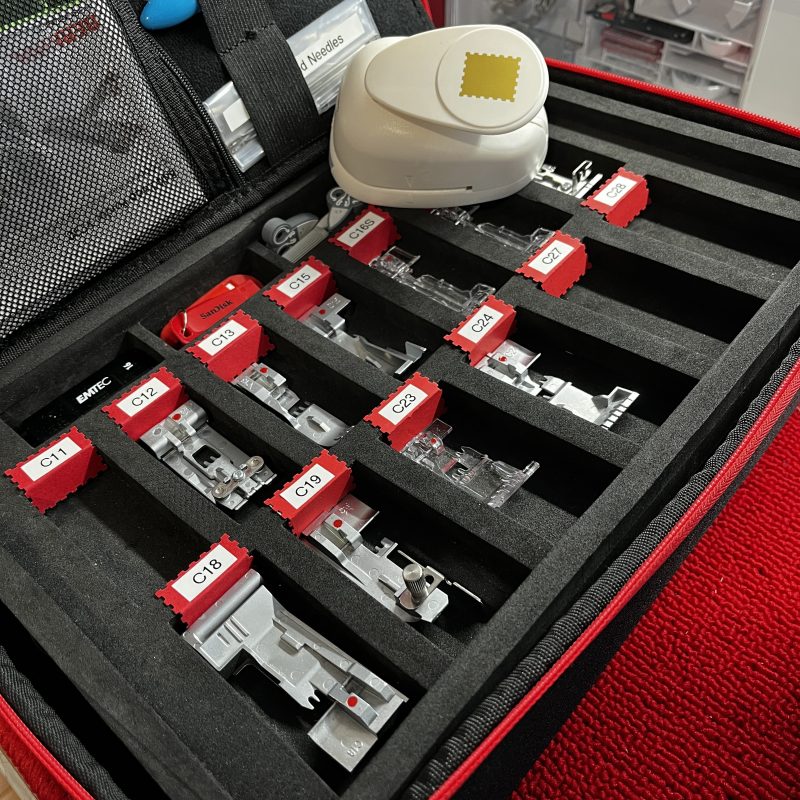
Perhaps slowing down a little will also mean allowing myself time to play with some of the little ideas that pop into my head. I recently bought a small paper punch that cuts a cute ‘stamp’ shape. Of course, I couldn’t resist having a play! I punched some shapes from red cardstock, added labels for my various overlocker feet, and popped them into my accessory case. Not exactly essential—but a simple little project that was fun to make and makes finding the right foot just that bit easier!

I’m also very much looking forward to Bernina Academy, which starts in less than a week. It will be wonderful to step away from the self-imposed deadlines for a little while and simply enjoy being there, learning, sharing and catching up with sewing friends. And, yes, I’m looking forward to returning home afterwards to a slightly less deadline-driven life—although, as I’ve discovered, I’m usually the one responsible for creating those deadlines in the first place!
So, just two more accessories to chat about before this particular challenge comes to an end… that is, of course, until Bernina brings out something new and gives me another excuse to start all over again! … but wait, there’s no more empty spaces in my Bernina Overocker Accessory case!!!
… An Extra Pair of Hands for Decorative Trims …
Adjustable Tape Guide and Upper Accessory Holder
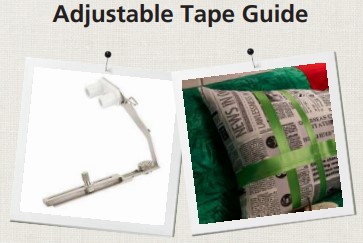
The Adjustable Tape Guide makes it easy to accurately attach ribbon, lace, tape and elastic to your projects. It accommodates trims ranging from 10 mm to 60 mm (approximately ⅓” to 2⅓“ wide), making it a versatile accessory for a wide variety of sewing techniques.
Designed for the BERNINA L 850, L 860 and L 890, it can be used with overlock, coverstitch, chainstitch and combination stitches.
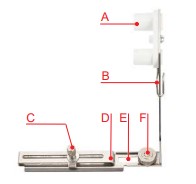
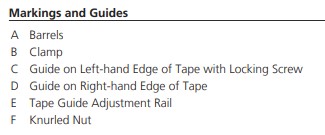
The guide attaches to the Upper Accessories Holder, which is fitted to the presser foot bar. Once installed, the holder can remain on the machine as it doesn’t interfere with normal sewing functions.

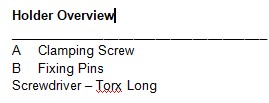
The Adjustable Tape Guide simply clips onto the holder’s connecting pins. From there, adjust the guide screws to suit the width and position of your ribbon, lace, tape or elastic, and you’re ready to start stitching with consistent, accurate results.
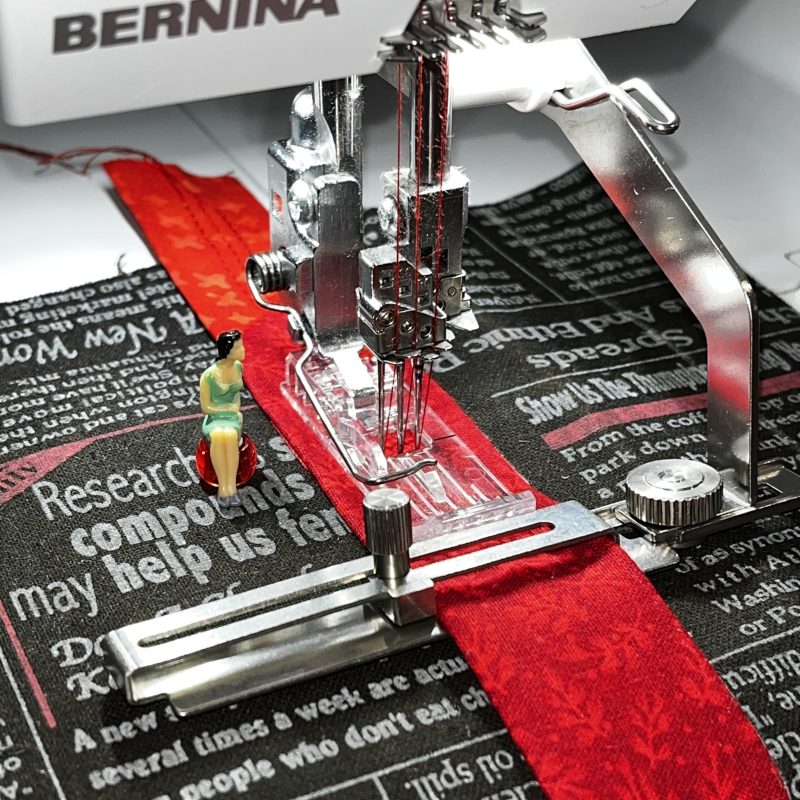
Adjustable Tape Guide was used to attach ribbons and fabric strips with a variety of stitches, depending on the width of the trim.
Here is a link to the Bernina International video for this accessory.
Adjustable Tape Guide and Upper Accessory Holder
Additional Notes for other Models

Bernina L850 and L860 – Compatible
Bernina L450 and L460 – no attachment available
Bernette Funlock 40 Series (b42, b44 and b48) and Airlock 60 Series (b62, b64 and b68) – no adjustable Tape Guide Available
… This Week’s Foot Highlights or Challenges …
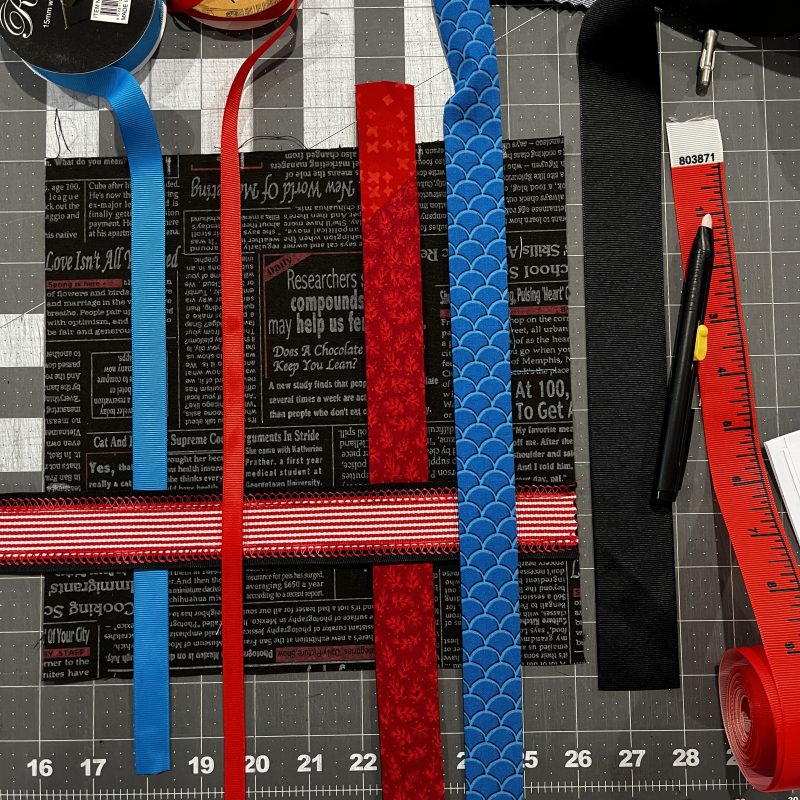
The first all-in-one type of sample is a combination of three groups of stitches – Flatlocking, Coverstitch and Chainstitch. I think this would make a nice cushion! For the main fabric piece, I chose two different widths of Grosgrain Ribbon, 15mm Aqua and 10mm Red, some 1” double fold fabric strips** , and my newly created ‘lacey edge ribbon trim’.
** Cut a strip of fabric 2″ wide and press it in half lengthwise. Open it out, then fold each long raw edge in, wrong sides together to meet the centre crease at the back and press again. You’ll now have a neatly folded 1″ wide strip, with the folds forming the finished edges and the raw edges tucked neatly inside.
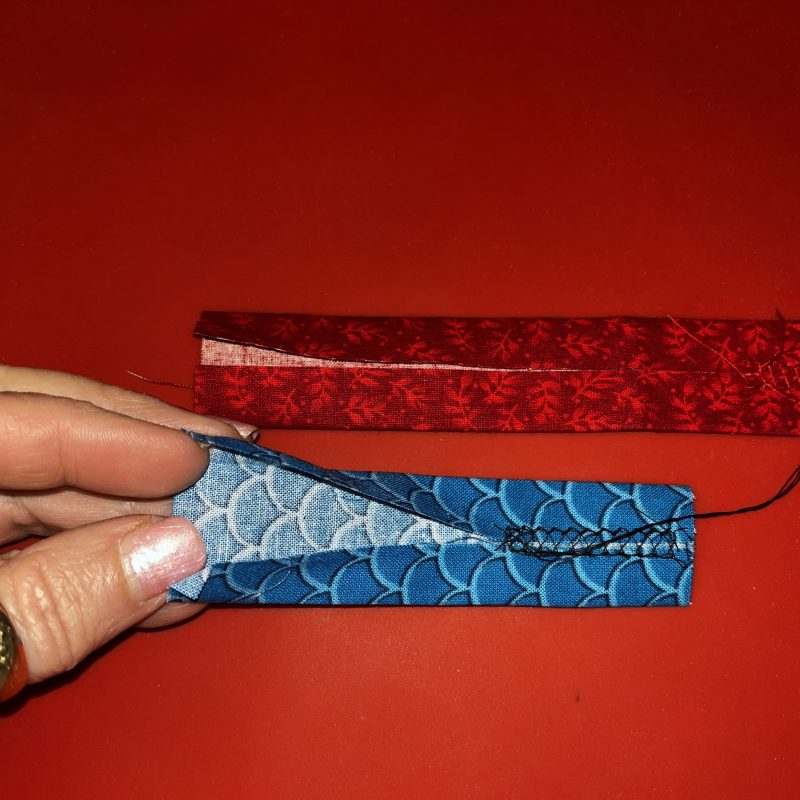
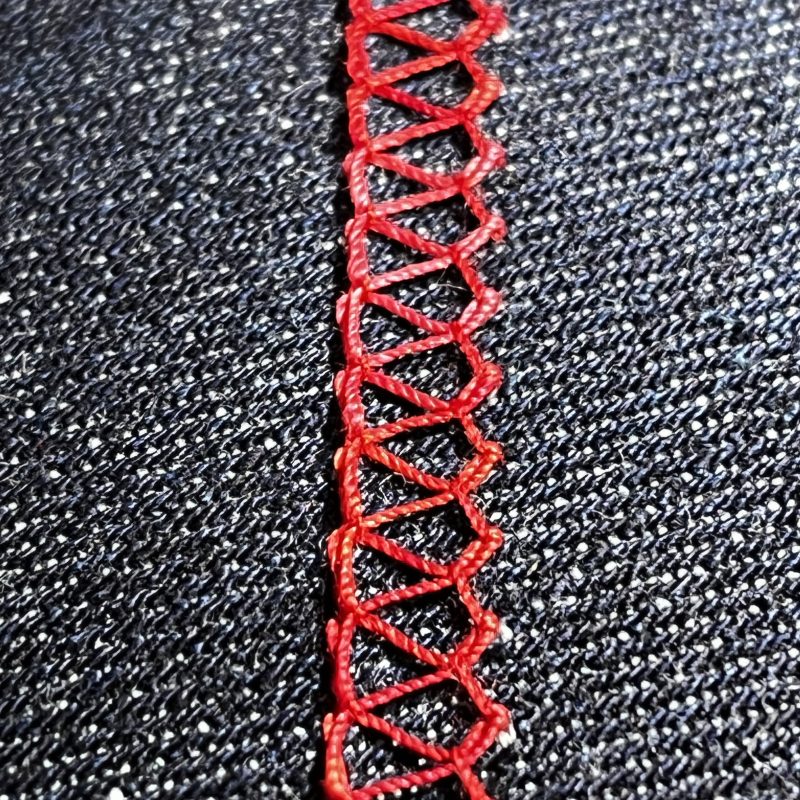
I had auditioned a very wide ricrac trim initially to use, however it did not feed evenly through the Adjustable Tape Guide due to its shape. I then stitched down the centre of a piece of wide, red striped ribbon with a Coverstitch, turned the piece over and using the edge of Foot #C28 as a guide, added a row of the same stitch on either side. When I turned it over, I thought it looked a bit like a picot or lacey edge. So … off I went playing with that idea!
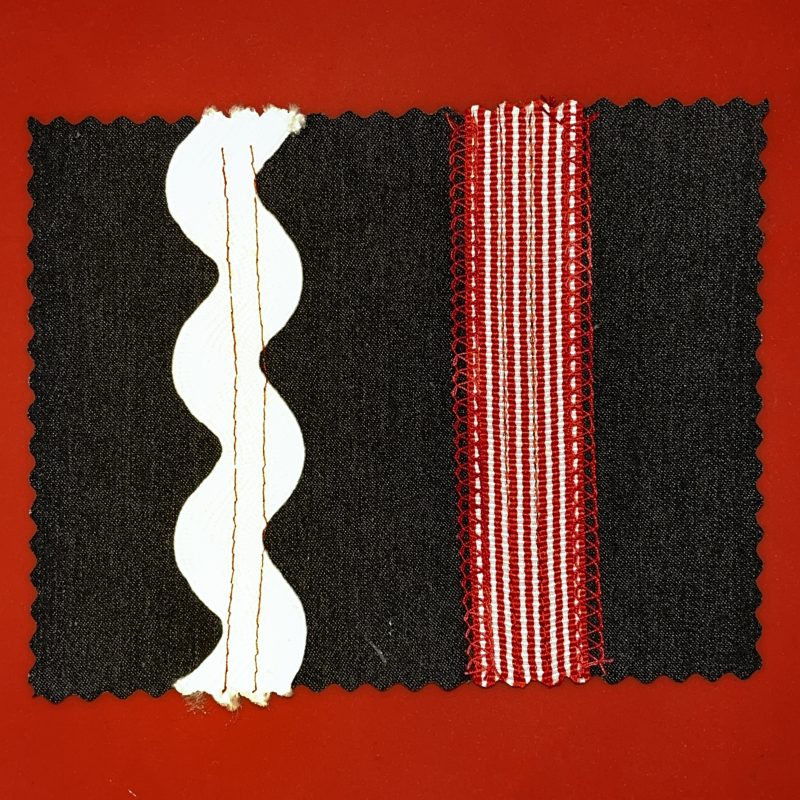

Here’s the process I ended with – welcome to the worktable Double Sided Fusible Stay Tape, 2 different widths of ribbon, 3-Thread Coverstitch Wide, some lovely 12wt Fruitti in the looper and … Voila! Remember to stitch both sides in a different direction – the heavier thread emphasises the difference in the edge of the stitch – one side is ‘straight-ish’, the other has a ‘peak’ shape giving it the appearance of a lacey edge.
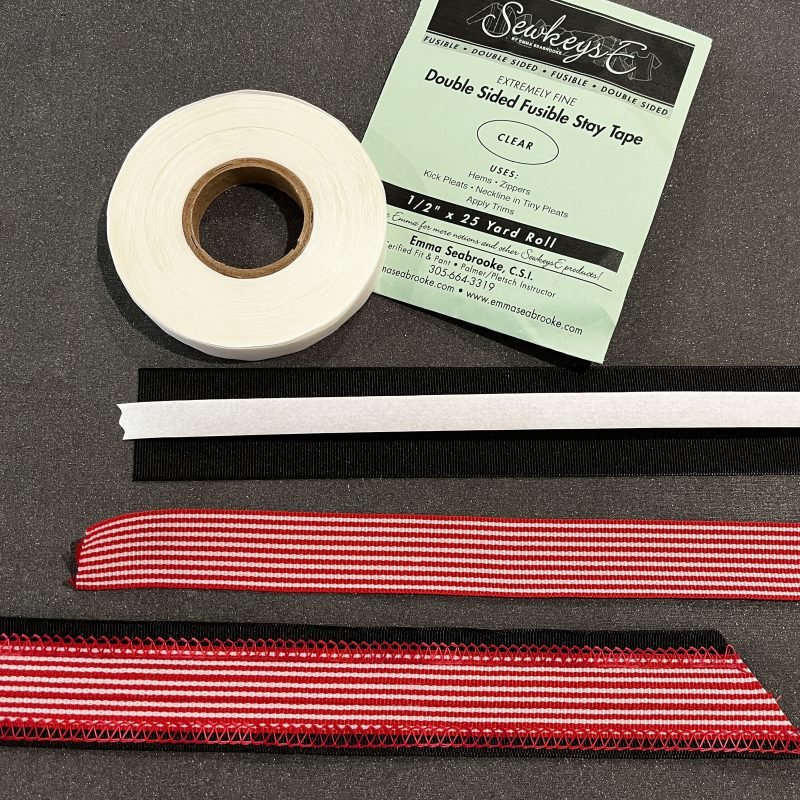


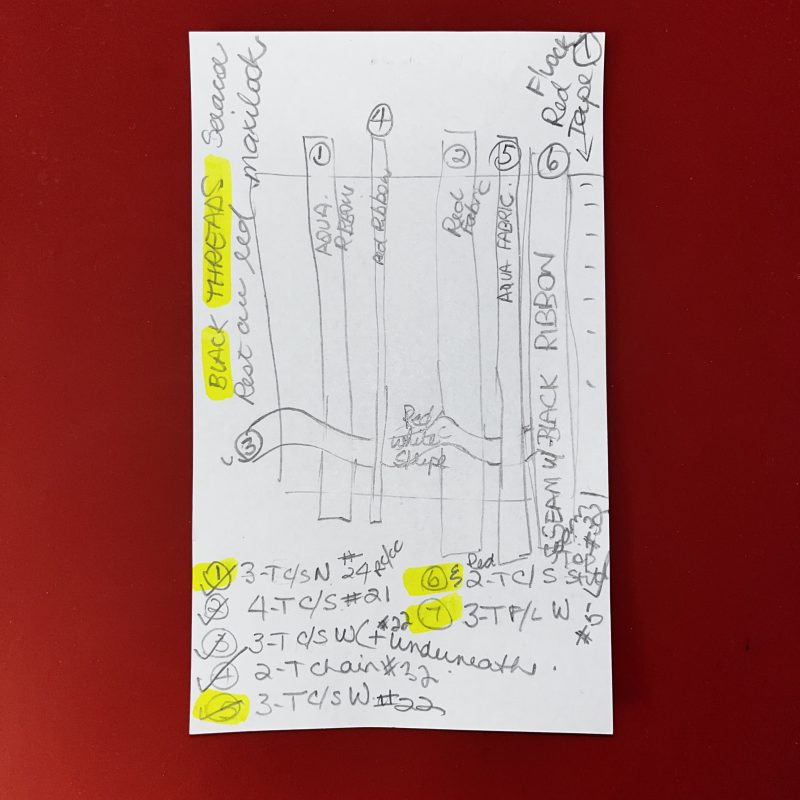
Once I’d finished ‘playing’ and made myself a length to use in the sample, I laid out all the trims I had selected and wove them into place – then I drew up a rough diagram noting order of stitching, colour of trim, colour of threads I would use and lastly the stitch to sew each piece onto the background fabric. Lots of stitch, needle and thread changes … and adjustments of the Tape Guide!
After stitching those elements on, I removed the Tape Guide, and used a 2-Thread chainstitch to seam a piece of wide black grosgrain ribbon to the right hand end, enclosing the raw end of the lacey piece. Next I folded the ribbon out, pressed it flat, and top stitched with 2-Thread Chainstitch. Last task was to add the Red Ruler Ribbon (through the Tape Guide) to the far right hand end with a 3-Thread Flatlock Wide stitch.
Here are the details of the sample:
‘Thread Setups’: Stitches with Black Thread – Seracor Overlocking thread in the needle/s and looper – all default settings.
Stitches with Red Thread – Maxilock Overlocking thread in the needle/s and looper – all default settings. (Lacey Edge Ribbon made earlier had Wonderfil 12wt Fruitti in the Chain Looper)
Machine Setups: Adjustable Tape Guide in place
3-Thread Coverstitch Narrow Stitch #24 – Aqua Grosgrain
3-Thread Coverstitch Wide Stitch #22 – Aqua Print and Lacey Edge Trim
4-Thread Coverstitch Stitch #21 – Red Print Fabric
2-Thread Chainstitch Stitch #32 – Red Grosgrain, Black Grosgrain and Topstitch
3-Thread Flatlock Wide Stitch #5 – Red Tape Measure Ribbon


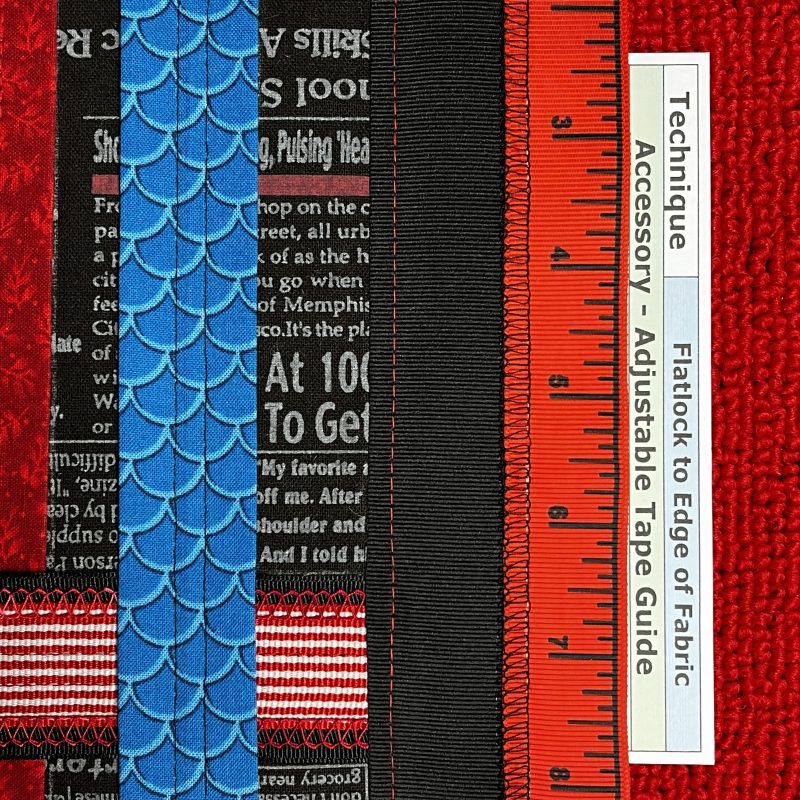

‘Tubular Sewing Method’ – always add the trim on through the Adjustable Tape Guide, prior to seaming the fabric. The raw ends of the trims are then enclosed into a seam. This sample has the bottom edge turned up and cover hemmed with #C31 from last post, to appear as a mock sleeve.
Machine Setup: 3-Thread Coverstitch Wide Stitch #22 SL 4.0, CW – NA, DF 1.0 Default Tensions
Needles – Maxilock Overlock Thread, Looper – Wonderfil 12wt Fruitti (only because I left it in after stitching the hem)
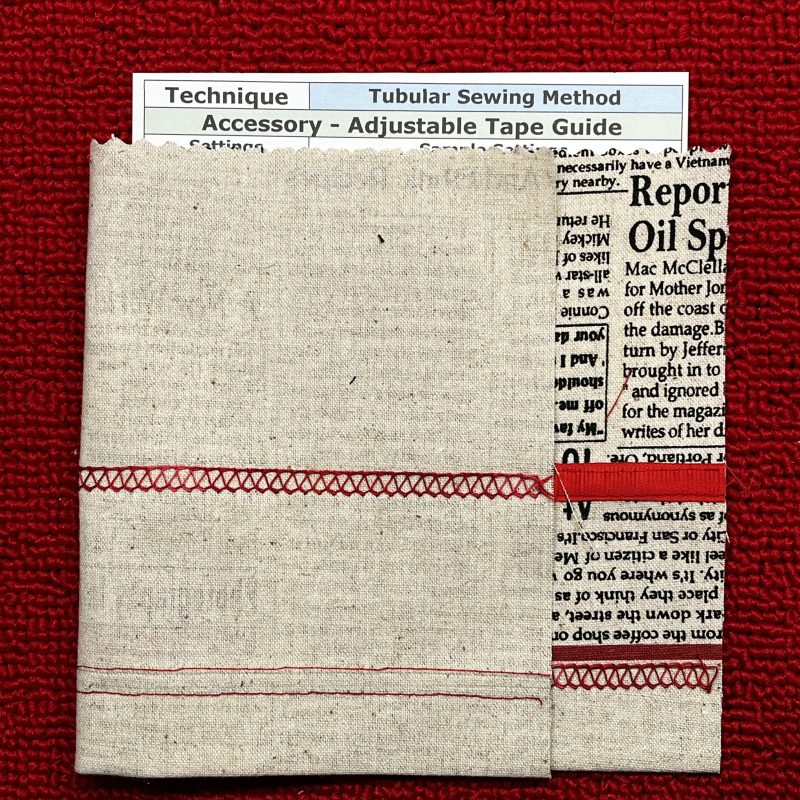
All trims stitched on well, and ran smoothly through the Tape Guide – love how it is easily removed when switching techniques in the one item e.g. the ‘sleeve’. I used Foot #C28 for nearly all the stitching, apart from the Flatlock, when I used #C27.
… A Little Something Extra …
Accessory User Manuals
On the Bernina Website, you can download a User Manual for the Adjustable Tape Guide … and the Upper Accessory Holder.
Adjustable Tape Guide

Upper Accessory Holder
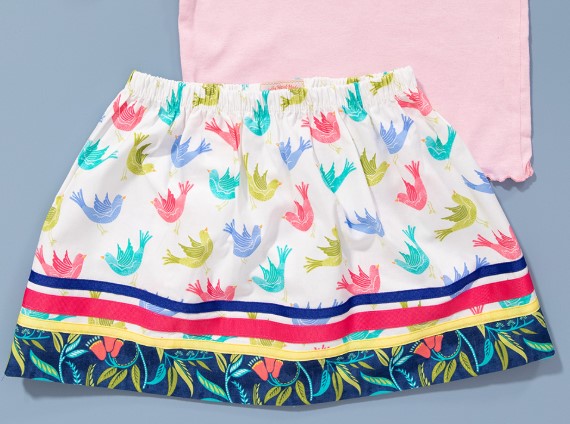
If you’re looking for a simple project to get you started with the accessory, have a look at the We All Sew blog, where you’ll find a fun little skirt featuring ribbon embellishments. Or, why not create your own pretty cushion cover using some of the ideas and techniques from my samples?
Ribbon Embellishments on the Overlocker
Next short post will feature the OL/CS Height Compensating Tools, which help create accurate seams, even with several different layers of material.
Until then, happy stitching!


