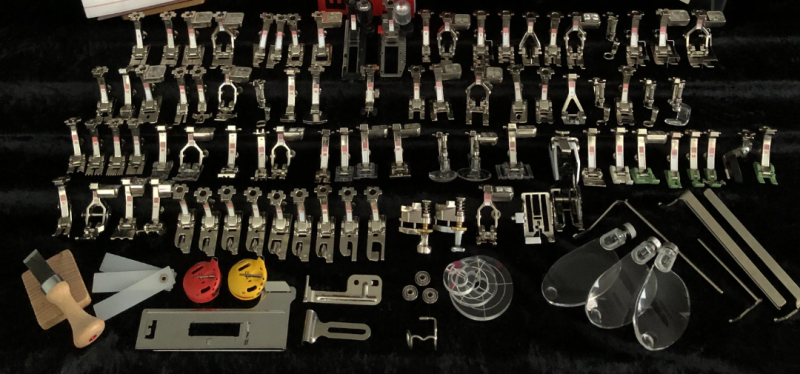
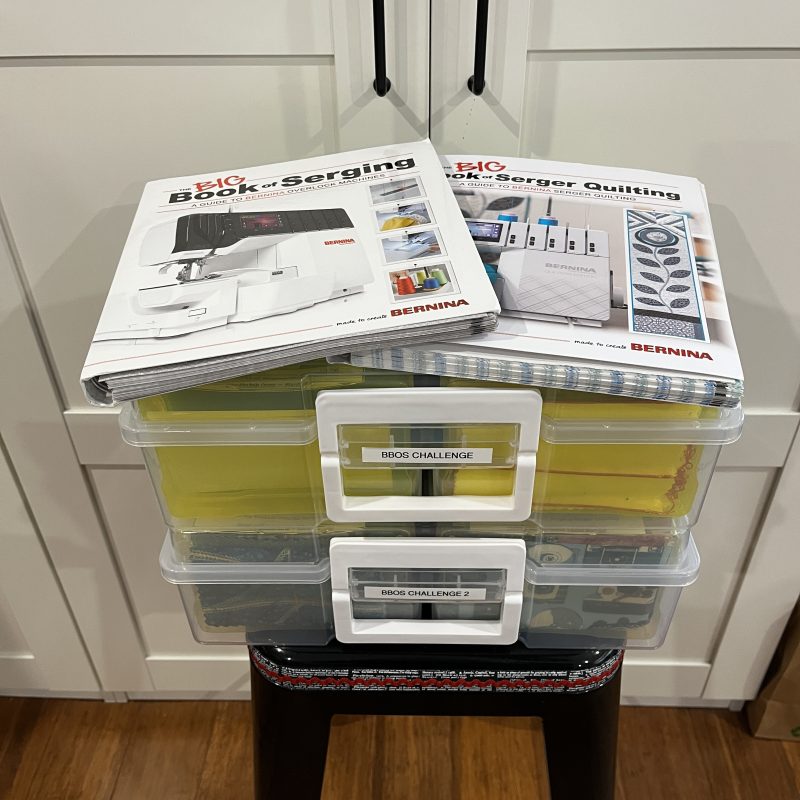
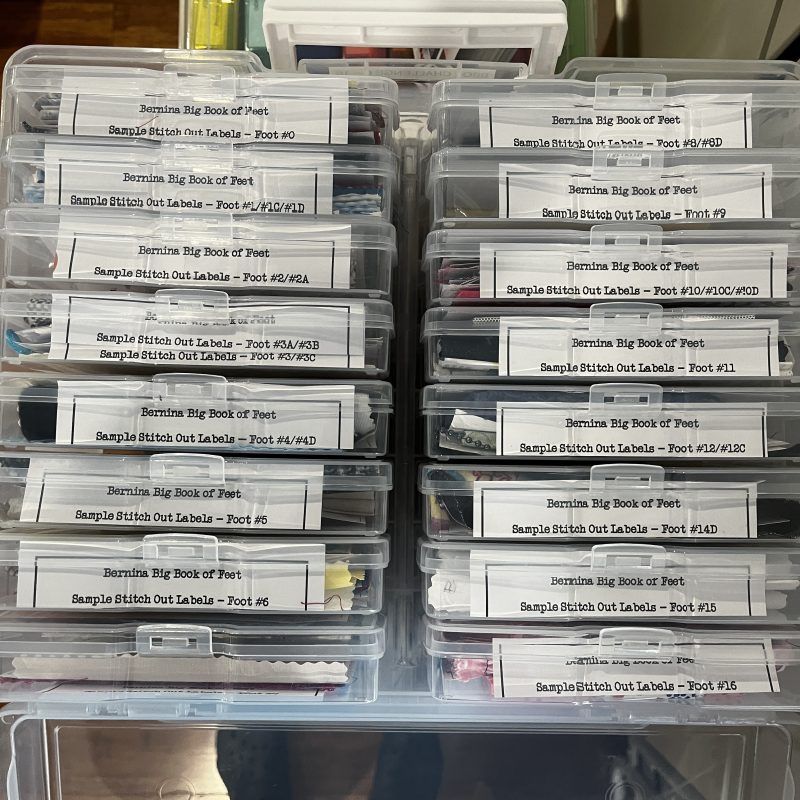
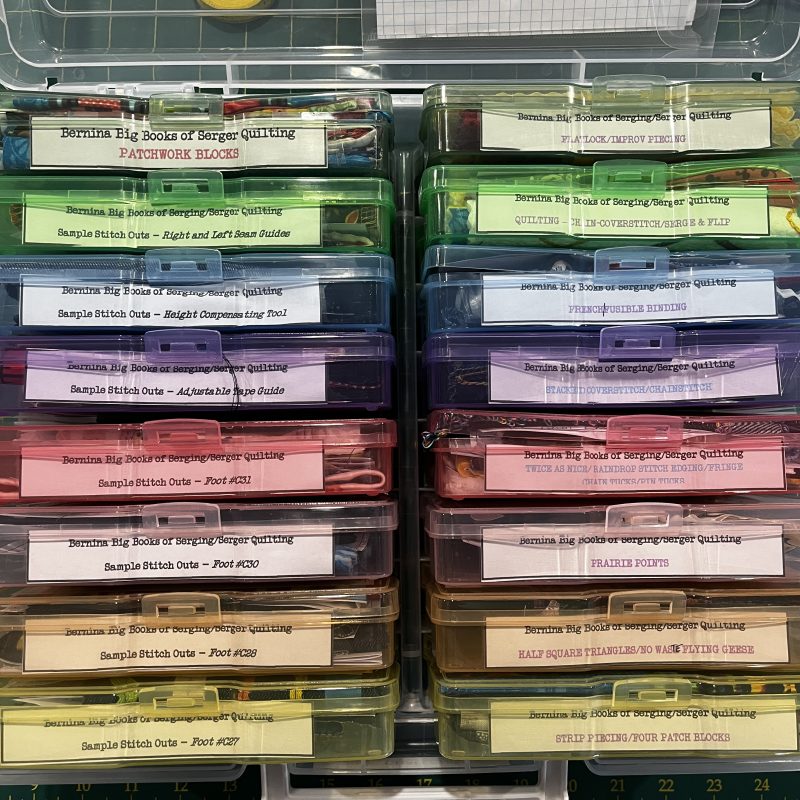
It sure has been … over 70 sewing machine feet/accessories and 23 overlocker feet/accessories!!
However, before I can ‘stitch together a closure on the Challenges’, there’s one last pair to play with – the Right and Left Seam Guides.
Just like most journeys, ‘guides’ are essential – whether they show you where to go, how to get there … or simply to keep you on track!
... Keeping Your Seams on Track ...
Right and Left Seam Guides
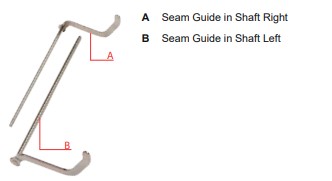
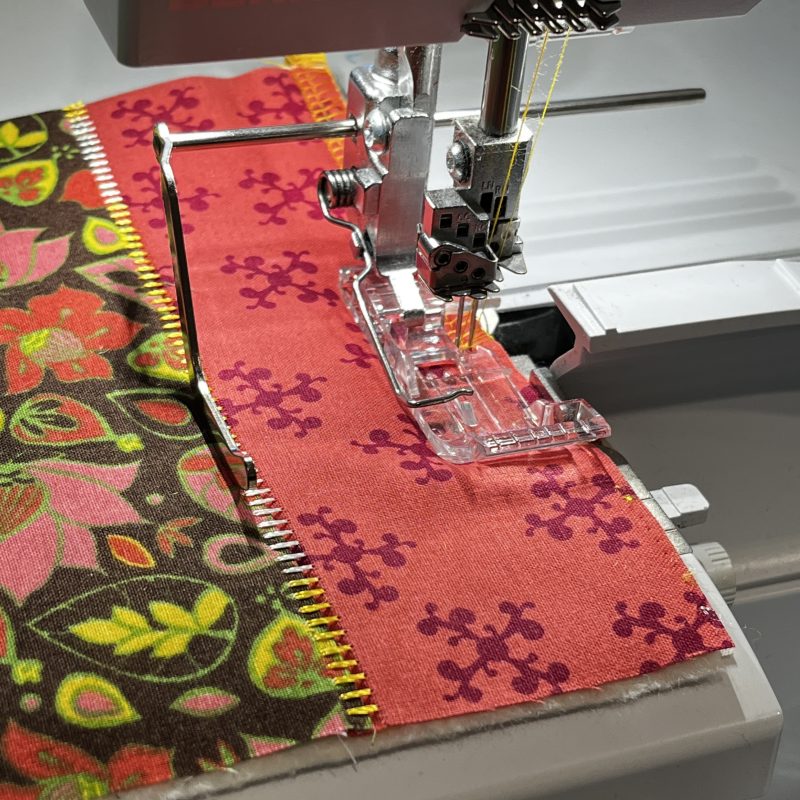
The Right and Left Seam Guides for the BERNINA L8 Series overlockers are simple accessories that can make a big difference when you want consistent seam widths. They provide a physical guide to help keep the fabric edge travelling in a straight, controlled line as you sew, rather than relying solely on the markings on the machine.
They slide into the red opening on the Presser foot shaft. Please note that L8 machines produced prior to July 21 do not have this opening, so will you need to purchase a new shaft from your preferred Bernina dealer.
The guides can be positioned to suit the seam allowance or stitching width you are working with, making them particularly useful when sewing longer seams where maintaining an even distance from the fabric edge is important. Having a guide close to the stitching area can also provide a helpful visual reference when working with fabrics that are slippery, stretchy or simply a little more challenging to control.
I particularly like accessories such as these because they don’t change what the machine does—they simply give you a little more help with accuracy and consistency. Sometimes a straightforward tool is all that’s needed to keep things nicely on track!
They are compatible with almost all feet, except the XL Piping Foot as it has its own Shaft.
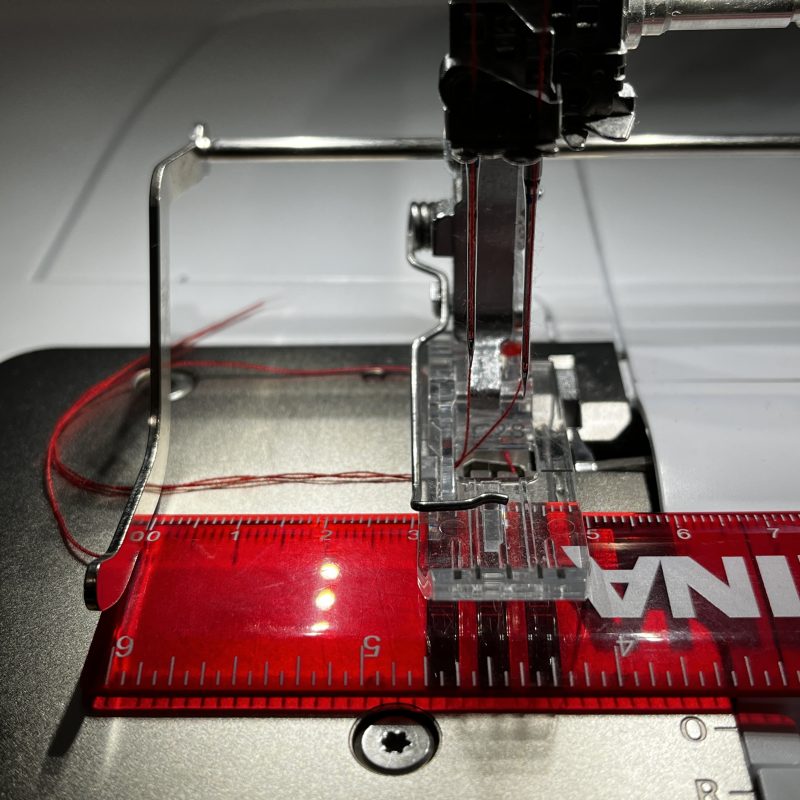
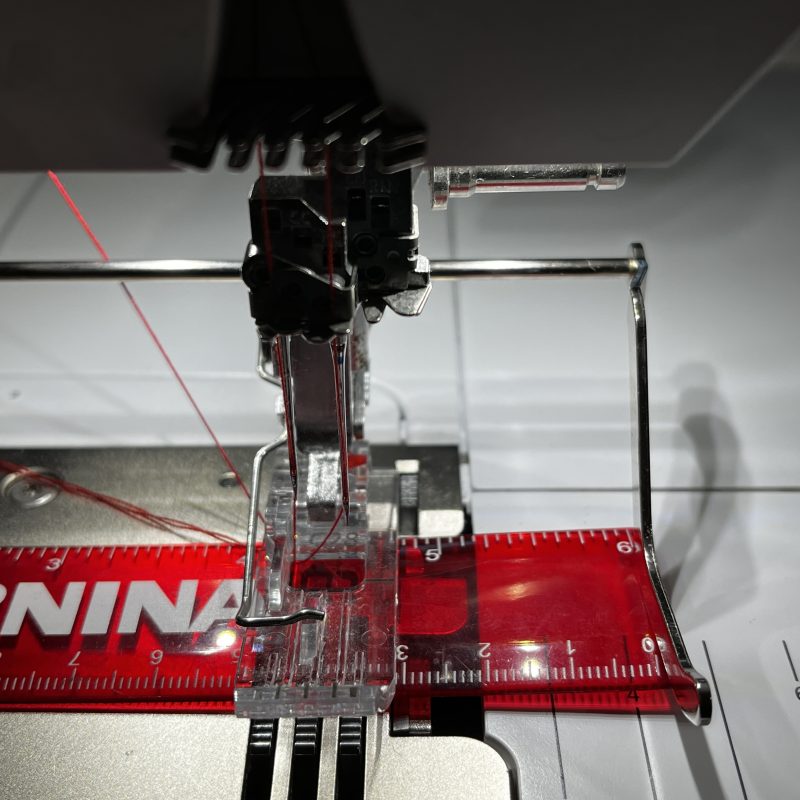
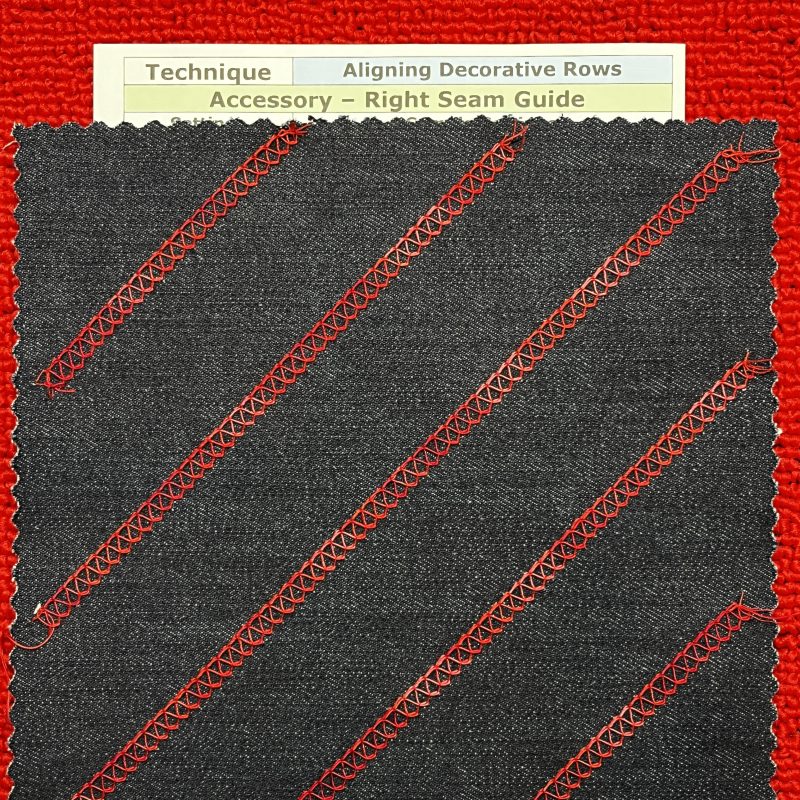
Right and Left Seam Guides were used in this week’s samples when trimming excess batting and backing from a quilt square, to create evenly spaced rows of chainstitch quilting, ensuring folded fabric strips were trimmed accurately and for aligning decorative coverstitch rows. Above photos shows how I measure some parallel rows of stitching that I did with 3-Thread Coverstitch
Here is a link to the Bernina International video for this accessory.
Bernina L850 and L860 – Compatible as both are in the L8 Range of Models
Bernina L620 and L660 – Compatible as they have the same Presser Foot Shaft as the L8 Series
Bernina L450 and L460 – Not Compatible
Bernette Funlock 40 Series (b42, b44 and b48) and Airlock 60 Series (b62, b64 and b68) – Not Compatible
... This Week’s Foot Highlights or Challenges ...
Finishing off with some quick simple samples – and techniques often used here in The Studio.
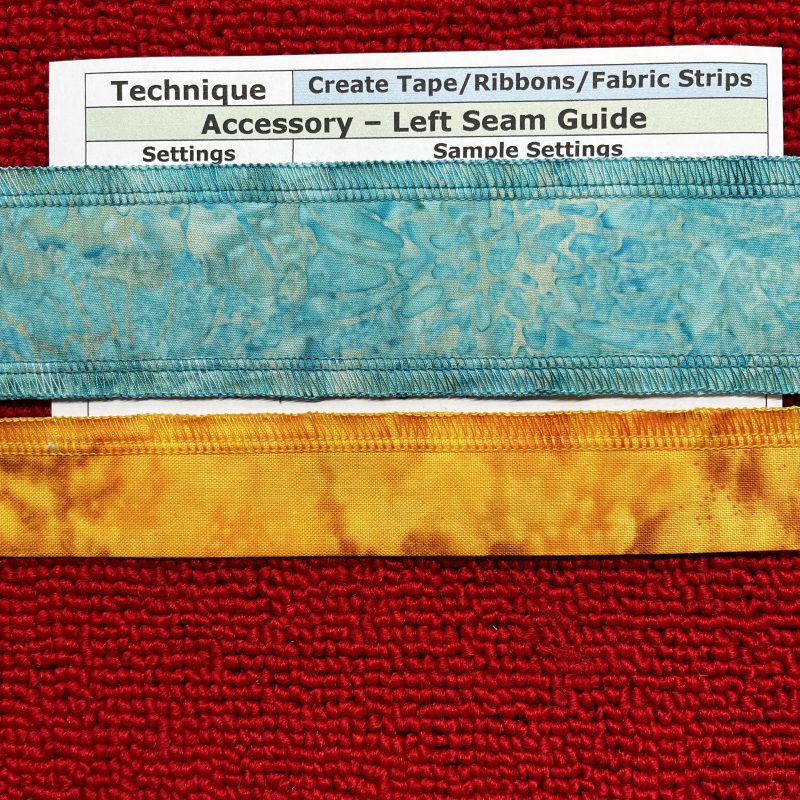
‘Create Tape/Ribbons/Fabric Strips’ –these make great strips for weaving, fabric ribbons for gifts and even handles with some interfacing added. The Seam Guides ensure accurate and consistent width, with very little chance of finishing with a wavy edge strip! Nice to have just one edge finished with thread and other as the fold.
Needles – Maxilock Overlock Thread, Loopers – Wonderfil 50wt Tutti Thread, Left Seam Guide
‘Trimming Around a Quilt’ –I had the machine still set up from making a previous sample and had the cutting width set at 8. Should have changed it to 6.0 if I was intending adding a binding with a ¼” seam allowance.
Needles – Maxilock Overlock Thread, Loopers – Wonderfil 50wt Tutti Thread, Left Seam Guide
‘Classic Quilting Methods’ – I used the left guide here as well as it was only a very small sample. With a larger one, the right seam guide would have been used as well to lessen the amount of fabric to the right of the needle. I used the previous flatlock seam to align the guide to, and the only mark I made on the back was one diagonal line from top to bottom. The rest were aligned using the seam guide. 50wt in the chain looper gives a finer stitch than a 12wt.
‘Aligning Decorative Rows’ – I stitched this sample when I had the machine threaded up for edging a piece of ribbon aka my Lacey edge Trim … and I had plans for multiple stitches, and rows using different coloured threads. You will just have to ‘imagine’ the extra ones – I forgot! When I got around to writing up this post, I had already packed away my machines to leave to go to Sydney!
Needles – Maxilock Overlock Thread, Looper – Wonderfil 12wt Tutti Thread Col FT12 Strawberry
Summary: simple ‘guiding tool’ that saves so much time having to mark up parallel lines – and then remove later!
... A Little Something Extra ...
Nothing extra this time! There is no Accessory Manual for the Right and Left Seam Guides. They are pretty simple, you just push them through the red opening on the shaft! – however, here is a link to the Bernina Australia website for more general information
And so, after what has been a very big journey, it is time to bring my Feet Challenges to a close.
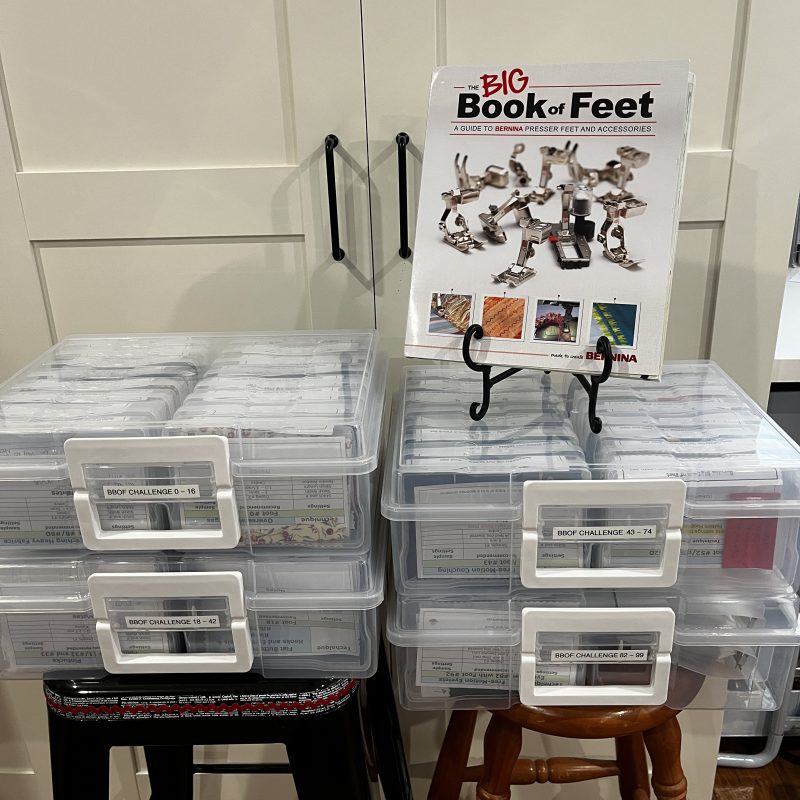
The journey began way back on 12 February 2024, when I started exploring and sharing my experiences with sewing machine feet. That part took me until May 2025. I had a little break until, on 20 February 2026, I added the Overlocker Specialty Feet and Accessory Challenge to the adventure. That’s a lot of feet, a lot of samples (nearly 100 small boxes filled), a lot of sewing—and quite a few hours spent wondering, “What can I make with this one?”
I’ve really enjoyed taking you along for the ride, discovering what each foot and accessory can do, finding practical uses for them, and occasionally going off on a creative tangent or two. There have been successes, surprises, challenges and plenty of learning along the way.
And, as has been my philosophy throughout, I’ve taken it all one foot at a time! Full disclosure, there were a few that were bundled together along the way, as they were simply different versions of the same foot.
But now I think it’s time for a little break. After almost two and a half years of regular Challenges, I’m looking forward to having some time to simply sew, create, experiment and perhaps even sit down without feeling that I should be photographing or writing about what I’m doing!
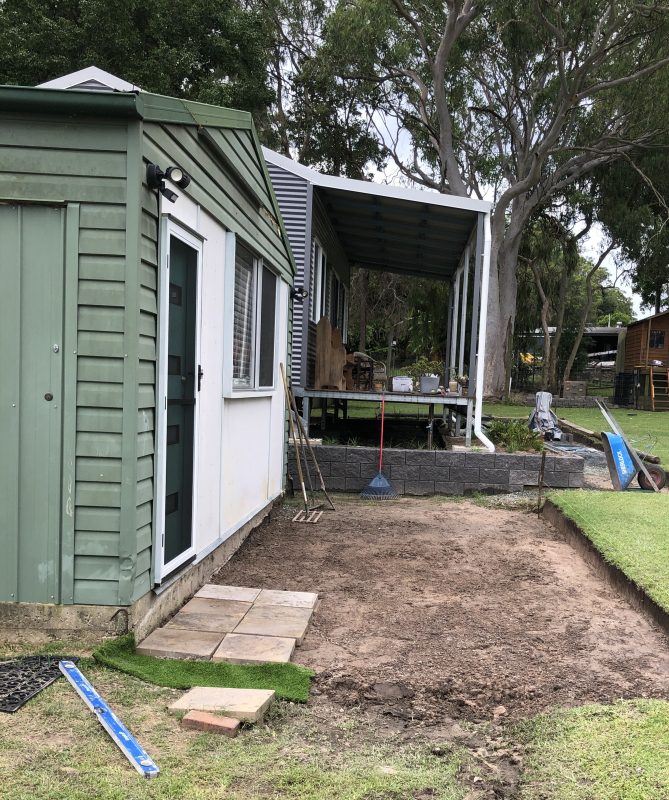
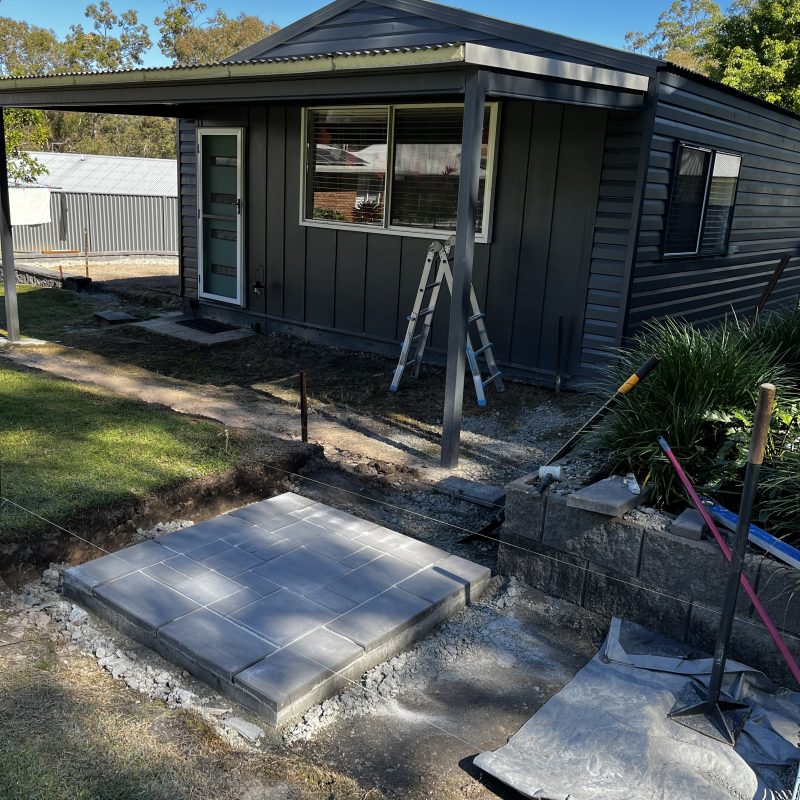
This isn’t the end of my blog, though.I’ll still be sharing snippets of my Studio Life—the projects I’m working on, things I discover, ideas that pop into my head, sewing adventures, and perhaps the occasional bit of creative chaos. The difference is that there won’t be a set schedule. I’m giving myself permission to write when I have something I’m excited to share, (like the paving progress!) … rather than watching the calendar and thinking, “Oh dear, it’s Challenge time again!”
Hey … hasn’t the Studio come along way in 2 1/2 years! Still lots more to go …
Thank you to everyone who has followed along, read my posts, tried some of the techniques, shared your own ideas and, most importantly, encouraged me throughout this ratherenormous sewing adventure.
It has been quite a journey—and I’m very glad you came along for it.
For now, the feet can have a little rest, the machines can have a little rest… and perhaps I can too!