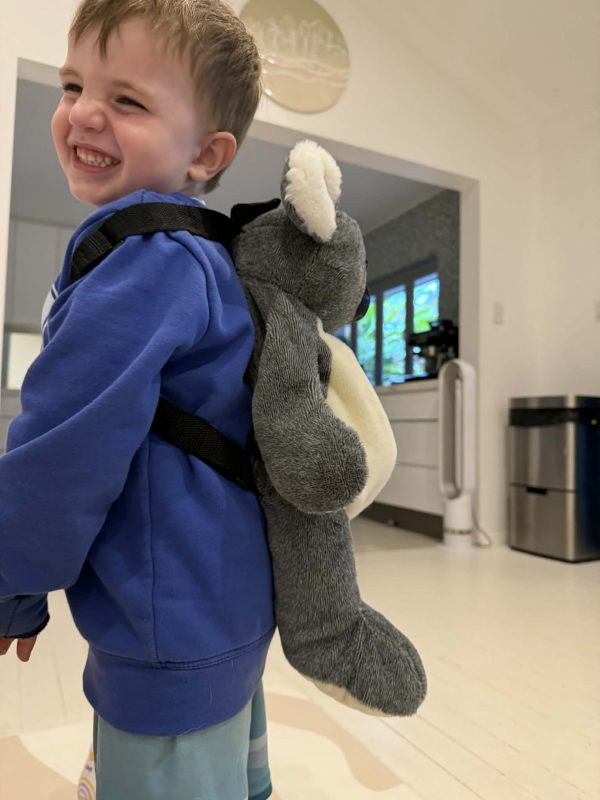
As you might have seen on social media this week, I spent a lovely day visiting my daughter Gemma and her family, with my little Bernina B335 machine in tow so I could fit in a bit of mending whist I was there. Bobby, aged three, is convinced Nanni can fix anything—so when the straps on his koala backpack broke, his immediate response was, “Nanni can fix it!”
He was very eager to help me get the machine set up, so before I tackled the repair, he had a quick lesson of his own. He absolutely loved watching it in action and stitching out his name.
Jack, who works from home some days, came down on his lunch break and—encouraged by Bobby—ended up having a lesson too! It really shows how easy the machine is to use, with its computer-based system and very user-friendly design.
It’s always so special to spend time with family and share my love of sewing with them—and Gemma enjoys capturing plenty of photos along the way.
It’s also been one of those quietly productive stretches, with lots of different projects on the go. I hand-stitched a leather bag charm from Babylon Leather for Davee’s partner Bec as a birthday gift (and yes… she loves Labubu!). I’ll be delivering it on the weekend.
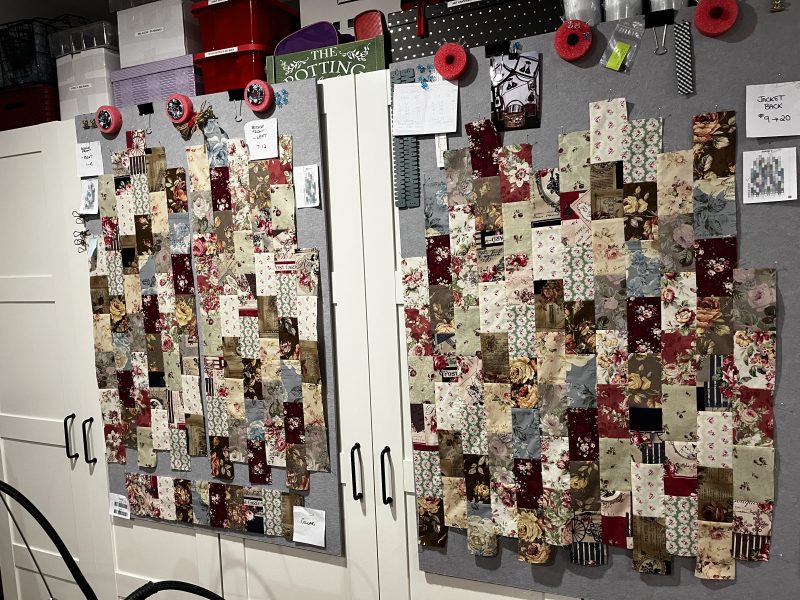
I also got stuck into the next Laura jacket. All the panels are now cut, quilted, and stitched—finally at that satisfying stage where it’s ready to come together.
There’s been plenty of blog sample stitching, packed into a short amount of time. I always find it hard to stop at just the basic samples, so I couldn’t resist diving into a few fun extras as well— here’s a photo of a little ‘Snack Mat’ I made using this week’s accessory, the Double Fold Binder.
Outside, the rain has settled in over the past few days—the kind that slows everything down and leaves the world looking lush and green once again.
... Edges Done Right ...
Double Fold Binder #C21
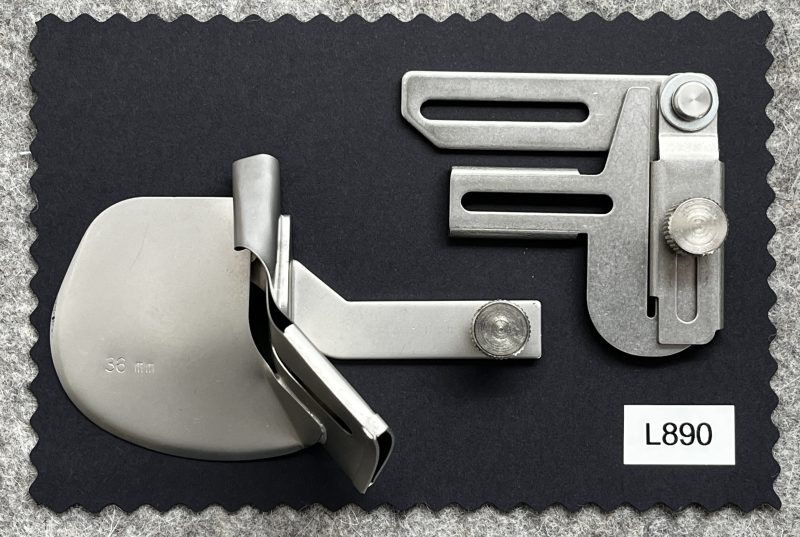
The double fold binder folds upper and lower tape/fabric strip edges for a perfect bound finish. The unfolded tape/fabric strip is inserted through the guide rail, folded under on either side and sewn on with a cover- or chainstitch. The swing-out feature makes it easy to insert fabric strips.
Fabric strips are cut 36 mm wide, (1 3/8”) resulting in a finished binding of approx. 10 mm (3/8”). I have labels attached to the back of all my Binders showing the width to cut the strips.
You can cut the fabric on the straightgrain, or if binding along a curve, fabric must be cut on the bias grain. Accurate cutting is essential to achieve a smooth bound edge.
This attachment is only suitable for machines that perform Coverstitch and Chainstitch functions.
A separate accessories holder is required to attach the binder to the machine.
Binder attachments may require some practice before you can fully master this tool. I have purchased an extra Coverstitch Insert and I leave the accessory holder attached to this to save setup time.
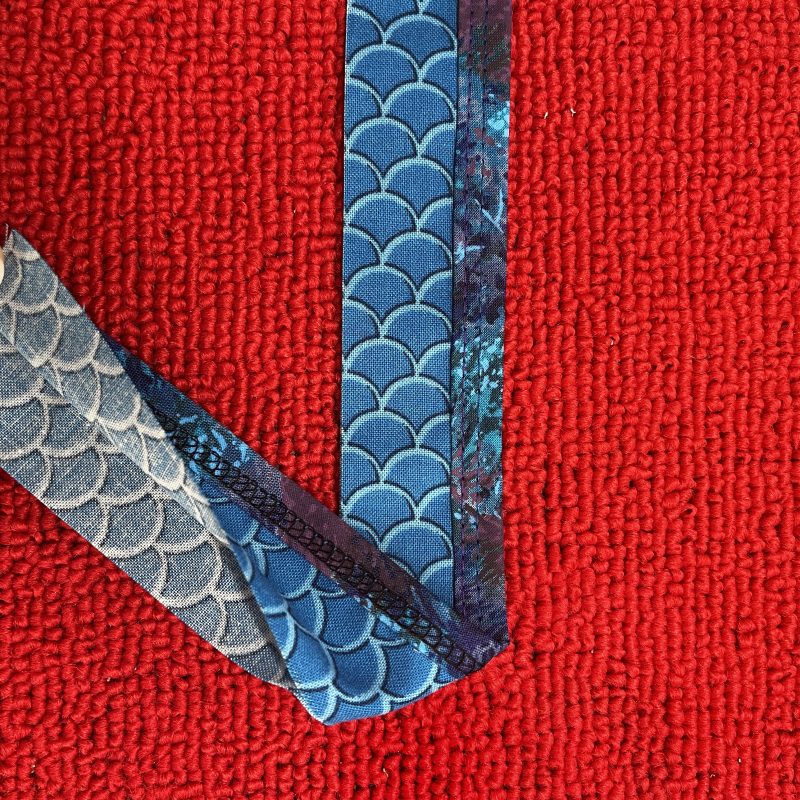
Binder #C21 was used to stitch out samples of bound edge finishes, ties, straps and for weaving strips.
Here is a link to the Bernina International video for this accessory.
Bernina L850 and L860 – not suitable for these machines
Bernina L450 and L460 – not suitable for these machines
Bernette Funlock 40 Series (b44) and Airlock 60 Series (b64) – not suitable for these machines
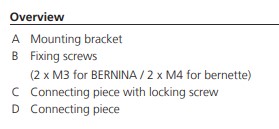
Bernette Funlock 40 Series (b42 and b48) and Airlock 60 Series (b62 and b68) – the # C21 Double Fold Binder can be used on these machines. The Bernina Accessory Holder includes M4 size screws to suit the Bernette machines.
... This Week’s Foot Highlights or Challenges ...
Before I created the samples for this week, I made myself a ‘Snack Mat’ from a ‘We All Sew’ Blog post by Mary Beck from 2024. I have made a couple of these, however I stitched up a new one this week to include in the post. It’s an easy project, and includes flatlocking pieces together to make up the top. Before adding the binding, the edges are enclosed with an overlock stitch to flatten (I used Soft and Stable between the layers of fabric). I prefer to use a 4-Thread Overlock here, but followed along with the directions in the project.
There are quite a few good We All Sew articles on the Bernina Double Fold Binder, so search them out for some great tips and ideas. Try this one first by Doris, who features in the Bernina International Youtube videos … I’m sure you’ll find yourself down the ‘Binder Rabbit hole’ after that …
‘Bound Woven Edge’ – I used two different stitch settings on this sample, one edge was a chainstitch and on the other edge I changed to a 3-Thread Coverstitch Narrow
Machine Setup #1: 2-Thread Chainstitch Stitch #32 Default Settings CC Needle (Centre Cover) and 2 cones of Overlocking Thread
Machine Setup #2: 3-Thread Coverstitch Narrow Stitch #23 Default Settings LC and CC Needle (Left Cover and Centre Cover) and 3 cones of Overlocking Thread
‘Straps/Belt Loops/Ties’ – ideal ties for an apron, stitching only on the fabric strip at the beginning and end of covering a raw apron edge. Great for adding to the top of a bag to hang also. Settings same as “Bound Woven Edge)
Machine Setup #1: 2-Thread Chainstitch Stitch #32 Default Settings CC Needle (Centre Cover) and 2 cones of Overlocking Thread
Machine Setup #2: 3-Thread Coverstitch Narrow Stitch #23 Default Settings LC and CC Needle (Left Cover and Centre Cover) and 3 cones of Overlocking Thread
‘Inside Curve’ – when stitching inside curves I stretch the fabric binding strip just slightly to create a smooth edge. Ensure the fabric you are binding, is guided firmly into the binder, making sure it travels through smoothly.
Machine Setup : 3-Thread Coverstitch Narrow Stitch #23 SL, CW and DF Default Settings – LC Needle 3.0 CC Needle 4.0 and CL 1.5 (these were altered as I had Wonderfil Tutti 50wt thread in all three paths)
‘Outside Curve’ – when stitching an outside curve, lengthen my stitch e.g. default is 3.5 and I altered to 3.0 – and I stitch a lot slower than on a straight section.
Machine Setup : 3-Thread Coverstitch Narrow Stitch #23 SL 3.0 – CW and DF Default Settings – LC Needle 3.0 CC Needle 4.0 and CL 1.5 (these were altered as again I had Wonderfil Tutti 50wt thread in all three paths)
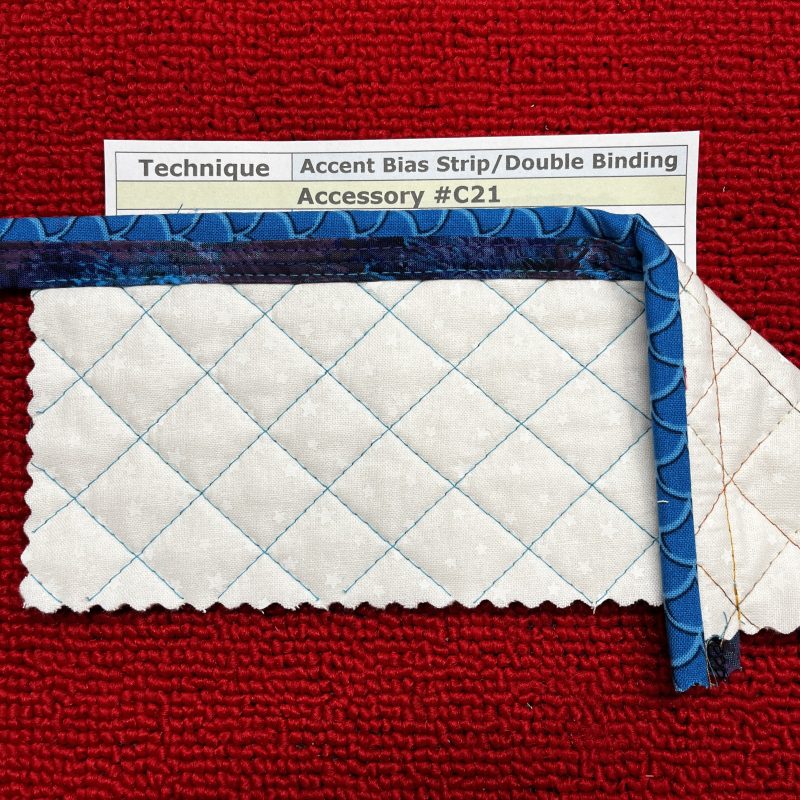
‘Accent Bias Strip/Double Binding’ – this is a finish I have used on tops of jacket pockets, bag front pockets and sleeve ends. I’ve also used it on the top of a Reading Pillow pocket, to add a bit of extra colour. It gives a very solid, decorative finish.
Cut your edge binding as you would for a quilt i.e. 2 ½” wide, and press in half along the length, wrong sides together. Bind the folded edge using the #C21 Binder, and then attach the Double Binding to the edge with the sewing machine, first stitching on the wrong side, and then turning over onto the right side, and edge stitching down. You will now have three rows of stitching on the front. If you only wanted two rows, swap out the 3-Thread Coverstitch Narrow for a 2-Thread Chainstitch. Of course, you could substitute the sewing machine sections with a 2-Thread Chainstitch, thus having all the stitching done on your L890.
Machine Setup : 3-Thread Coverstitch Narrow Stitch #23 Default Settings LC and CC Needle (Left Cover and Centre Cover) and 3 cones of Overlocking Thread
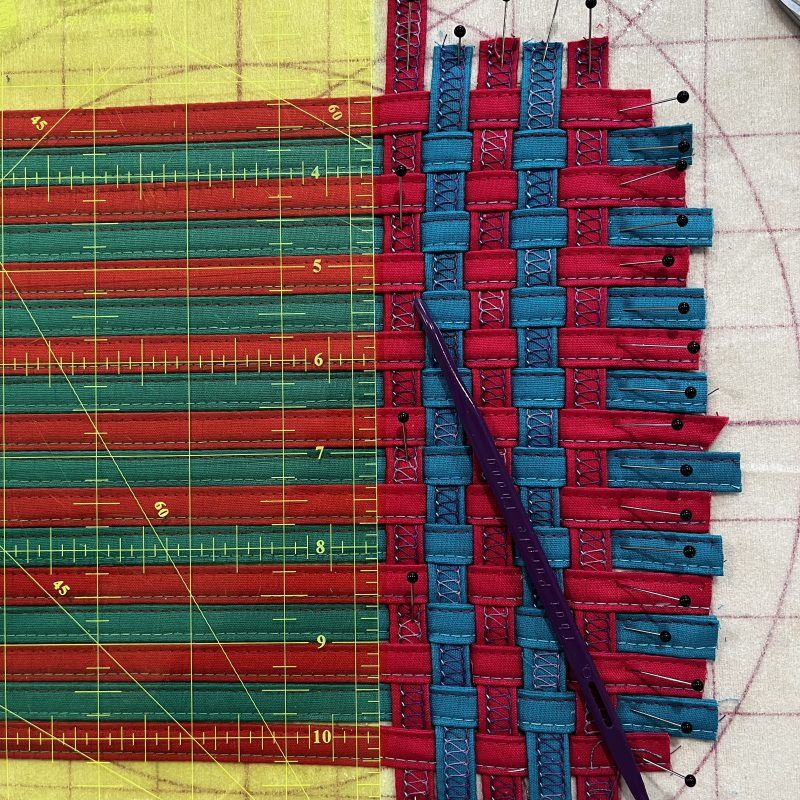
‘Woven Strip Panels’ – Time consuming, a little fiddly … but lots of fun! I do this with strips made with my Belt Loop Folders as well (yet to come in the Blog).
Machine Setup : 3-Thread Coverstitch Wide Stitch #22 SL 3.5 CW 5.5 DF 1.0 LC Needle 3.3 RC Needle 4.8 and CL 1.5 (these were altered as again I had Wonderfil Tutti 50wt thread in all three paths)
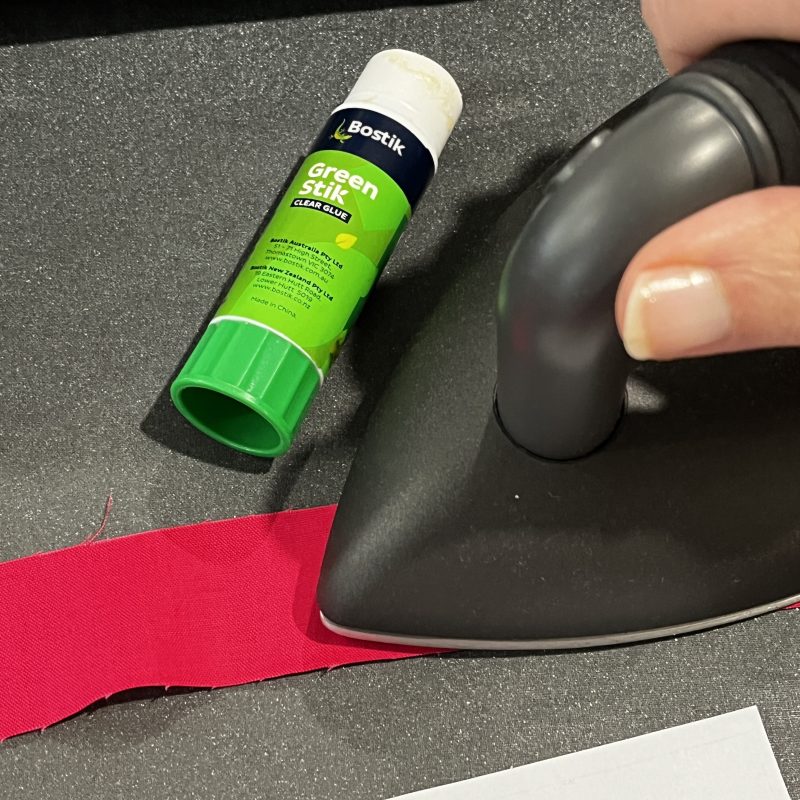
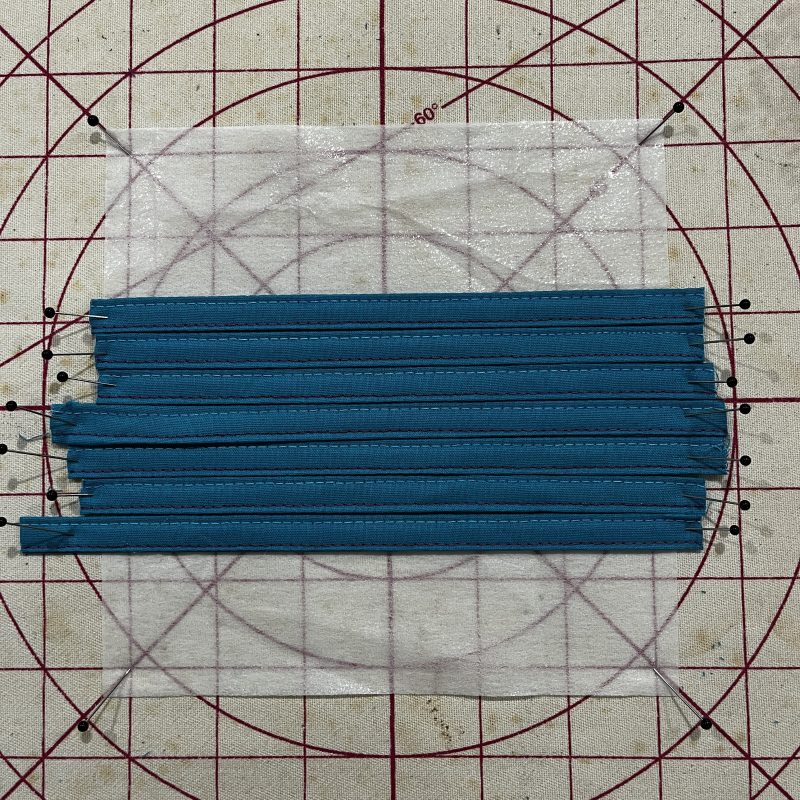
First of all make long fabric ‘strips’ just as we did in the Straps/Belt Loops/Ties sample. You will need quite long lengths to make this easier – so rather than joining all your cut lengths, I simply glue them together, using a regular gluestick, press with the iron to dry, then run them through the Binder, carefully guiding the strip once the join comes into play. I cut out these sections later, if they don’t work out in the plan. Much faster and easier than seaming etc!
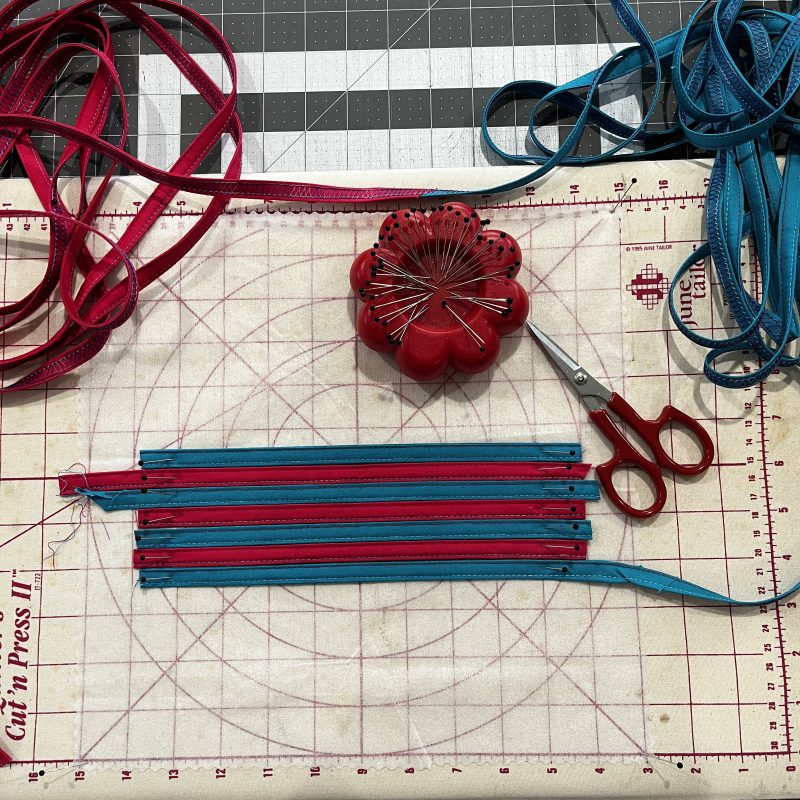
I pinned the horizontal lines first on top of a piece of fusible interfacing (fusible side up) – alternating the colours in the horizontal row.
Then wove the vertical lines, reversing the strips to show the underside of the coverstitch on the vertical rows – pinning the rows as I went, ensuring they were straight and secure.
I use a Prym Threader (comes in a packet of three which fit all three sizes of strips made with my Bernina Belt Loop Folders #C30) and a Purple Thang to make the weaving process easy.
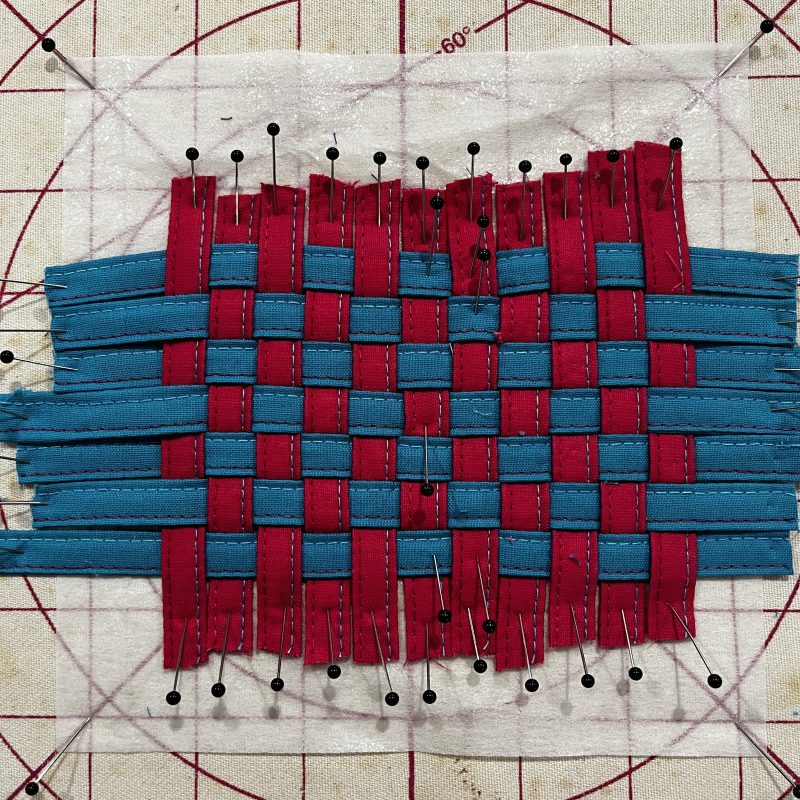
Once all the strips have been woven and straightened into position, I unpinned the edges, added Painters tape, then off to the sewing machine to stitch around to secure with my Walking Foot. (Forgot to take a photo on the first sample, so pics show second sample!) Trim up all sides with a rotary cutter, and press the interfacing to the back of the strips to hold in place.
I made a smaller second sample, in a simple two colour weave. These pieces would be ideal to insert into a bag front, construct a pocket from, make into a mug rug or treat them as a ‘feature block’ in a table runner/pillow front.
Points to Remember
Accurate cutting of your strips, and test stitching is essential with this attachment. I line up the left hand edge of my binder tunnel about 2mm to the left of the LC needle marking on the presser foot, and have the foot very close to the binder without touching.
All the samples I stitched were using #C28 Clear Cover-/Chainstitch Foot. Other feet that can be used are #C13 Cover-/Chainstitch Foot or #C27 Clear Combo Foot.
If you find your fabric is folding/creasing as it is stitched on, try cutting the strips just 1 to 2mm narrower.
Bind the edge of a neckline, sleeve etc before stitching up the side or underarm seams. This gives a much neater finish, as it is a challenge to work on tubular areas.
Remember to set your machine to needle stop down and use the ‘heel kick’ function and Knee lifter at the end to raise the needles and presser foot to release the needle threads before cutting.
Cut your fabric strip at an angle, with the longest point down when feeding into the binder. I use a Stilleto to help it through the funnel. Swing out the accessory to make it easier to load the strip.
Start with threads separated so that the fabric can be fed directly under the foot, to begin stitching.
... A Little Something Extra ...
Foot User Manuals
On the Bernina Website, you can download a User Manual for the Double Fold Binder #C21
When using Binders on the L890 you will always need to support the fabric strip as it is fed into the binder. When working with long lengths of strips, I have ‘hacked’ up my own version of a ‘Support Reel’.
You can see from the photos below it really is a simple solution and created from easy to acquire ‘parts’. First get yourself a ‘Rotating Wooden Yarn Holder’ and I think I got mine from Amazon a couple of years ago for less than $20 – a 50mm PVC Coupling – Bunnings for less than $4 – (the top ring of the coupling has HOLMAN 32mm COUPLING on it!) and a piece of pool noodle if you have to extend it any further.
I did add some black shelf liner stuff to give it a bit of grip on the table/jar top, and for the ‘reel’. Wind your strips onto the coupling (sticky tape the first bit to secure) and set up near the machine with binder attached.
It still needs a little bit of ‘babysitting’ as I have it perched on top of a glass jar… but works so well!