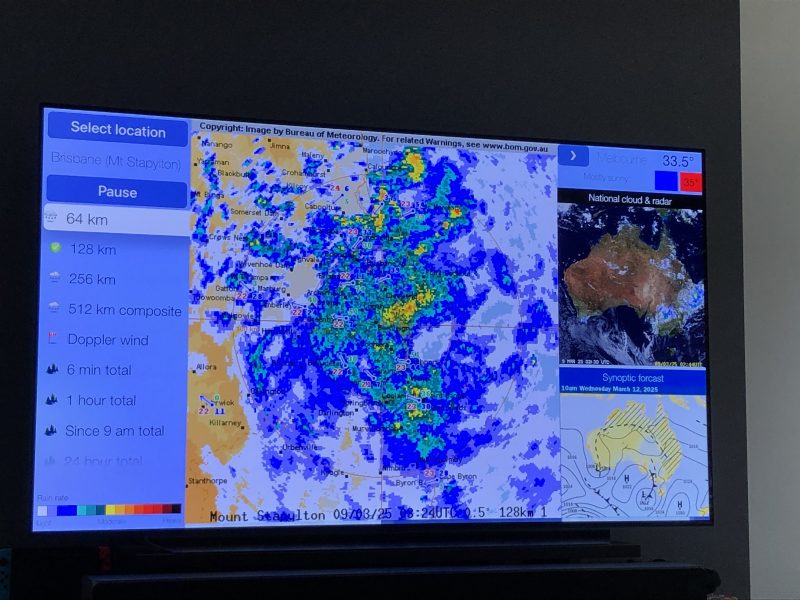
Many days of uncertainty last week, came to an end when Cyclone Alfred made its landfall and brought wild winds, lots of rain and damage to homes and businesses not only here in South East Queensland, but further north and south of us.
Thankfully, we remained safe and dry inside, however outside copped a lashing with rainfall creating multiple fast flowing ‘riverlets’ and little ‘waterfalls’ through the retaining walls.
Here’s a couple photos and a little video taken during a lull in the downpour.
I brought all my machines from the Studio into the house, (and a jacket I had cut out) therefore had something to stitch whilst we bunkered down awaiting the Cyclone. We lost power for around 12 hours, so I enjoyed the peace and quiet whilst reading and napping.
All the machines are finally back in place, samples were stitched on Wednesday, and now its blog write-up time! It will be shorter post this week, as I’ve got lots of prep to do for some classes I’m teaching next weekend – Alfred sure halted my progress on that!
However, as promised from last post, here are some photos of my visit down to see Gemma and Bobby. The mending job was reattaching a button – didn’t have the right pink in her sewing basket I gave her so put two different pinks together and sewed it back on – looked great finished.
Bobby loved sitting on my lap whilst he poked pins into the little Tilda Pincushion, and then putting away all the sewing stuff back into the basket.
I made 20 of those little pincushions some time ago now. Here they are all ready for me to take to the market. It was a great Tilda fabric print called ‘Me and My Friend’. I topped little cane baskets with the print, bordered with some tone on tone to set them off, then lined the baskets with a great Tilda Spot fabric called ‘Plum Dot’ from their Plum Garden’ collection.
Here’s Gemma in one of her new Scrub Tops. She loves this one – Fairy Bread!
... Riding the Edge ...
Adjustable Ruler Foot #72/72S
This week the Big Book of Feet introduces a ‘fence’ to the description of the anatomy of a Bernina foot. Both the #72 and #72S feet have a ¼” high outside edge to keep it from sliding underneath, or over the top of a ¼” thick acrylic ruler, as you stitch along creating either straight lines, curves, feathers, circles etc depending on which ruler you are using. The feet have an adjustable dial to either raise of lower it, to accommodate the thickness of the fabric underneath.
Both these feet are compatible with the Couching Inserts and Echo-Quilting Clips.
All of the sample stitching was done on my B990 machine as I wanted to use the new feature of BISR – Bernina Integrated Stitch Regulator. This enables me to regulate the stitch no matter which freemotion foot I have on. The 5.5mm stitch plate is attached, which has a hole through which the machine can read the movement of the fabric, therefore enabling stitch length regulation. Pure Magic!
Options available for the foot – Foot #72 and #72S are suitable for all models. Foot #72S has a slit to allow changing the foot without cutting the thread.
Foot #72/#72S hadmultiple optionsto stitch out, including adding the Couching Inserts and Echo-Quilting Clips.
... This Week’s Foot Highlights or Challenges ...
‘Stitch in the Ditch, Cross Hatching, Curves, Gridwork and Straight Line’ – I stitched most of these techniques using a printed fabric I had. Lines were drawn for the Straight Lines just as a simple guide, and I could easily have left them out.
‘Couching and Echo-Quilting’ – I used one of the Couching Inserts added to the foot to outline one of the shapes, after filling in the shape using the Echo-Quilting Clips attached to the foot.
The only challenge I had this week was the lack of an acrylic quilting table to fit my B990, which ensures the rulers all stay flat as I’m stitching along. I have quilting tables for all of my other machines, and cannot wait until Bernina releases one for the 9 Series. Then I realised that the 7 and 9 Series have the same shape/profile sewing area so I slide my 7 Series one on, and although there was a 4” gap at the inner harp area, it worked fine (I was only sewing small samples though!)
... A Little Something Extra ...
Two links this week to get you having lots of fun with Rulerwork Foot #72 or #72S, and those fabulous Couching Inserts and Echo-Quilting Clips.
One of the challenges of rulerwork is keeping a grip on the rulers as you move them and the fabric underneath the machine. Quilting gloves really help, and of course also help grip just the fabric when doing other forms of freemotion work.
But are you finding them a bit hot to wear or need access to your touchscreen whilst wearing them? Here’s what I did to a pair of ‘Sew Easy’ Quilting gloves.
Simply cut out a section revealing two fingers on each hand! I used an Amanda Murphy 4” circle Ruler.
Finish edges with Fold Over Elastic (tack with hand stitches to inside first before folding to right side and stitching on with zigzag by machine.)
Finished!
Note: Where this ‘hack idea’ first came from … I do have a pair of fabulous Regi’s Grip Quilting gloves that I bought a few years ago, and absolutely love! I wanted a second pair for teaching and could not find any in stock within Australia. Here’s a photo of one of my gloves along with Amanda Murphy’s Good Measure ‘Every Angle’ Ruler and ‘Measuring Gauge’ – a handy tool to keep your rulers at a constant distance from your seam or previous stitching line.
... A Little Reminder ...
Bernina’s Accessory of the Month March 2025 *
is the Midi Embroidery Hoop, my most often used hoop in the Studio! It has a fabulous ergonomic twist lock closure mechanism and a handy 265mm x 165mm embroidery area – 20% off for March – contact your preferred Bernina Dealer for this fabulous offer.
*Australia and New Zealand Promotion Only – ends 31st March, 2025 …