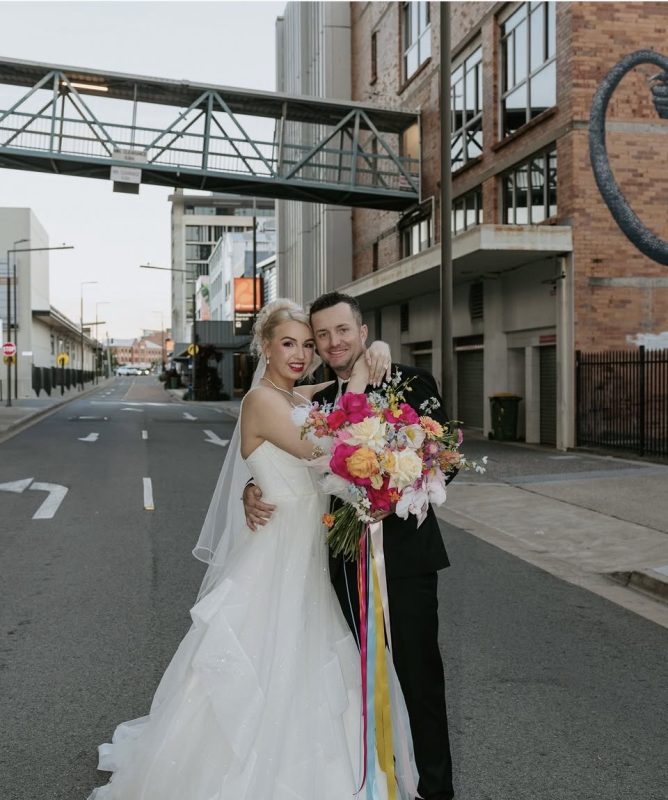
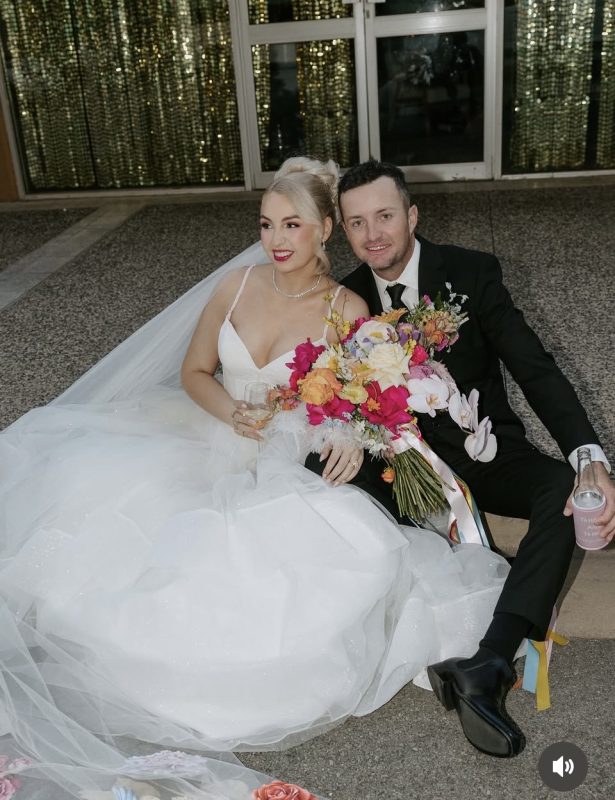
After a couple of wonderful weeks away, it’s lovely to be back at the sewing machines and catching up with you all. My time away was spent enjoying precious family moments in both Townsville and Yeppoon, highlighted by the beautiful wedding of my niece Emily to her new husband, Scotty. It was a truly special occasion and a joy to celebrate with family and friends.
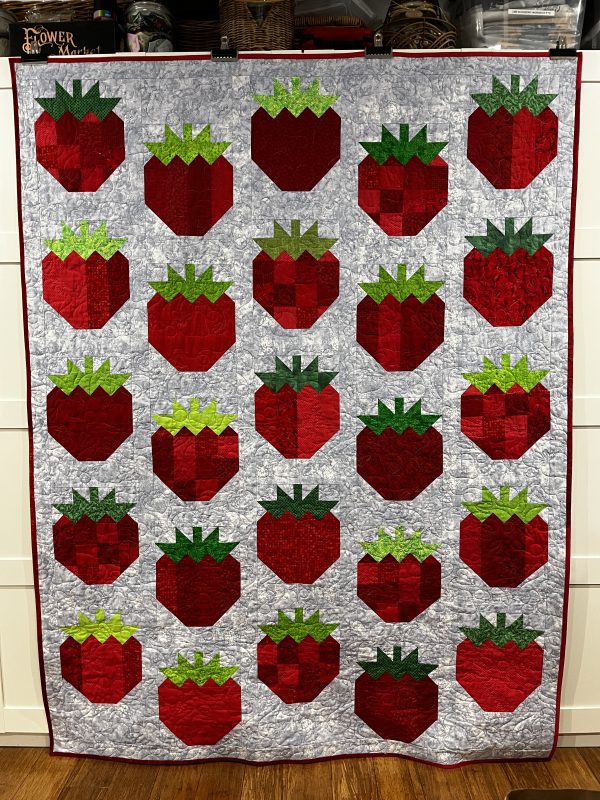
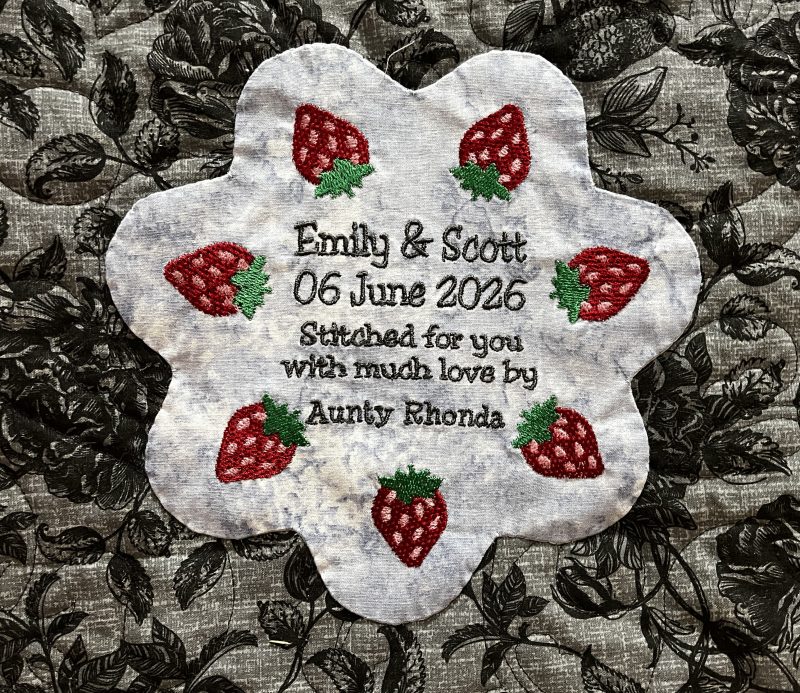
I finished the Strawberry Picnic quilt for them as a wedding gift, however never got around to taking an outdoors photo of it as we had quite a few rainy overcast days before I Left. Here it is hanging up in the Studio and the embroidered label I made on my B990 machine.
I finished four machine embroidered cutlery cases and napkins to go with the quilt as well. An easy In-the-Hoop project from Sweet Pea Designs. Napkins were a lovely blue check gingham and strawberry designed fabric to complete the theme.
A particularly special part of the trip was spending time with Mum in Townsville. At nearly 93 years of age and now living in aged care, every visit is precious. It was wonderful to sit and chat, share memories, and simply enjoy being together.
The trip was also made extra special by meeting three beautiful new babies (Alanah, Henry and Zaylee) who have joined the family since my last visit, as well as enjoying a cousin catch-up—Nev and Leanne Smith – the first in decades for the three of us. There was plenty of reminiscing, laughter, and sharing of stories as we reconnected after so many years.
While it was nice to take a little break from the weekly rhythm of blogging, it’s time to get back into the Studio and continue our journey through the Overlocker Feet Challenge. With only seven more weeks to go before the challenge is complete, the finish line is definitely in sight!
Once the challenge wraps up, I’ll be heading off to Sydney for Bernina Academy, so there will be plenty of inspiration, learning, and new ideas to share when I return. After that, I’m planning to ease into a more relaxed blogging schedule, with fortnightly or perhaps monthly catch-ups from the Studio. There will still be plenty to share—all things sewing, handwork, crafting, creative projects, and whatever else finds its way onto the worktables.
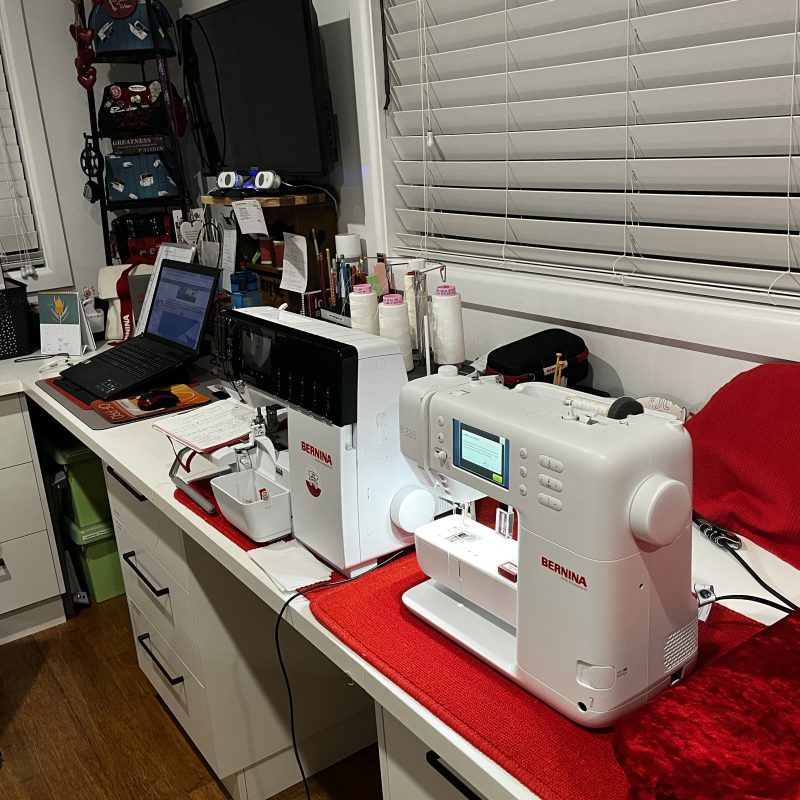
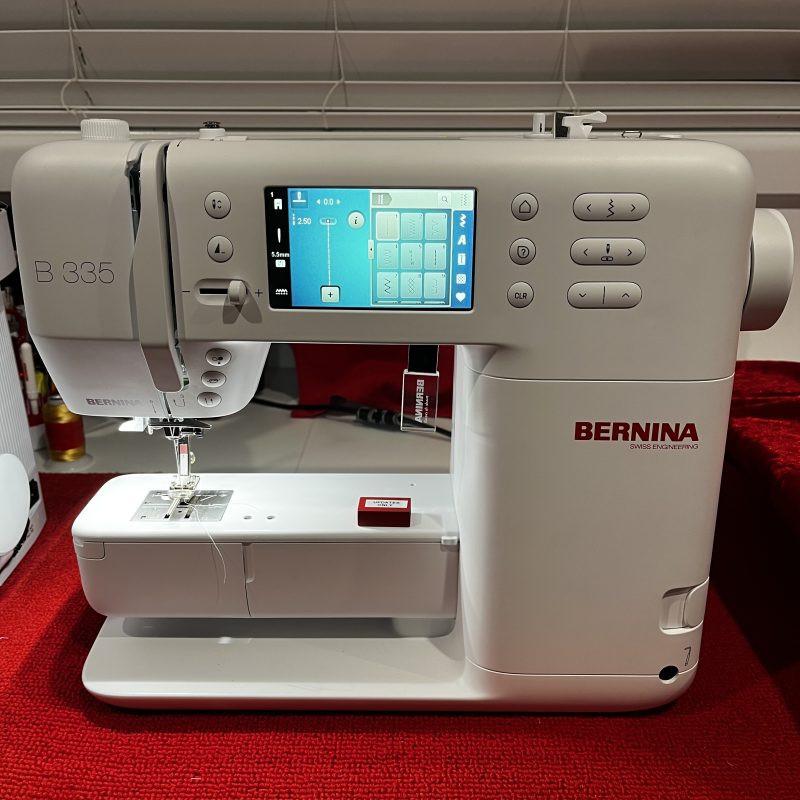
Before I delved into the nextfoot in the challenge samples and writeups, there were a few jobs to tick off in the Studio. My little Bernina B335 was due for its Version 45.00.20 update, I had some quilt-binding samples to prepare using fusible thread, and the patchwork piecing for this week’s sample block on the overlocker—the ever-popular Rail Fence Block. After a couple of weeks away, it feels good to have a growing list of sewing projects waiting for me. So pleased also that I have leads everywhere for my machines … and they are all the same! Simply pop a machine needing an update onto the bench in whatever space there is!
... The ‘Piecemaker’ ...
Patchwork Piecing and Quilting with your Overlocker
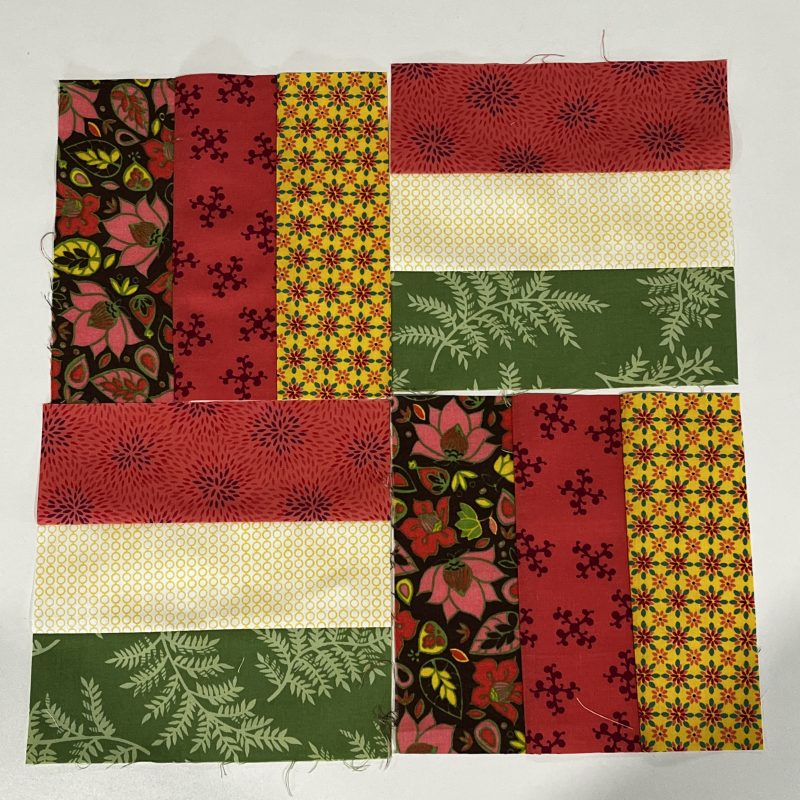
This week’s patchwork block/technique is Rail Fence, and it starts with some simple strip piecing. Details of how this is done, commences on Page 135 of Big Book of Serger Quilting.
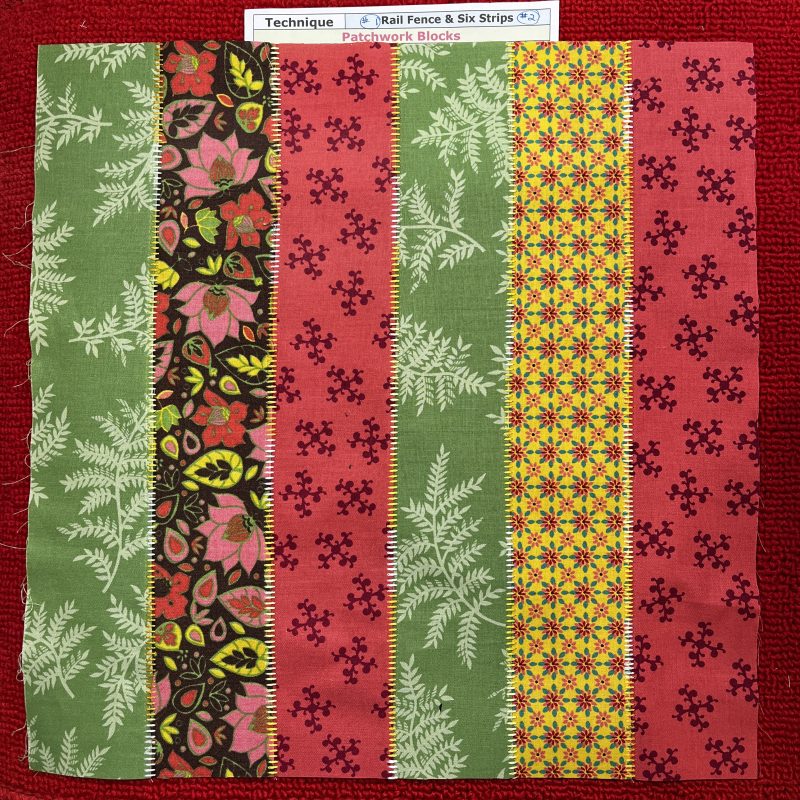
First sample I made was Six Strips (Pg 136)
I used the 3-Thread Flatlock Wide Stitch #5 with a 12wt rayon thread in the Left Needle – Topstitch Size 90 – Needle Tension 1.7 as it was a thicker thread to the loopers. Both Upper and Lower Looper threads were Seracor Overlocking thread – Default Tensions. Strips were sewn right sides together, and eased apart to show the decorative thread on the right side as ‘ladders’. Press well. If you want the decorative thread to feature as ‘loops’ on the right side of the block, place the decorative thread in the Upper Looper and stitch with wrong sides together.
Flatlocking information has been mentioned in quite a few previous blog posts – use the search function at the top of the blog, and simply insert ‘flatlock’ to refresh tips on this great stitch.
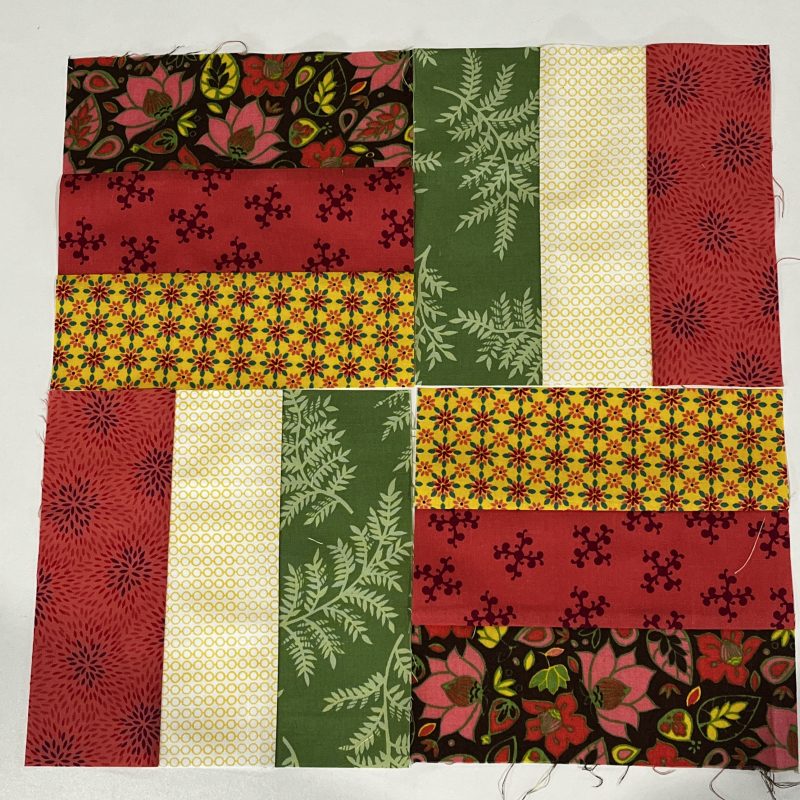
Second sample I made was Rail Fence (Pg 135), and this is an ideal starter block for beginner patchworkers.
I used the 4-Thread Overlock Stitch #1 with Seracor Overlocking thread in all thread paths, and default tensions. I usually tighten the Left Needle tension to crate a better seam that does not pull apart to show the threads, but forgot to change when I was setting it up. I was late getting this blog out this week so was rushing through a bit. Long strips were sewn right sides together into a set of three, pressed and recut to measure 6 ½”. An easy block to make, with four blocks that can be rotated in different ways to create a range of finished quilt designs.
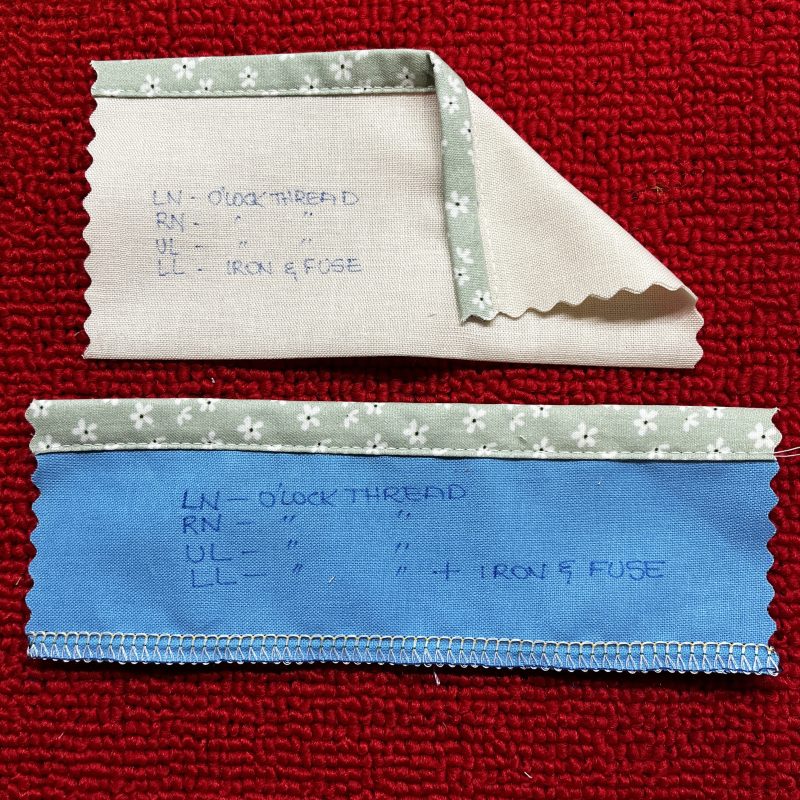
This week I am also including samples of French/Fusible Binding. Now this is not a new technique by any means, however using the combination of overlocker and fusible thread, which has been around for many years now, really does streamline this technique. There are a few different brands of fusible thread on the market, and I’ve been using Wonderfil Iron ‘n Fuse for quite a few years now. When stitching with a 4-Thread Overlock (which gives a flatter finish to the edge of your quilt), or a 3-Thread wide Overlock, place the fusible thread in the Lower Looper path.
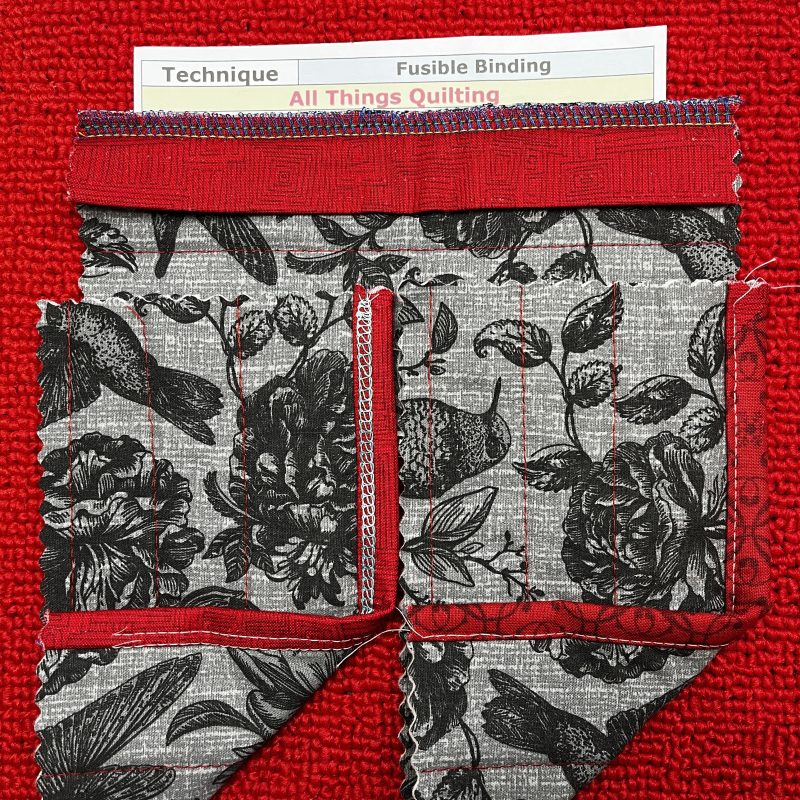
I stitch the binding (cut 2¼” wide and pressed in half with wrong sides together) to the wrong side of the quilt sandwich, mitring the corners as I would when using my sewing machine. After stitching, I give it a light press, then fold the binding over to the right side, aligning the folded edge with the left needle thread of the overlocker stitching. Press well with a hot iron to temporarily fuse the binding in place.
The binding is now ready to be stitched down using either your sewing machine or your overlocker in Chain/Coverstitch mode. By aligning the folded edge with the left needle thread, you’ll catch the folded edge of the binding on the back as you edgestitch the front, creating a neat finish on both sides.
Note: I have added in a reel of overlocking thread along with the Fusible thread in the Lower Looper path for the last few quilts I have done, as the bindings were cut 2 ½” meaning the front stitching did not catch the back folded edge, and I also wondered if once fused the Iron ‘n Fuse was no longer strong enough to hold the seam through years of use and washing (if final row of stitching did not catch both sides of the binding). I did search online for any references/answers to this concern of mine, but all sites only referred to it as a temporary bond … I did try pulling it apart on a small sample and it appears that a very fine thread is still in place … hmmm think I’ll keep adding in that extra security of 4 reels of overlocking thread.
Now there are many online tutorials out there to guide you through step by step in this technique, and I’ll add a link to Amanda Murphy, a well known ‘Bernina Expert’ to walk you through it – and surprise … she also uses a reel of overlocking thread in with the fusible thread she uses … it’s on Youtube and was posted only 2 years ago.
Some overlocker accessories become instant favourites, while others sit quietly in the accessory box waiting to be discovered. The Bernina #C24 Shirring Foot is one that deserves far more attention than it often gets.
At first glance, it looks very similar to the standard C11 Overlock Foot, (or L10 Foot for L850/860 machines), and both look very similar.But the real difference is not in how they look on the table—it’s in how they behave on the machine and what that means for your sewing results. This foot requires a little more explanation than some others … so here goes …
The C24 is designed to support techniques that create controlled fullness in lightweight fabrics. Rather than joining two layers together, it is used to form soft ruffles, gentle gathers, and decorative texture in a single layer of fabric.
By adjusting the differential feed and stitch length on your overlocker, you can influence how much fullness is created. The C24 helps keep that movement smooth and consistent, especially on fine fabrics where control is essential.
The overlocker’s foot holder has a spring attached to the left hand side of it. The standard C11 foot (photo above on the left) includes a small ‘button’ on the side as well as a raised section on the top front of the foot. The spring sits on both of these features, creating direct pressure on the needle area of the foot, and allowing the toe of the foot to lift slightly to help it adapt when sewing over varying fabric thicknesses.
The C24 (photo above on the right) does not have the ‘button’ on the side of the foot, but has only a raised section on the top front of the foot, where the machine’s spring sits. Because it doesn’t receive the same additional pressure on the needle area that you get with the C11’s button-and-spring interaction, the C24 tends to maintain a more consistent, even contact with the fabric as it feeds through.
That steadier contact is what makes it so effective when you’re working with lightweight fabrics or creating controlled fullness. It allows the fabric to feed smoothly and evenly, rather than focusing on lifting over seam intersections and bulk.
Foot #C24 was used in6 differenttechniques to stitch out, including single layer gathering comparisons, puffing, gathering an edge, gathering the centre of a strip, Chainstitch with shirring elastic and a fancy gathered strip.
Here is a link to the Bernina International video for this accessory.
Bernina L450 and L460 – no Shirring Foot Available
Bernette Funlock 40 Series (b42, b44 and b48) and Airlock 60 Series (b62, b64 and b68) – no Shirring Foot Available
... This Week’s Foot Highlights or Challenges ...
This is one of those accessories that really rewards experimentation. Small changes to differential feed and stitch length can significantly alter the effect, so it’s worth making a few samples before starting your project. Keeping a sample reference can also be helpful for future projects.
The C24 Shirring Foot may not be the most talked-about accessory, but it quietly excels at what it’s designed to do—helping you create smooth, controlled fullness in lightweight fabrics with ease. Once you’ve tried it, you’ll likely find it earns a regular place in your overlocker setup.
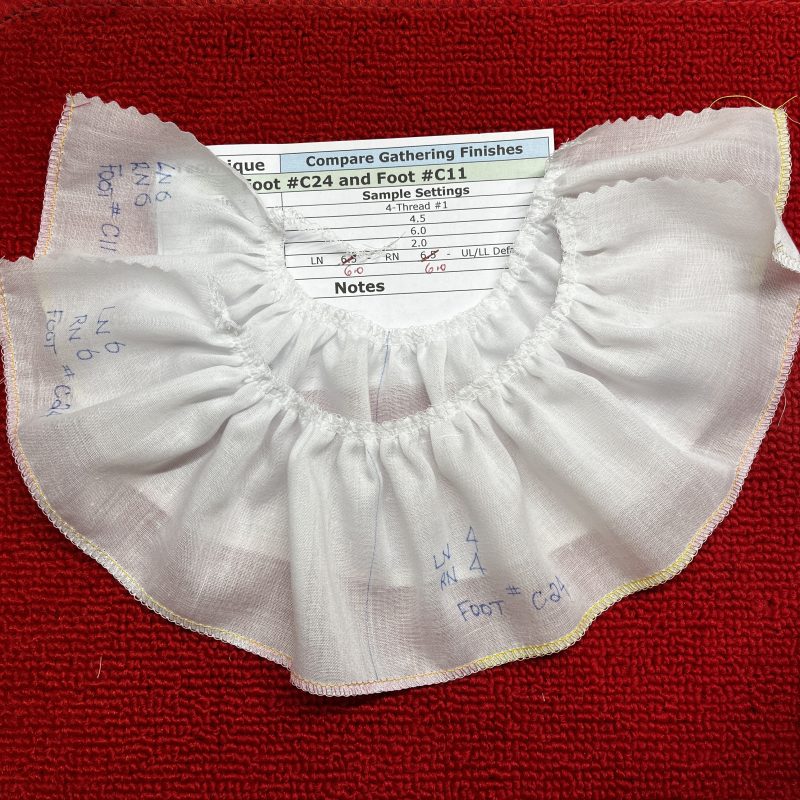
‘Compare Gathering Finishes’: Sample #1 was using Foot #C11 and Sample #2 was using Foot #C24 to compare the difference. I used a very fine cotton voile and a 4-Thread Overlock Stitch. Both samples gathered up beautifully, with a very slight gather and a very full gather. Honestly, not a lot of difference in these two small samples.
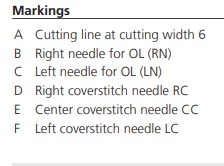
Machine Setup: 4-Thread Overlock Stitch #1 … SL 4.5 … CW 6 … DF 2.0 … Tensions – LN 6.0 RN 6.0 UL/LL Default for second half of sample
I had Maxilock thread in all thread paths.
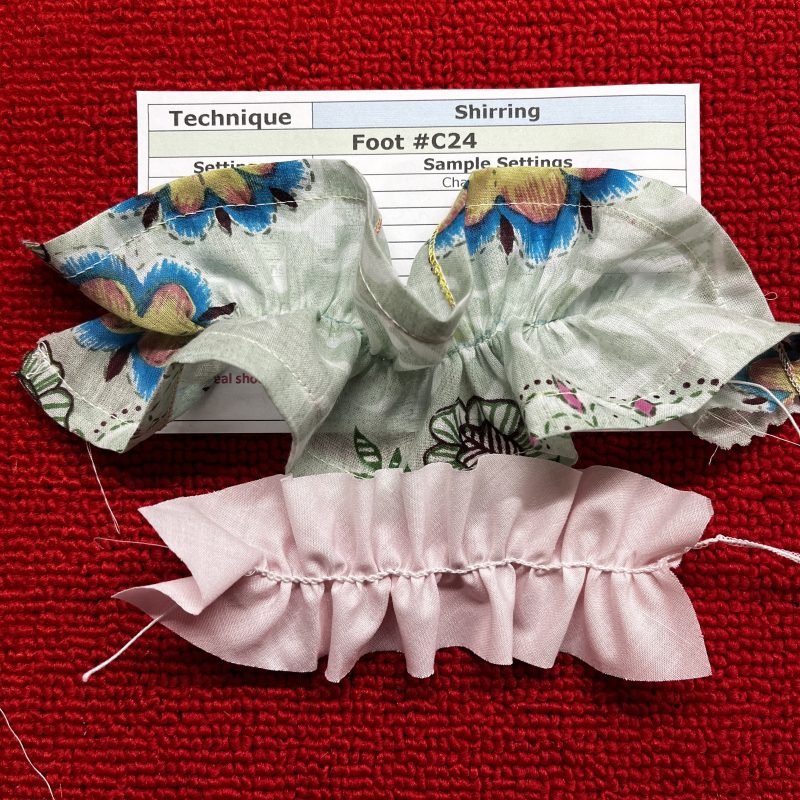
‘Puffing’: This is a technique that over the years I have used many times. It fed well into the machine and gathered evenly both sides. 15” length of flat fabric = 6” of gathered fabric!
I had Maxilock thread in all thread paths. I made an extra strip up to insert into a bonnet for my Granddaughter Summer.
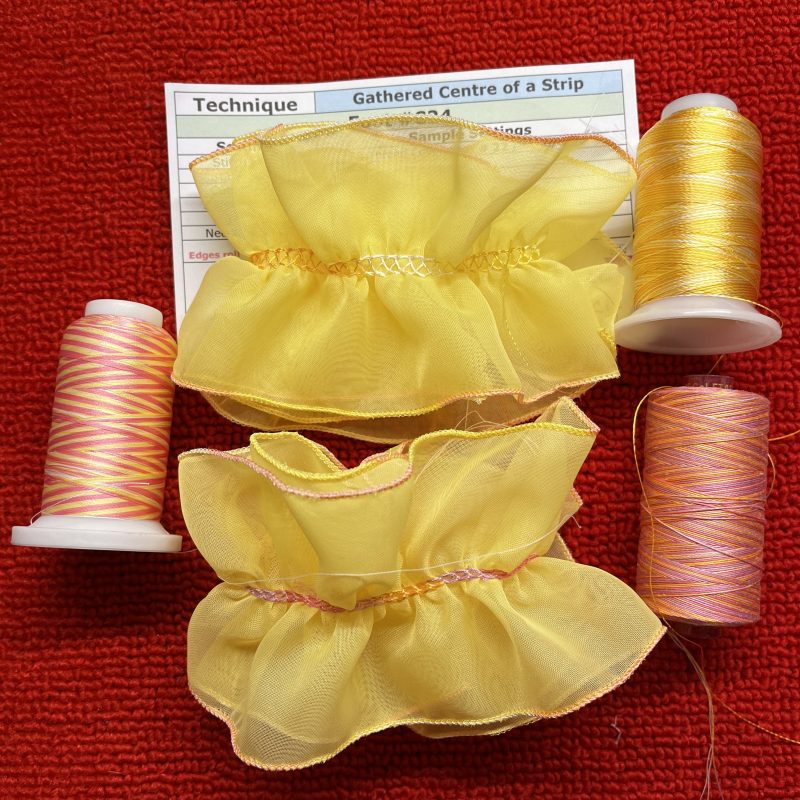
‘Gathered Centre of a Strip’: changed over to Chainstitch and some decorative threads for these two samples. Edges of chiffon strips were finished with Rolled hem Stitch #8 and variegated rayon machine embroidery thread, prior to gathering.
‘Gathered Centre of a Strip’: changed over to Coverstitch and some decorative threads for these two samples. Edges of chiffon strips were finished with a Rolled Hem, Stitch #8 and variegated rayon machine embroidery thread, prior to gathering.
Machine Setup Sample 1: 3-Thread Coverstitch Narrow Stitch #23 … SL 4.5 … CW 5.5 DF 2.0 … Tensions – All Default … Threads – Seracor Overlock in LC and RC Needles, Wonderfil 50wt Fruitti in CL (Colour FT05 Pansy) – such a lovely thread!!
Machine Setup Sample 2: 3-Thread Coverstitch Wide Stitch #22 … SL 4.5 … CW 5.5 DF 2.0 … Tensions – All Default … Threads – Seracor Overlock in LC and CC Needles, Wonderfil 12wt Accent in CL (Colour ACM36 Varigated Oranges Yellows)
I made a quilt sometime last year (and wrote about it in this blog – search Blog for Foot #C18) and made many ruffles using Coverstitch #22 – love the effect.
‘Gathered Strip Fancy’: changed back to Chainstitch and some decorative threads for these two samples. Edges of chiffon strips were finished with Rolled hem Stitch #8 and variegated rayon machine embroidery thread, prior to gathering.
Instead of stitching down the centre of the strip, I stitched from one edge to the other on a 45 degree angle, like a zigzag across and down the length of the strip. Set up machine for machine was in ‘Needle Stop Down’ so that I could pivot on the edge – just raise foot slightly with the knee lever so that the stitch remains fully formed. This creates a lovely ruffle finish for a blouse!
Now to the last sample … and some challenges I had!
‘Shirring’: My favourite method of shirring fabric is by using my sewing machine, a Pintuck foot, a Pintuck attachment and fine 1mm hat elastic. Using shirring elastic in the bobbin is ok, but it runs out too fast! I wrote about how I do it in the blog quite some time ago – Search the blog ‘Shirring’ – Feet #30 to #33
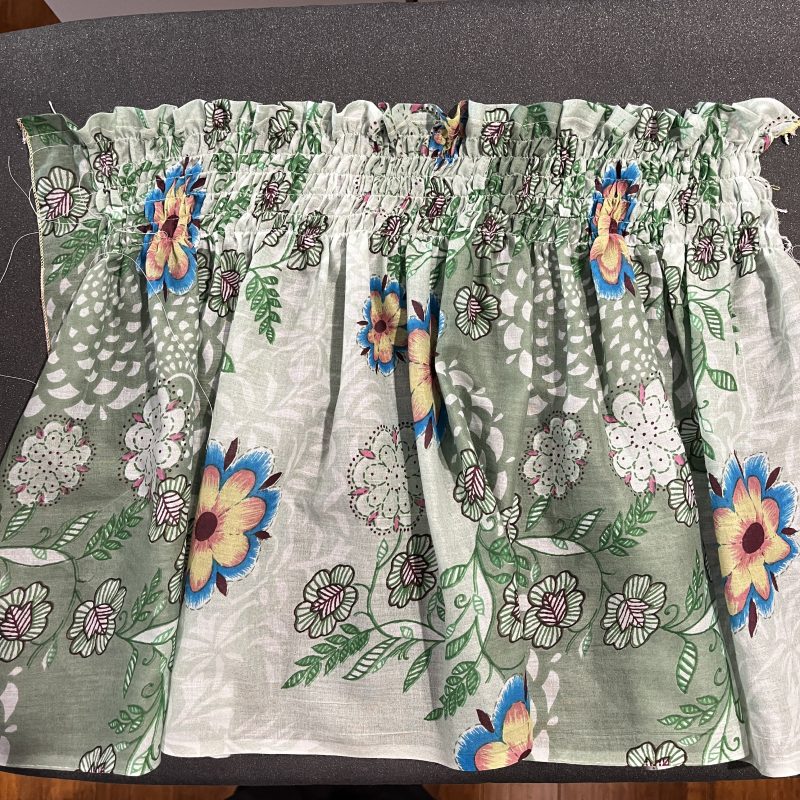
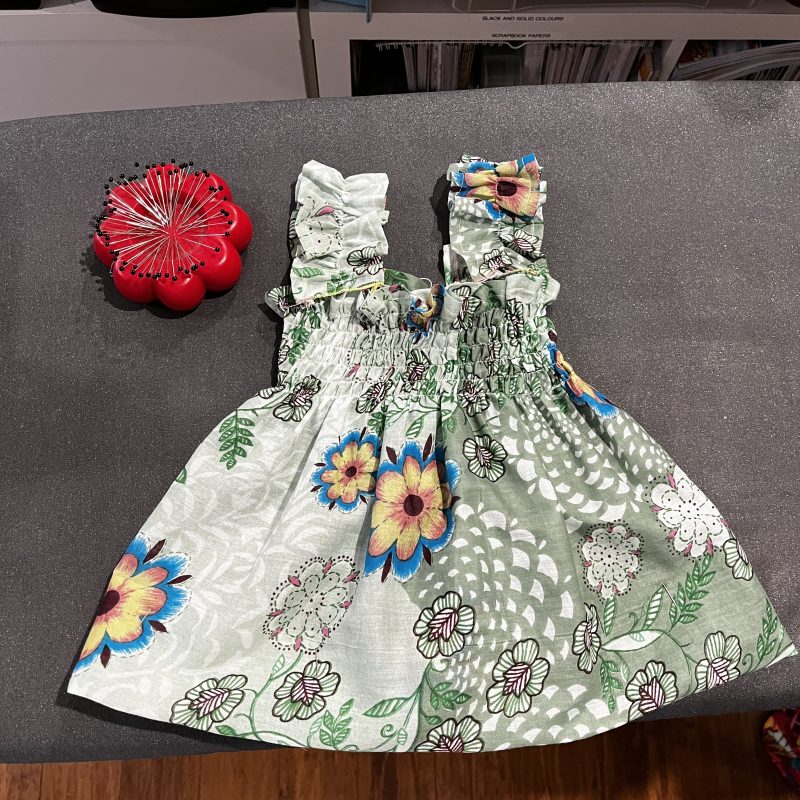
However, I have used my overlocker before a few times using chainstitch, and the only reason why I prefer my sewing machine method, is because the chain looper does make quite a rough line of elastic on the inside of a garment. This matters most when sewing for little ones, which I was doing this last week. I wanted to add a little sundress with shirred bodice and shoulder straps to go with the little Sunbonnet I was making.
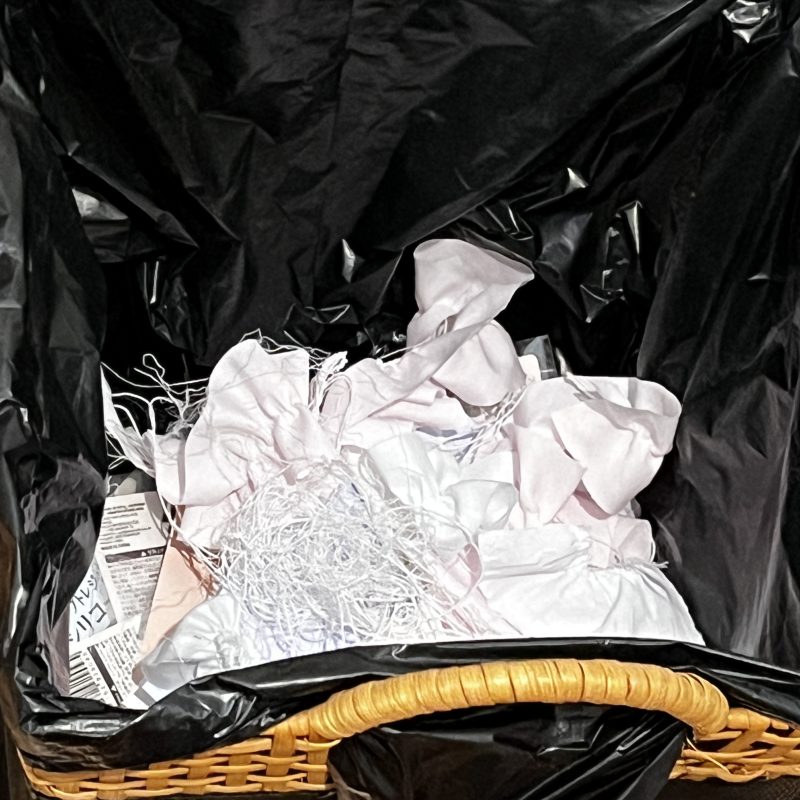
Getting the right ratio of fabric gathered with the shirring elastic took quite a few samples – lots here in the bin! Each of the previous samples I only needed one test sew! I have precut sample fabrics near every machine I work on, and a decent stash in a cupboard from my days freelance teaching. Its a habit from years of working in stores as a Demonstrator – setting up ‘Dem Drawers/Trolleys’ ever ready to show customers just what our machines can do!
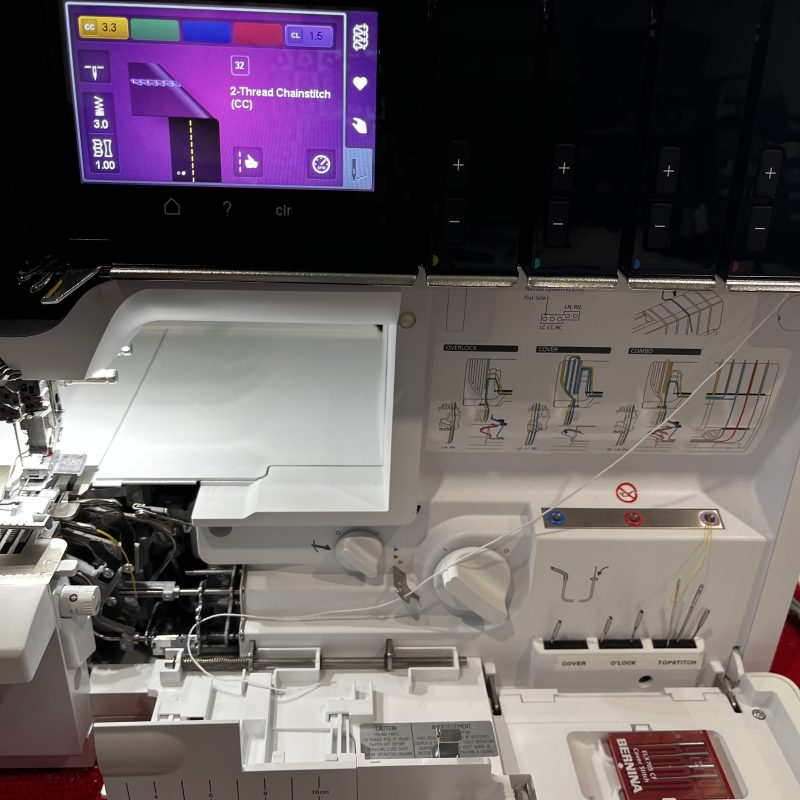
I finally landed on this setting: (Note – there are three Chainstitch options available on my L890 stitches #16, #32 and #33 however I found #16 was the best and never missed a stitch!)
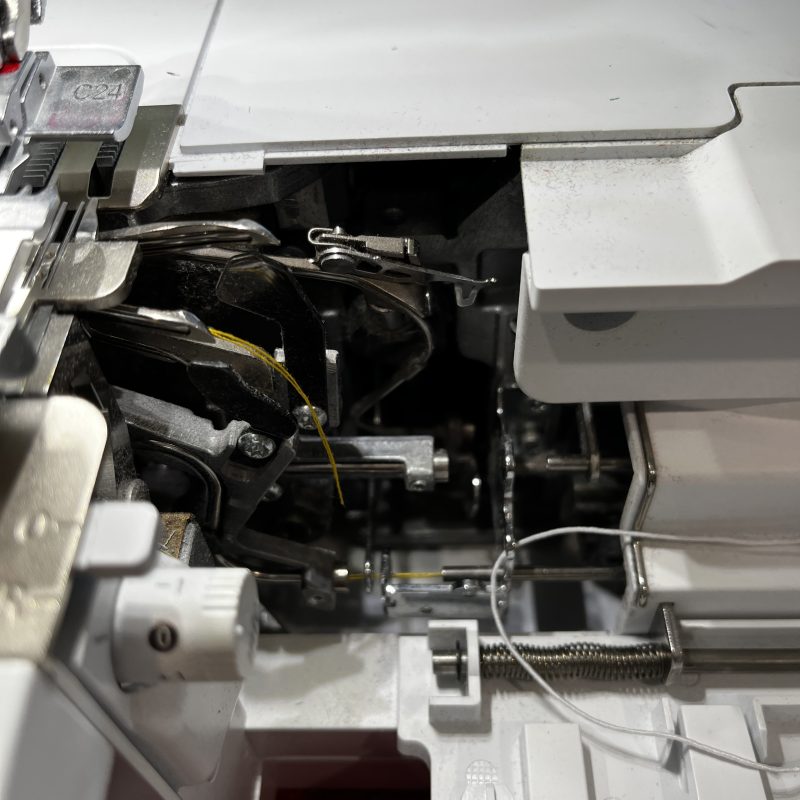
Sewing Gypsy Tips: When threading up with Shirring Elastic in the Cover Looper, firstly I added the Decorative Thread Guide … I’ll chat about those next week … at the top of the machine to bypass the Pretensioner – continue taking the elastic thread down and bypass the Air Threading port, and thread elastic through the Bypass Bracket. Close Threading Tubes, then use a thread cradle through the Air Threading port, holding the both ends after they blow through – open threading tubes – gently pull on the cut ends of the thread cradle until you can see the looped end in the gap (I’ll put photos below) – pass the elastic through the loop and pull through.
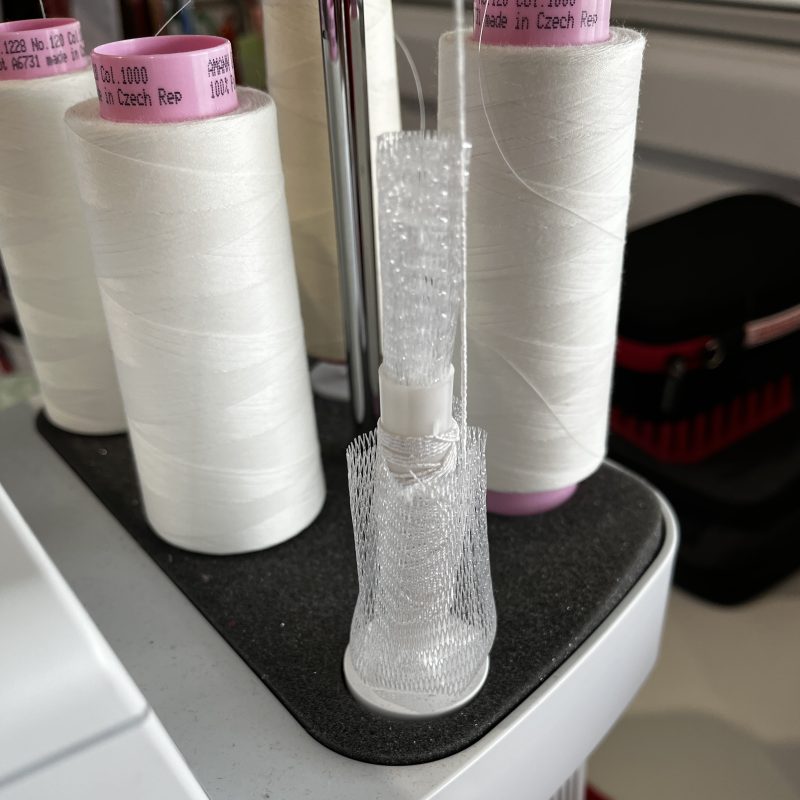
Add a thread net over the shirring elastic as it has a tendency to spool off fast. I almost ran out of elastic, so here’s mine on the machine.
Sew slow! Always remember to start well into the fabric and hold both the needle thread and the shirring elastic at the back like when stitching with decorative threads.
Pull through threads at the end, leaving a tail to hold onto next row. I used the width of the foot as a guide between multiple rows.
Steam the elastic gathered section after stitching – it makes a difference!
... A Little Something Extra ...
Foot User Manuals
On the Bernina Website, you can download a User Manual for the Shirring Foot #C24
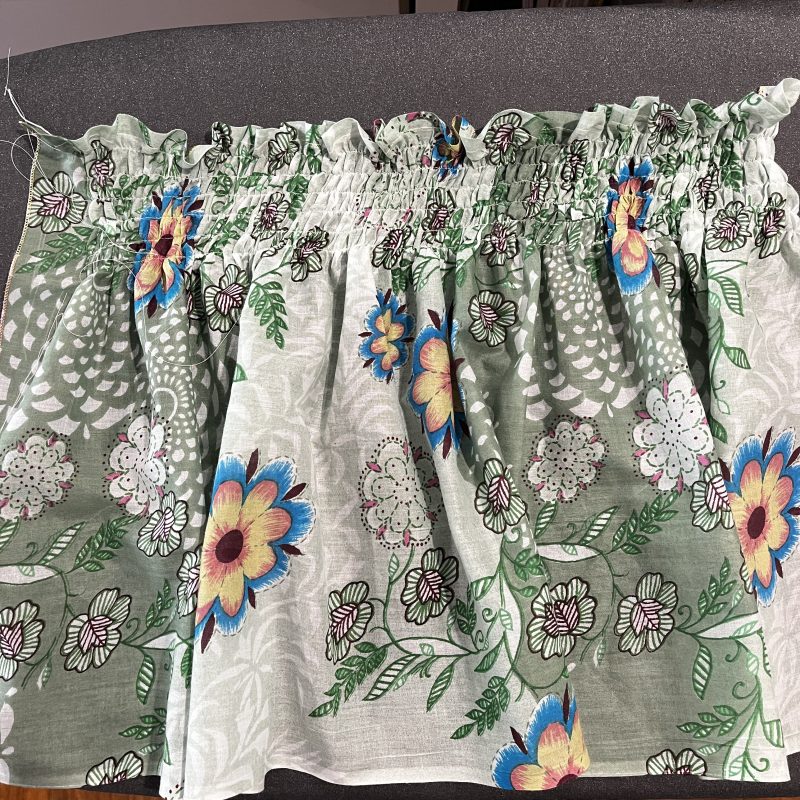
I had a lot of fun starting this little project, which I came across quite some time ago. I created the puff insert for the bonnet, a shirred bodice and straps all using this week’s #C24 Foot. I’ll add in the link below for the actual Serger project.
I’m hoping to finish them this week coming, as well as some little panties from what’s leftover (photo on the right below). It was a remnant I bought quite a few years ago now with a flaw (two big holes in the centre as you can see in the first photo below) but it is a lovely soft cotton voile.
Another bit of ‘Summer Sewing’ in the making – and, she’s growing fast my Granddaughter Summer – now 7 months old! I’ll share some photos of the finished project once it is completed.
The link to the original Blog post for Daisy’s SunBonnet and free pattern from 2019, is below.
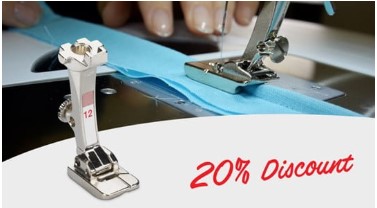
is #12 Bulky Overlock Foot – 20% off – contact your preferred Bernina Dealer for this fabulous offer. … and this is not just for overlocking bulky seams together – great foot to stitch down cords, beads, trims and piping!
*Australia and New Zealand Promotion Only – ends … 30th June 2026
Discover limited-time offers on selected BERNINA machines and accessories. Whether you’re upgrading or starting your sewing journey, there’s something special waiting for you. Just a few days left!
Chat again on Friday with Accessories L25 and L26, some more patchwork blocks and a couple stitch techniques … and snippets of what else is happening here in The Sewing Gypsy Studio.