The week started out quite busy as I was getting myself organised for almost 2 weeks at home on my own, as the family packed up and flew off to Singapore for their first overseas holiday together. Their vacation started Wednesday, and after a very early morning trip to the airport to drop them off, I arrived back home and started to set myself up in the house for my very own ‘Staycation/Sewcation’. I might have had a little nap on the couch around midday as well, as getting up at 5am is way earlier than usual for me.
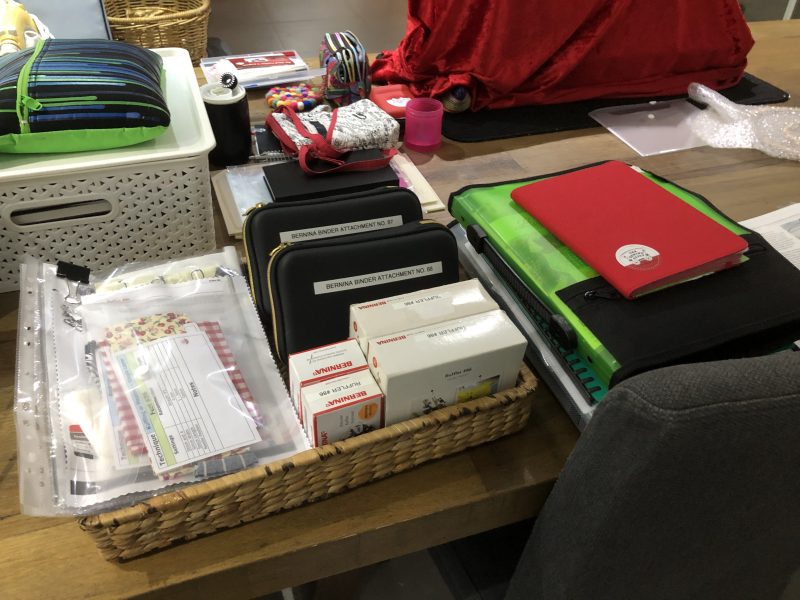
I set up my B790PRO, L890 and laptop on the dining table, as well as a tray full of blog samples and accessories, cutting mat and rulers (over on the kitchen bench), and a full basket with everything I need to make the Bloom and Grow Quilt on my L890. More about that at a later time.
I only had two samples to finish for this week’s blog post, once I had moved everything into the house, however I still ended up doing them late Thursday night. I got a little distracted with a book I just had to finish, and a series on Netflix that only had 2 more episodes to go. It was so lovely and quiet!
... Did You Know? ...
Tassel Stitches
I thought I’d mention a special selection of decorative stitches that are available on some of our Bernina machines. The Tassel stitches are numbered 1113 and 1115 on the 5 Series, and 1113, 1114 and 1115 on the 8 Series and 9 Series Machines. They do not appear on my B790PRO or on the Simulators for the 770 and 790 PLUS.
I stitched a round of them on the lettering sample I did. The stitch is formed by long satin stitches, that you then cut the bobbin thread to leave free standing loops on the right side. Stitch #1113 has a few straight stitches between the tassels, stitch #1114 has a scallop between and stitch #1115 has a little star/flower between.
There are just so many different styles of stitches built into our Berninas. Here’s a few photos to explain the process.
I took a little video whilst the tassels were stitching out – a perfectly round circle in the end!
It’s very similar to the fringing style of embroidery stitches, which I have been playing with as well. I bought a fluffly, chenille chicken design this week, but have yet to stitch it out. Here is a pic of the design and a link to the Etsy site that sells it.
This attachment allows you to stitch circles from 1 ½” to 10” in diameter. Many different feet and stitches can be combined for a range of decorative or practical applications.
It attaches to the machine bed with a small screw, and a pin on the sliding black tab moves to create a centre pivot point for each circle. The distance between the pin and the sewing machine needle determines the radius of the circle. When moving the pin, be careful not to push down on it, or it could dislodge the pin. I have one that is no longer in use because of that. A little instruction booklet comes with the attachment.
Options available for the accessory – It’s available in one version suitable for all models.
Attachment #83 had5 samplesto stitch out, including using it to make a Yoyo or Suffolk puff, one of my all time favourite handsewing tasks.
... This Week’s Foot Highlights or Challenges ...
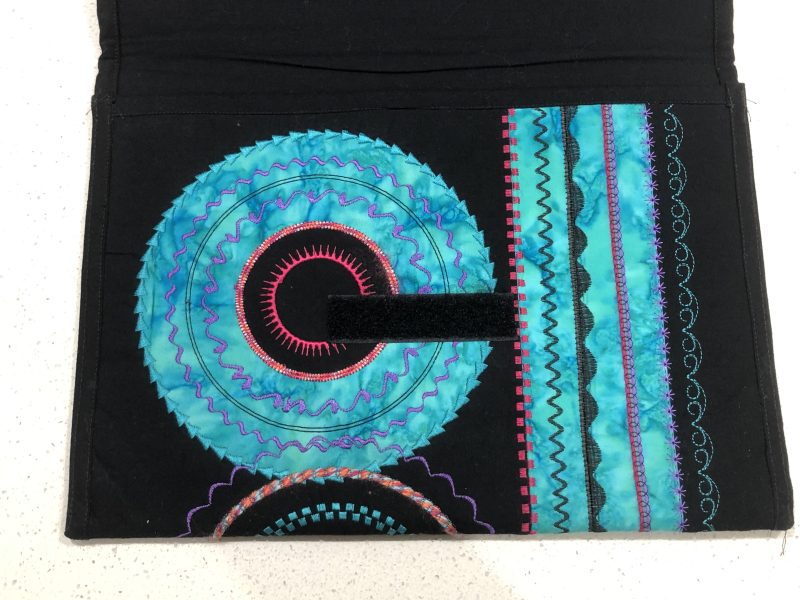
‘Sewing Circles’ – I stitched several rounds of designs – stitches used from the inside – Blue #450, Green #8 (Honeycomb Stitch), #709, Pink #6 (Triple Straight Stitch), Scallop #416 and outside row was ½ Flower #749 and ½ ‘Shell’ Stitch #1394.
I utilised the Laser and the Camera on my B990 to line up the beginning and end of some of the rows. For the Honeycomb row, here’s what the camera view looked like – and then how it stitched out, showing how it matched up.
For the Scallop row, you can see that the camera view shows the stitch is not long enough to finish back at the beginning, so I lengthened it, and altered the stitch density as well (the stitch can be seen on the screen – not ideal on black fabric) … and voila!
For the Flower/Shell row, you can see that the camera view shows the stitch is not long enough to finish back at the beginning either, so I lengthened it (the stitch can be seen on the screen), and I selected just one repeat … and voila!
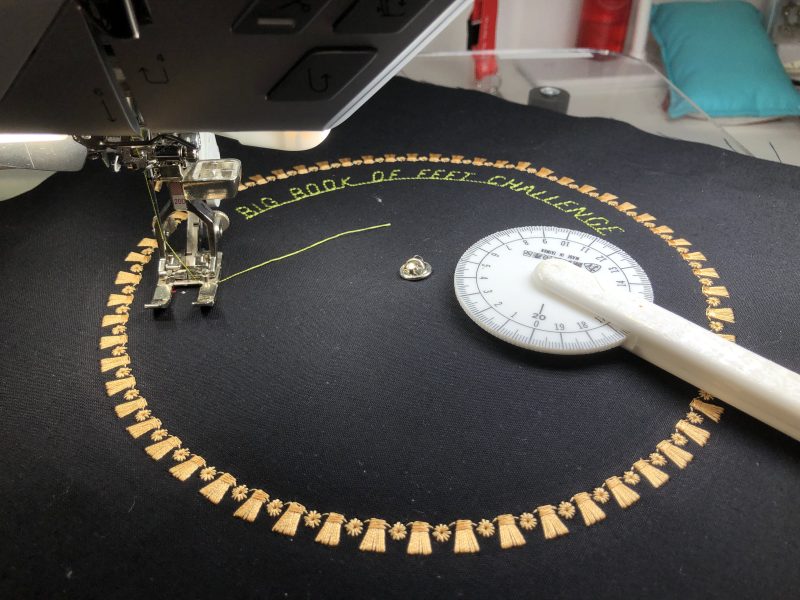
‘Circle Writing’ – Before I did the writing, I stitched a few rows of decorative stitches. The outside row was fun to stitch first, and I used Tassel Stitch #1115 – I brushed out the tassels with a little disposable style of mascara brush I had. The inside circle of stitches were stitch #334 in orange, and then over the top I stitched a combination of groups of #711 in two different sizes. The yellow row was Triple Zigzag Stitch #7. Then it was time to have a bit of fun with the lettering – first I stitched ‘Big Book of Feet Challenge’ with the attachment as per all the other rows of stitching, pin to the left of the needle. The baseline of the letters was on the inside of the circle.
For the words ‘Circular Embroidery Attachment’, I changed the attachment over so that the pin was to the right of the needle. The baseline of the letters will now be towards the outside of the circle.
For the placement of the second set of writing, I used my little white measuring wheel that I’ve had for a very long time. I usually use it to measure pattern pieces when I’m drafting clothing patterns e.g. neck edges and collars, armholes and sleeves.
I do love Math, so for those who are interested here’s how I worked it out. I entered the words I needed into a combination, and the design’s length measured approx 25cm. I used my little wheel to measure the distance around the circle between the beginning of ‘Big Book etc’ and the end – that was 35cm. So I halved that – 5cm, and started stitching 5cm from the first design.
‘Appliqued Circles’ – I had an embroidered design as a sample stitchout from my B990 (Accents Folder for those interested) and appliquéd it to my base black fabric using Wonderfil Fabulux variegated thread. It went perfectly with all the Wonderfil Polyfast threads I’d used in the design.
First row was straight stitch, and then I used my duckbill scissors to cut away the excess, before changing to stitch #419. I realised later that it really looks just like another row of stitching as the embroidery sample was on black fabric as well. I cut away the excess fabric from behind, and the second photo shows that.
‘Couched Circles’ – this was one of my late night samples, and I used Foot #22 along with some 4ply cotton yarn, and stitched them down with Stitch #607 (larger circle) – thread through the Topstitch needle was Wonderfil Spagetti. I still have the ends to thread through to the back with a darning needle.
‘Gathered Circles’ – Using foot #39 this time, I stitched a zigzag over the same 4ply yarn to draw up the circle into a yoyo shape. SW 3, and SL 2.
Summary: Other than what I’ve already detailed above – I changed out the silicon stopper for a badge back which holds on firmly to the pin. I often used to knock the stopper off and that pin is REALLY sharp!
Here’s a photo of all the little extra bits of habby and tools I used – duckbill scissors, measuring wheel, darning needle, mascara brush and Yellow Bobbin Case (with bobbinfil in) used along with embroidery threads for the decorative stitching.
I did look to see who sold the little measuring wheels and I found that the SewingGem website had this one listed in several different sizes/units of measurement.
Lastly, these are a few of my samples I’ve made over the years whilst working in stores. The Folio was a great project, with lots of variations of the circle, all embroidery stitches (no appliqué), whole circle appliquéd, centre section appliquéd, outside section only appliquéd.
The cushion was made by embroidering the circles, and then cutting them in half and patchworking the pieces together.
The trivet was fun to make, and the ricrac was added into the edge using the attachment as well.
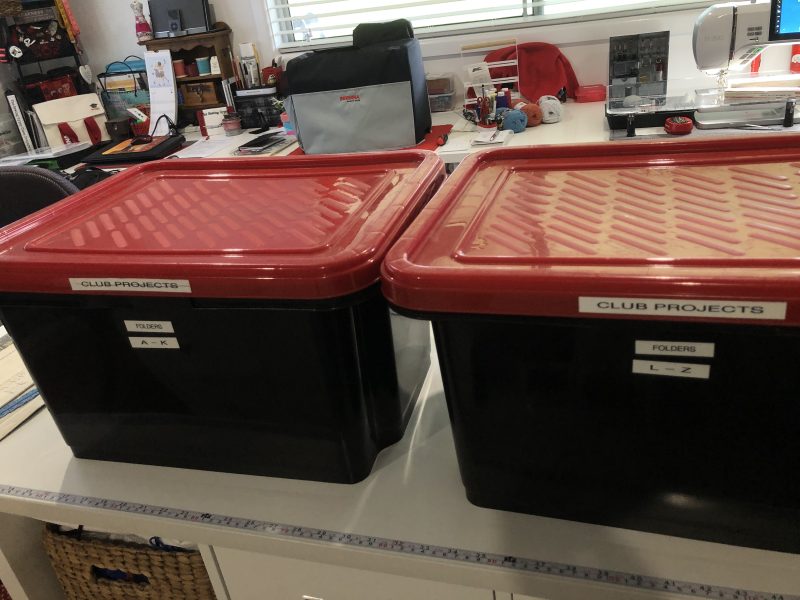
I have gathered quite a few resources from over the years, and it was easy to find my notes in these boxes I have. I love all my feet and accessories and delight in showing others the benefits of them through classes.
... A Little Something Extra ...
Bernina eBook for Circles
This eBook has a lot of details regarding using this fabulous accessory. I highly recommend you download this to get the most from your Circular Embroidery Attachment
Here is a link to the ‘Just SEW it Sewing Circles eBook’ …
is Reverse Pattern Foot with Clear Sole #34C: Get a 20% discount at your BERNINA dealer during the whole month – contact your preferred Bernina Dealer for this fabulous offer.
*Australia and New Zealand Promotion Only – ends 30th April, 2025 …
Simply Joyful Mother’s Day Sale!
Visit your preferred Bernina Store from the 7th April until the 18th May to discover the wonderful range of machines and accessories on sale … and there’s 20% OFF BERNINA & bernette Accessories*
*Excludes all other brands, luggage bags, needles, bobbins, bobbin cases and spare parts. While stocks last.