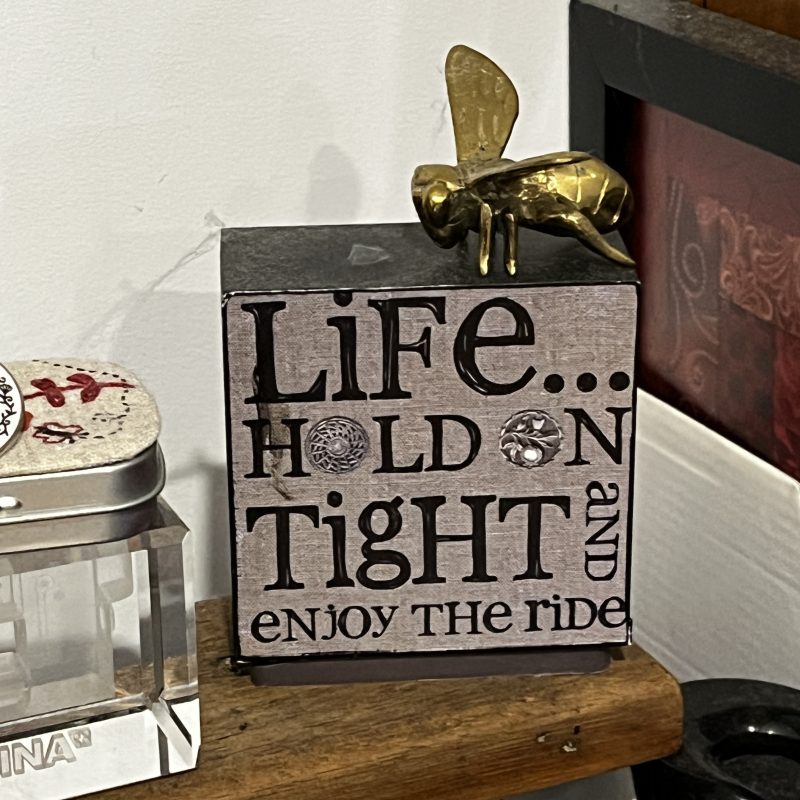
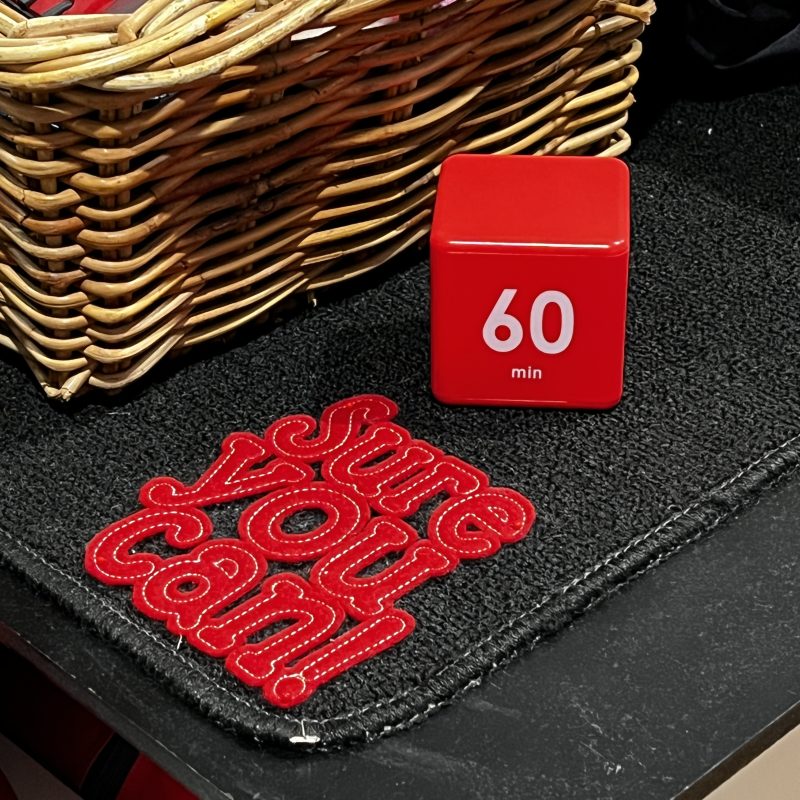
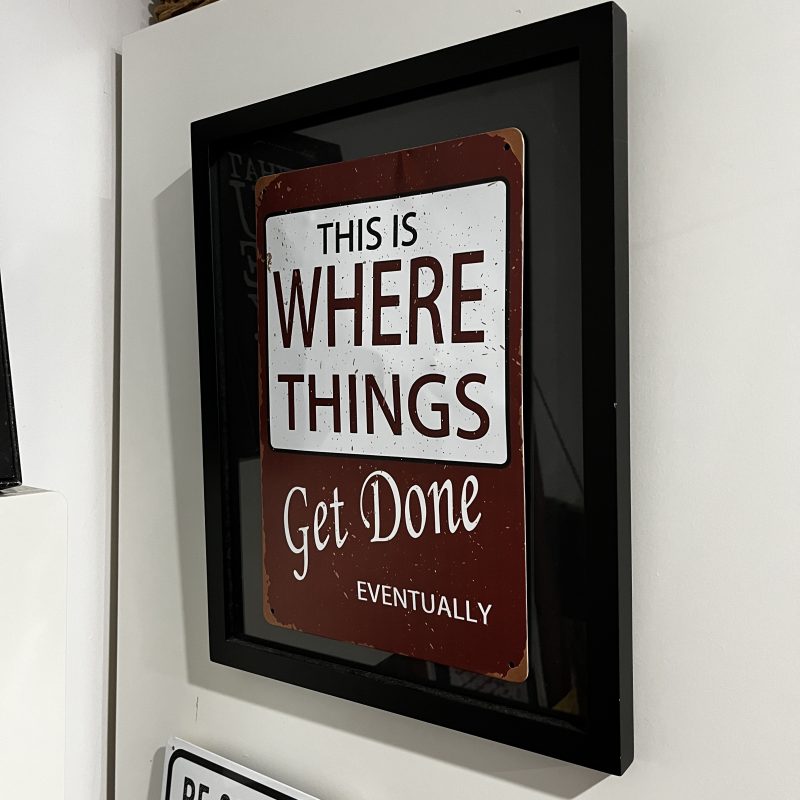
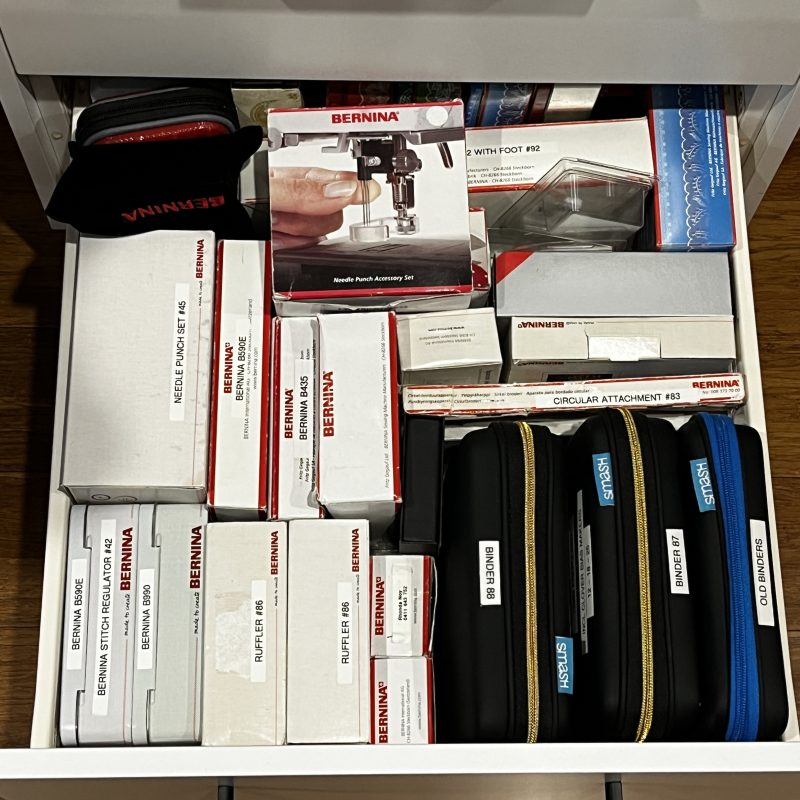
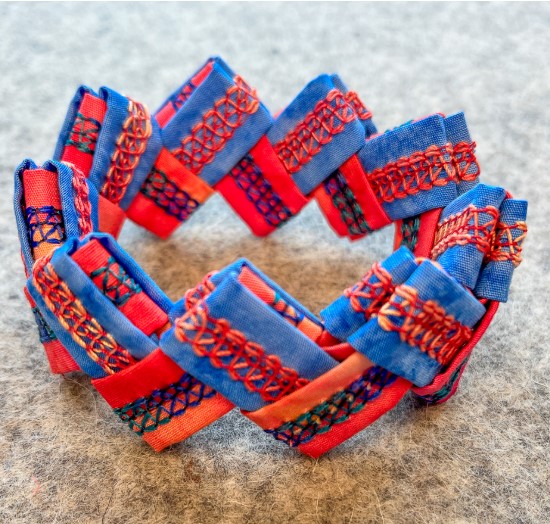
As this Foot and Accessory Challenge section of the blog draws to a close, I’ve been thinking about what I’m going to chat to you about once all the foot and accessory samples are finished and packed away … and after I’ve taken a little break ‘just for me’. It has been quite a challenge to stay focused each week, especially when there are so many other things I’m itching to stitch and create up here!
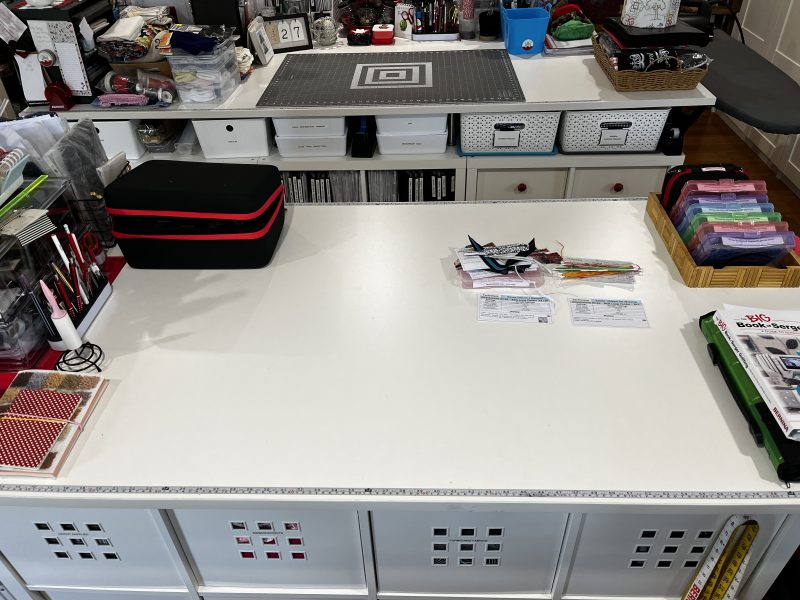
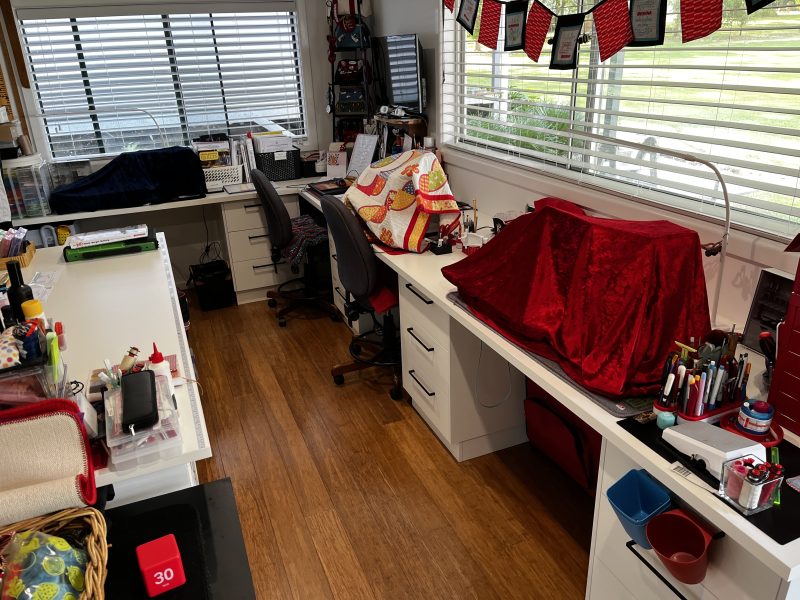
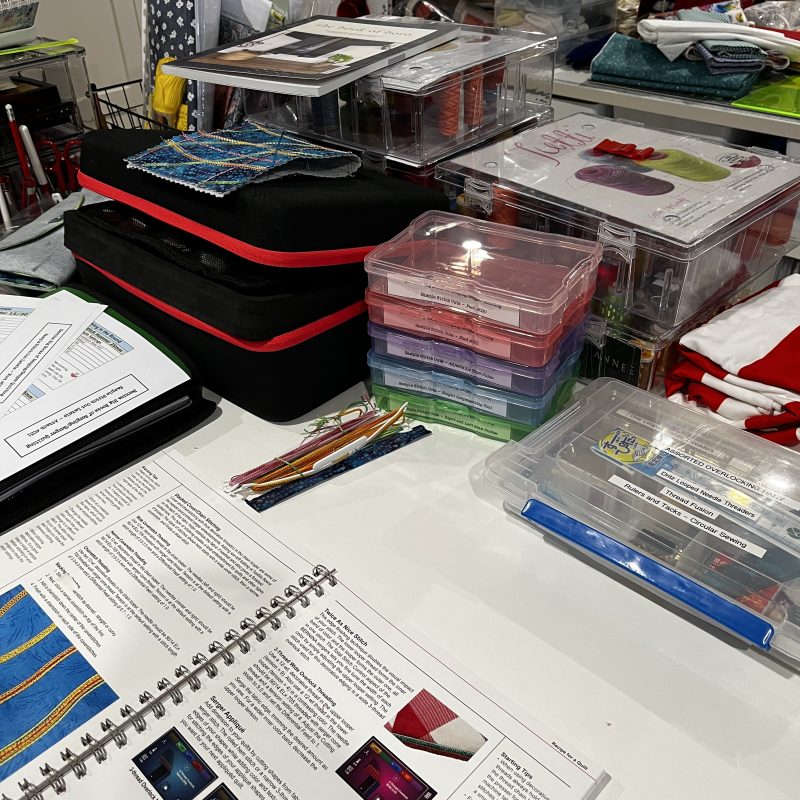
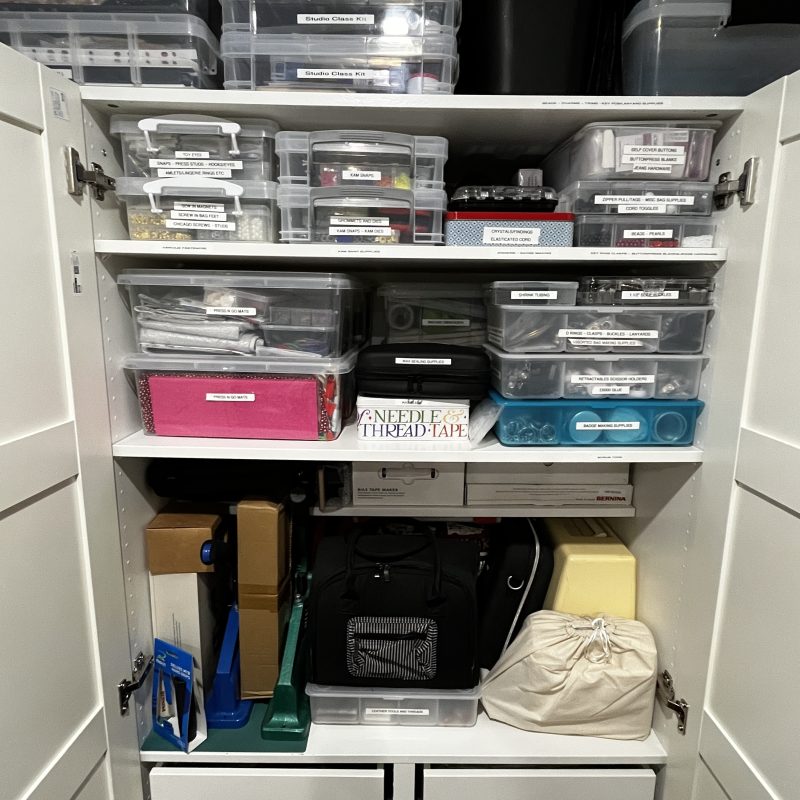
First up, though, will be a serious—and very much needed—sort-out and declutter of my worktables, cupboards and storage areas. I suspect this is going to take a while! Fortunately, I have my trusty little timer to keep me on track. Without it, I have a habit of ‘deep diving’ into whatever I happen to find. I start sorting a cupboard and, before I know it, I’m happily sitting on the floor surrounded by fabric, thread and who-knows-what-else, completely absorbed in some fascinating discovery. Meanwhile, the cupboard remains exactly as I found it!
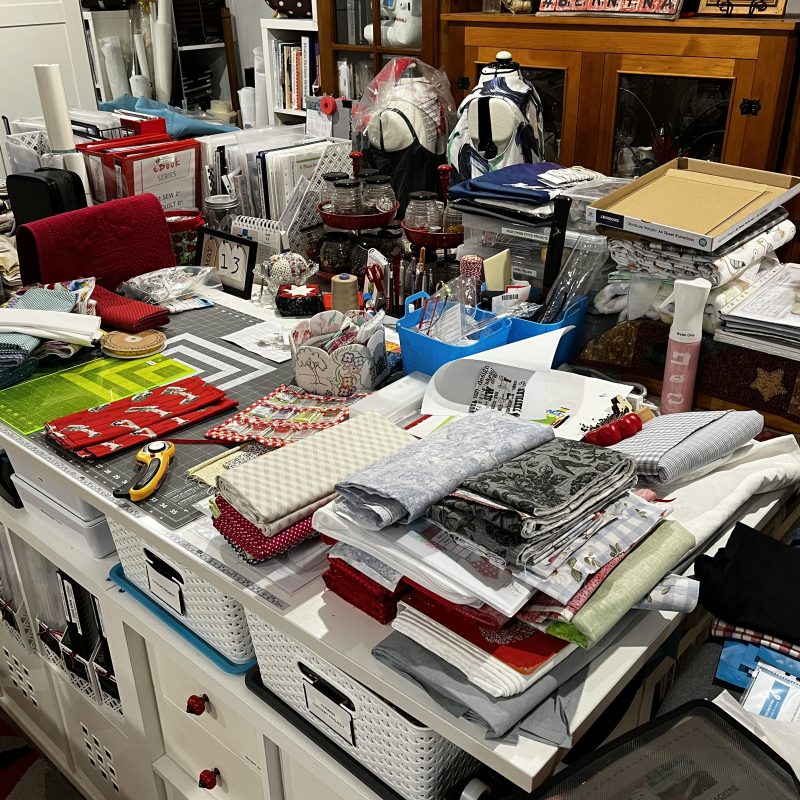
My plan is to tackle the sorting in manageable sessions, with some sewing and creating squeezed in between. I’m also going to take a few before, during and after photos—not only to keep me motivated, but also to keep me accountable. There’s nothing quite like photographic evidence to stop me quietly moving the mess from one table to another and calling it ‘progress’! This week I was so distracted by everything around me, I put on my timer – here’s what I achieved!
I’ve always been fortunate to have creative family and friends in my life, and along with those treasured people, I’ve also found plenty of inspiration in their creative spaces. Some were wonderfully neat and orderly—think shed-style shadow boards with every tool hanging neatly in its place (my Dad and three brothers!)—while others were more along the lines of stacks of boxes, baskets and assorted containers (and sometimes entire rooms! – Mum!) filled with fabric, thread, paints and all manner of creative treasures.
I have to say, I’ve always found both styles equally inspiring. There really is no one ‘right’ way to be creative. Some people need everything neatly labelled and returned to its proper home, while others seem to work perfectly well surrounded by what can only be described as ‘organised creative chaos’. I think I’m a ‘Combo Version’ – bit of both styles!
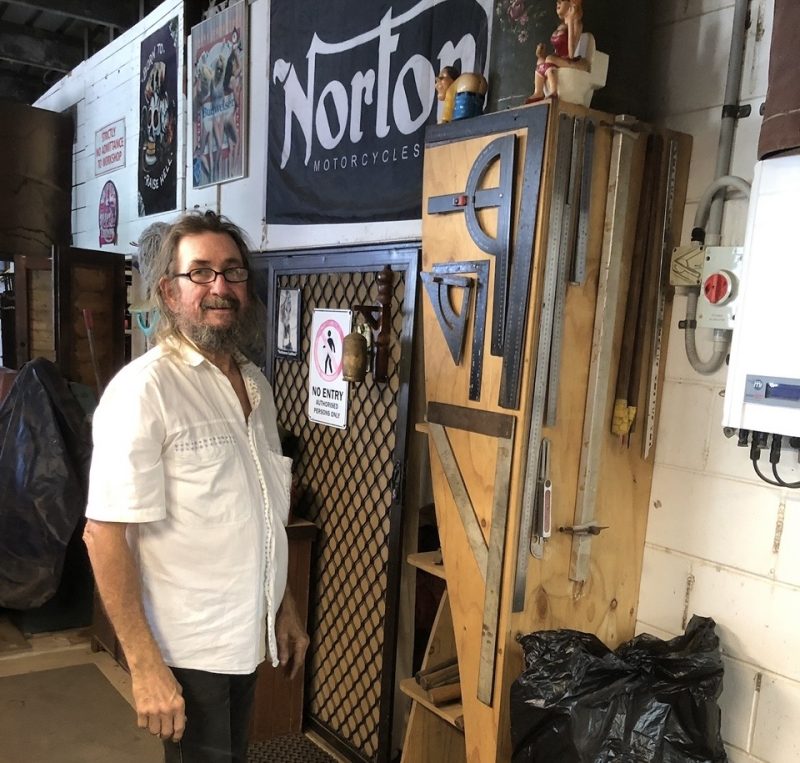
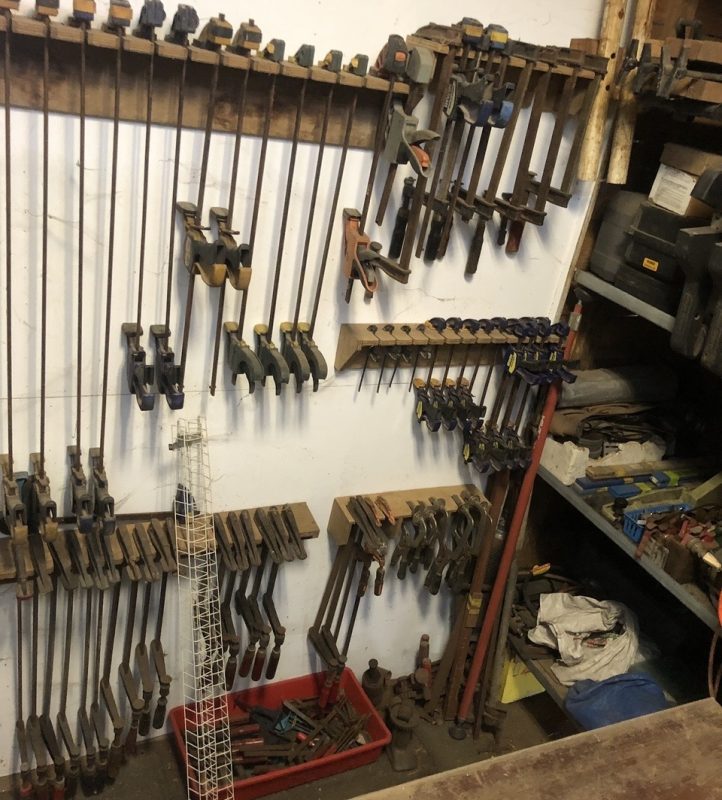
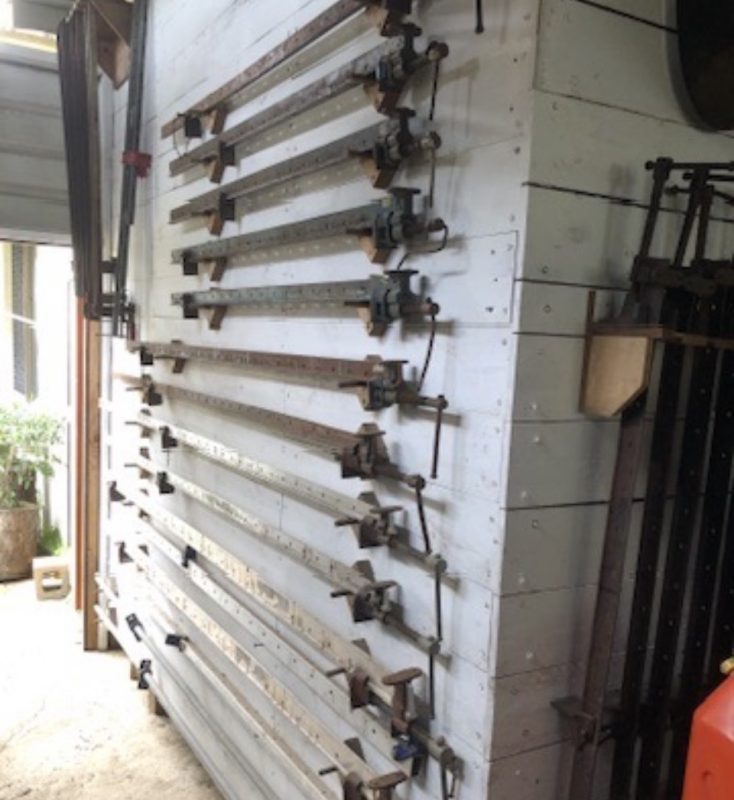
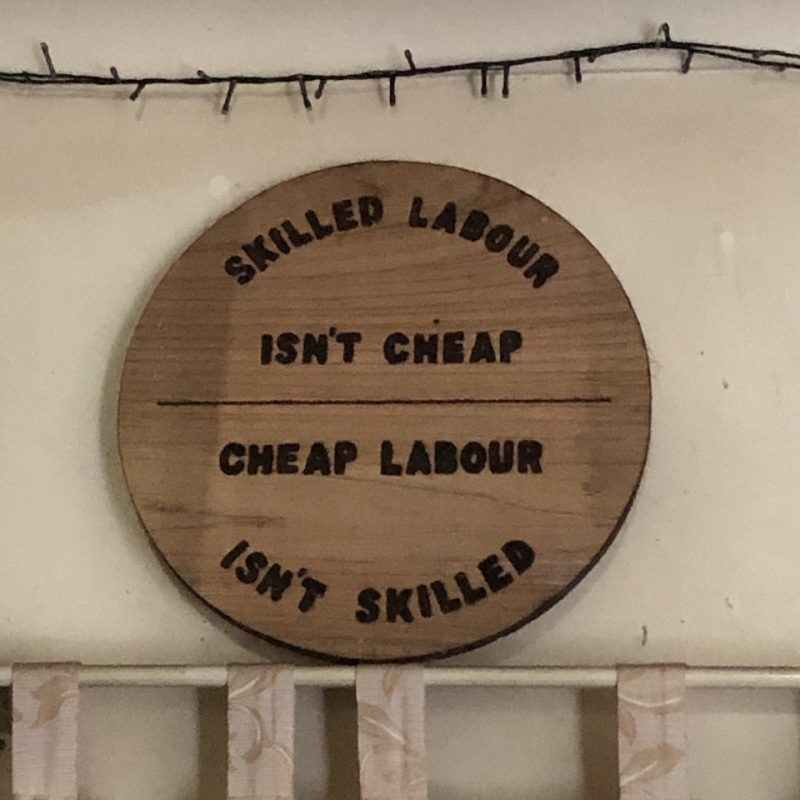
My youngest brother Neale, on the other hand … he’s the VERY organised one – instead of sewing and fabric supplies – think timber, furniture, clamps, steel rulers and general organisation at its finest! Here are some photos I took last year when I visited his shed up in Townsville. He is a real craftsman! (Family trait must be we like signs in our happy places!)
A creative life can bring so much joy in so many different forms, and I think our creative spaces are often a reflection of that. Whether everything has its place or inspiration is piled high in every corner, the important thing is that these are the spaces where ideas come to life—and occasionally where we lose the scissors we were just holding five minutes ago!
... Small Folders, Big Possibilities ...
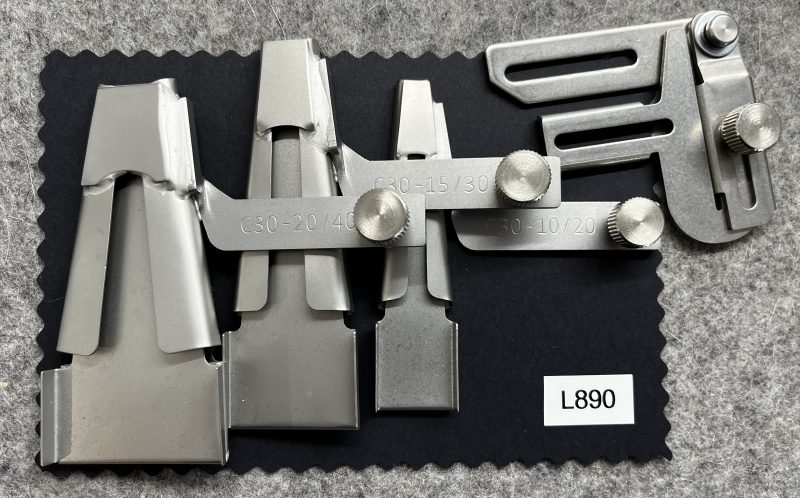
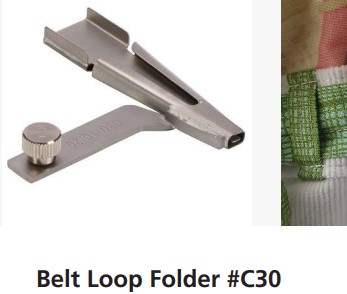
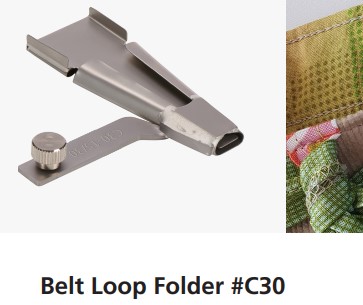
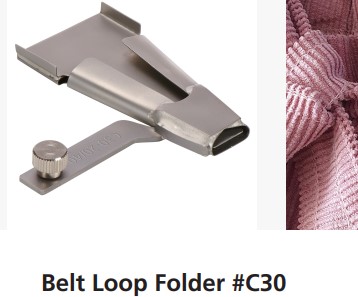
#C30 Belt Loop Folders
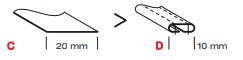
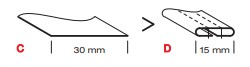
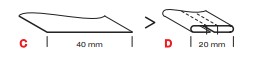
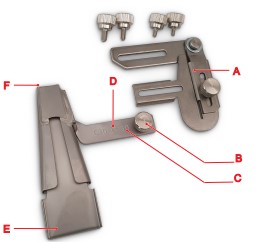
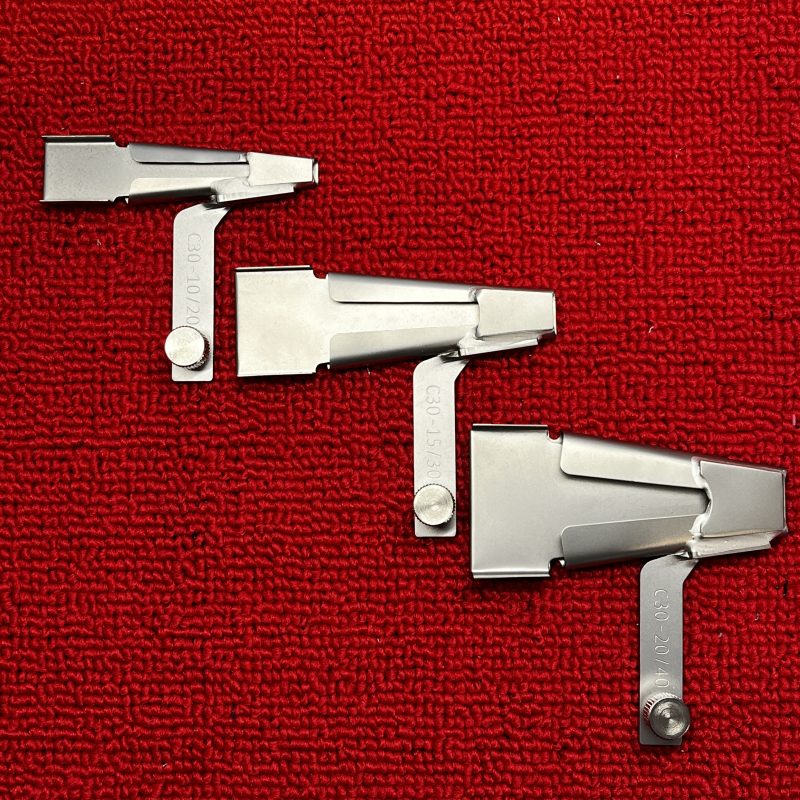
The Belt Loop Folders are clever little accessories that make creating neat, professional-looking belt loops and straps quick and easy. They are available in three finished widths—10 mm (3/8″), 15 mm (5/8″), and 20 mm (7/8″)—with each size sold separately. They work best with light- to medium-weight fabrics.
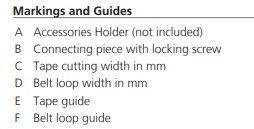
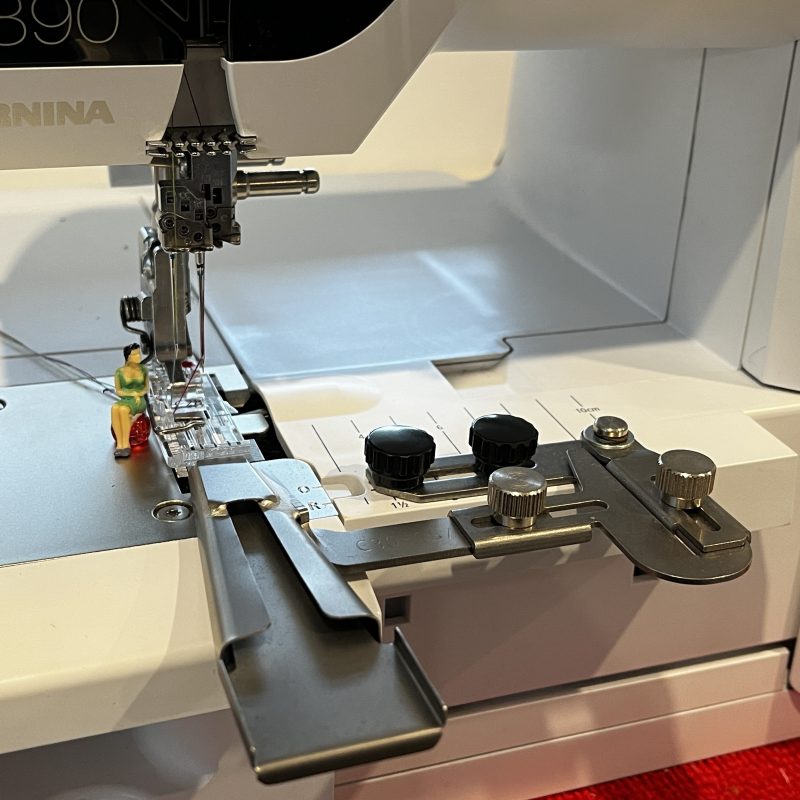
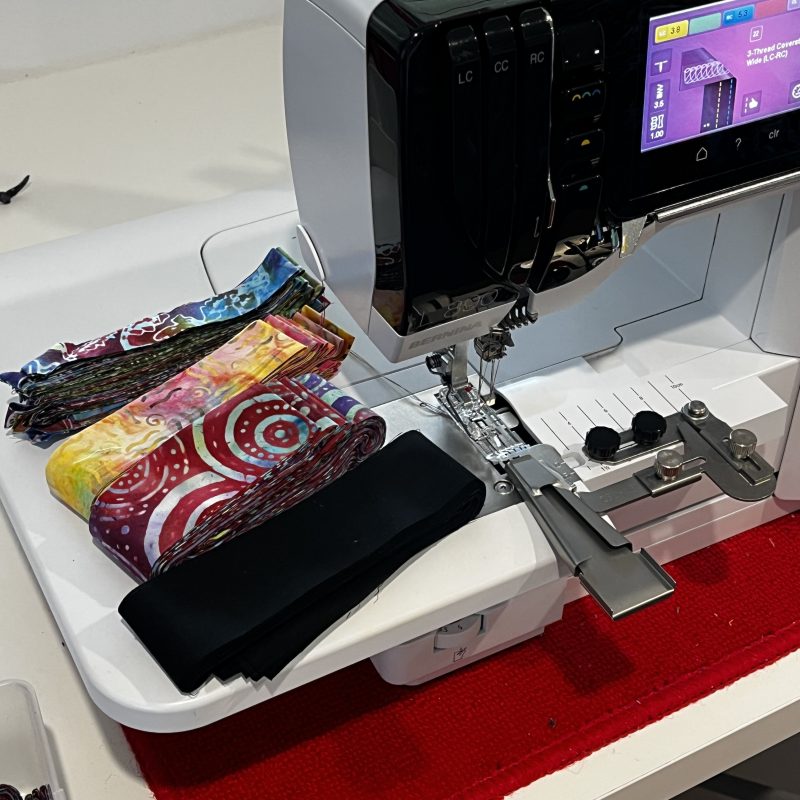
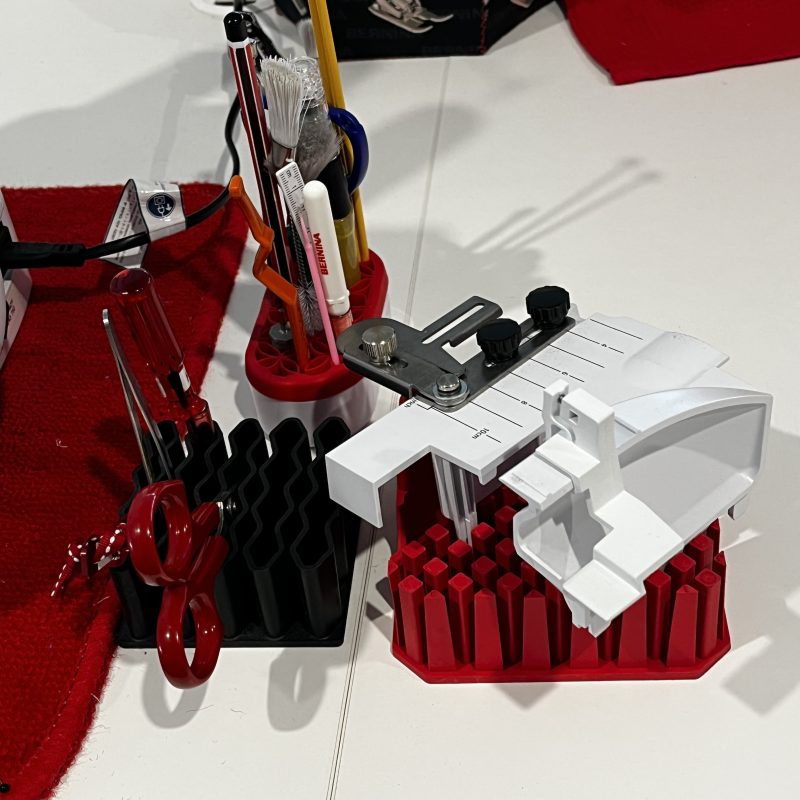
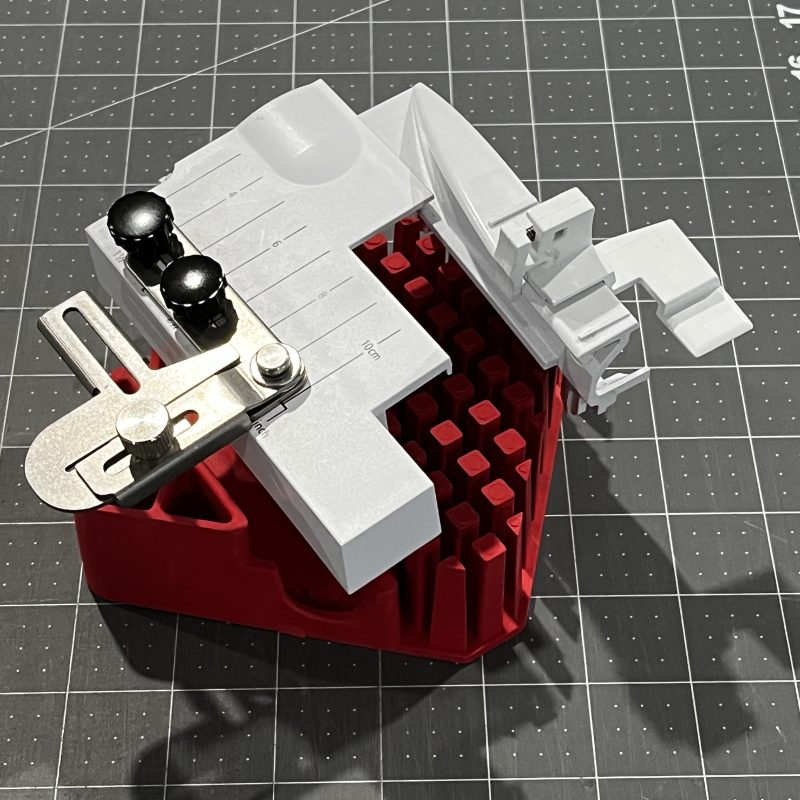
The Belt Loop Folder #C30 attaches to the Coverstitch Insert using the Accessories Holder, which is purchased separately. If that sounds familiar, you’re right—we first met this accessory earlier in the blog when we explored the #C21 Double Folder Binder.
For best results, use either a 3-thread or 4-thread wide Coverstitch. This means the Belt Loop Folder can only be used on machines that offer a wide coverstitch, whether that’s a dedicated coverstitch machine or a combination overlocker/coverstitch model.
One of the great features of this attachment is its versatility. As the fabric is folded, you can also feed elastic, ribbon, or even batting through the centre, allowing you to create decorative straps, reinforced ties, or softly padded loops in a single step.
As with any folder attachment, it’s well worth taking a few minutes to sew a test strip before starting your project. Fabric thickness—and whether you’re enclosing elastic, ribbon, or batting—can affect the finished result, so you may need to adjust the width of your fabric strip to achieve a perfectly filled loop.
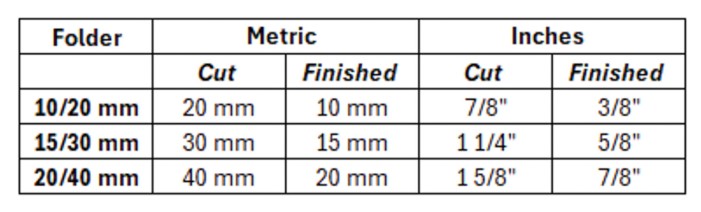
The chart below provides the recommended fabric strip widths in both metric and imperial measurements, along with the corresponding finished belt loop sizes.
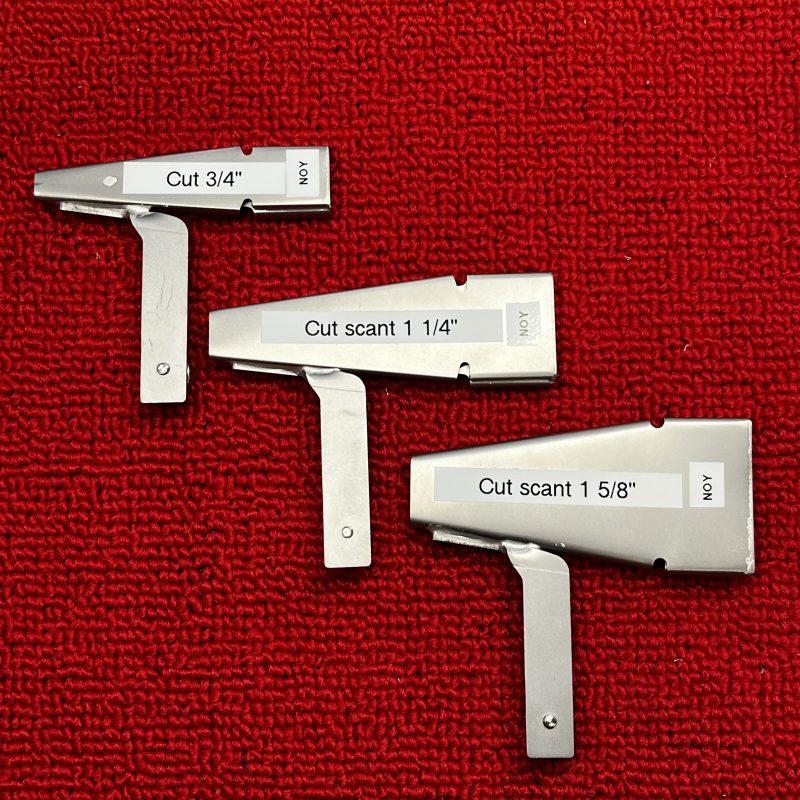
I have added labels to the underside of my Folders for quick reference.
Bernina L850 and L860 – not suitable for these machines
Bernina L660 (New*) – not suitable for this machine
Bernina L620 (New*) – the #C30 Belt Loop Folders and Accessory Holder can be used on this machine
Bernina L450 and L460 – not suitable for these machines
*New Models July 2026 – L660 Overlocker – L620 Cover/Chainstitch Only Machine – I will have the opportunity to ‘play’ on these at Bernina Academy!
Bernette Funlock 40 Series (b44) and Airlock 60 Series (b64) – not suitable for these machines
Bernette Funlock 40 Series (b42 and b48) and Airlock 60 Series (b62 and b68) – the # C30 Belt Loop Folders can be used on these machines. The Bernina Accessory Holder includes M4 size screws to suit the Bernette machines.
... This Week’s Foot Highlights or Challenges ...
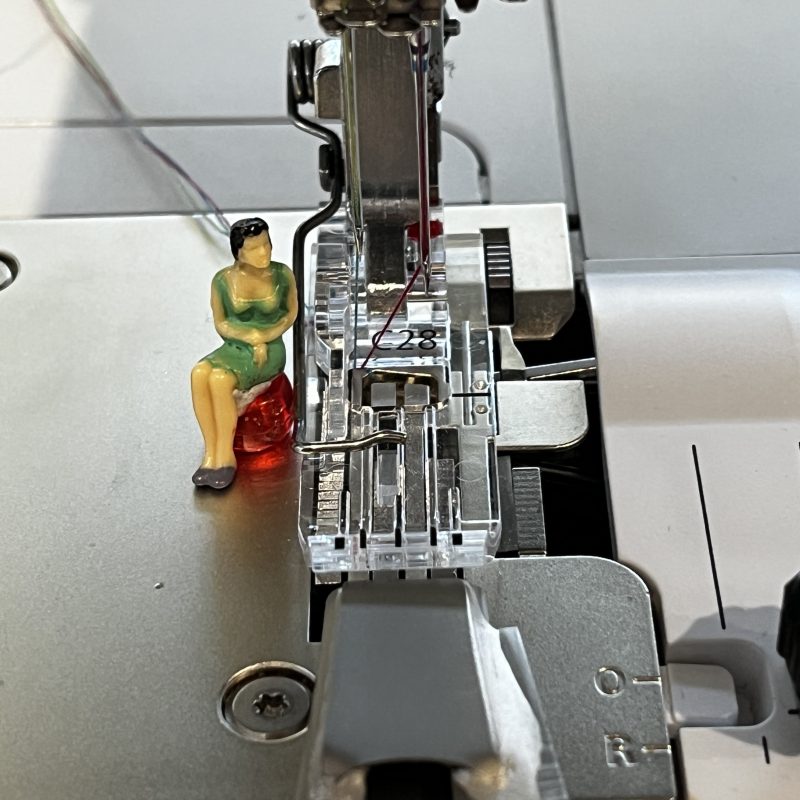
Most samples were created with Belt Loop Folder #C30 15/30 – strip is cut 1 ¼” wide – finishes 5/8” wide – and I used the #C28 Clear Cover/Chainstitch Foot. This is the most used setup for the Belt Loop Folders that I personally use. Any changes to this setup will be noted with each sample write-up. This is the most used setup for the Belt Loop Folders that I personally use.
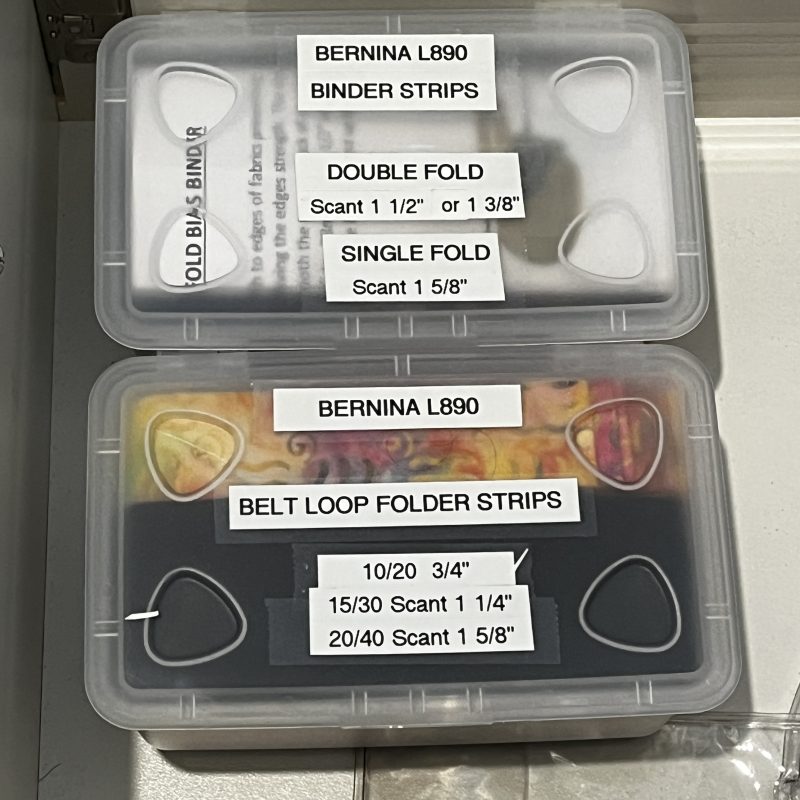
I do have quite a stash of pre-cut strips as well, leftover from classes I’ve taught in stores. They all came in handy! You remember the labeled boxes I showed you before? It was so easy to pull out a pile of each of the sizes and get stitching this week!
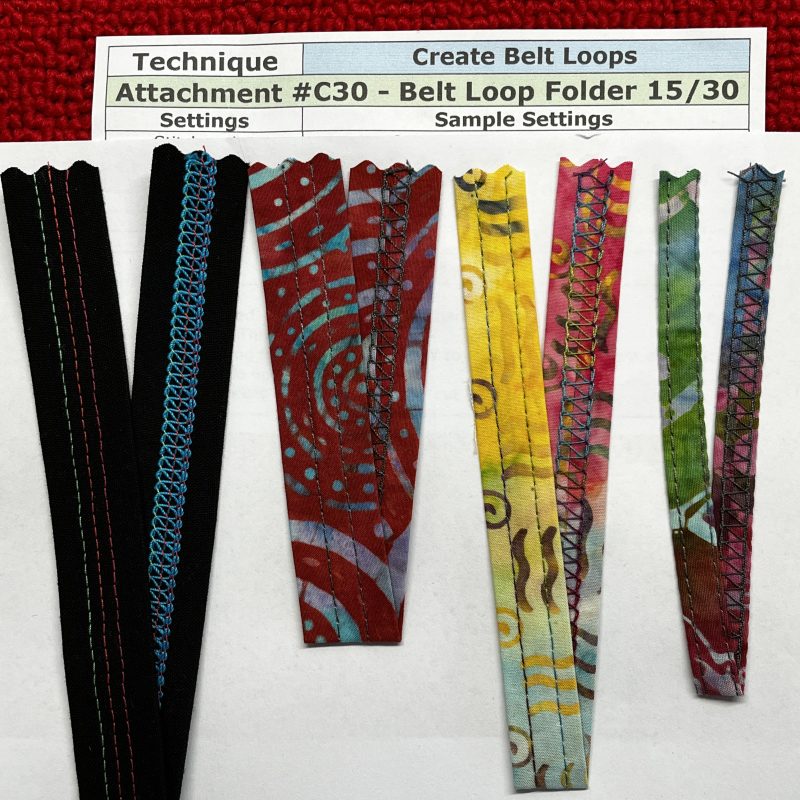
‘Create Belt Loops’: Samples were created with all three sizes of Belt Loop Folders. Accurate cutting of strips is essential, particularly for the 10/20 size.
Machine Setup Black Sample #1: #C30 Size 20/40 Folder 4-Thread Coverstitch Stitch #21 All default settings
All 3 Needles – Various colours of Rasant Thread, Chain Looper 12st Wonderfil Spagetti
2 Needles and Chain Looper – Gray Seracor Overocking threads
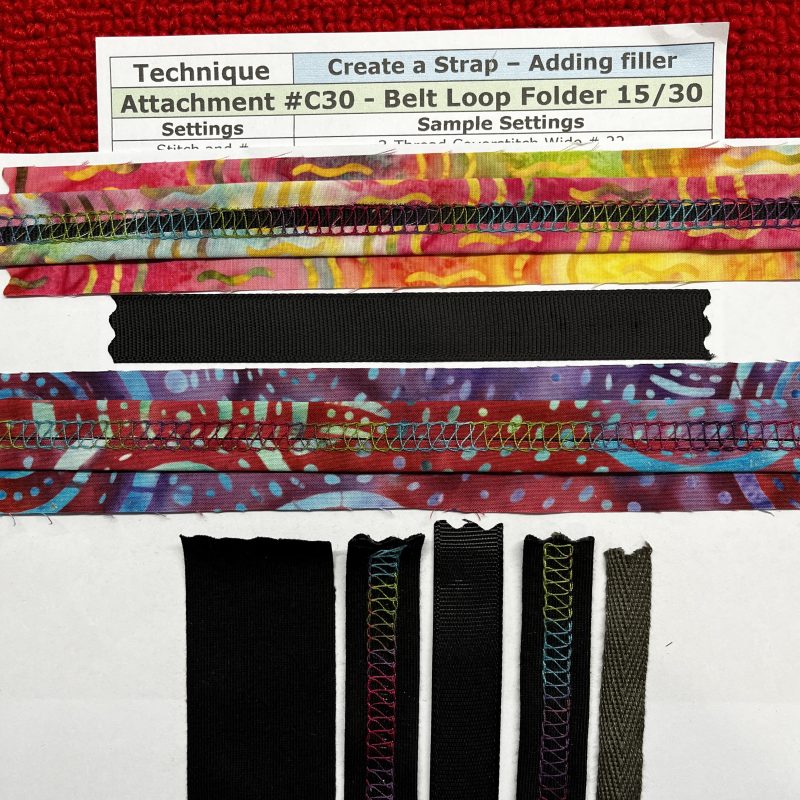
‘Create a Strap – Adding Filler’: #C30 15/30 Folder used for all four samples. When making a ‘wrapped’ strip, it is recommended to cut fabric 1/8” (2 – 3mm) wider to accommodate the thickness of the ‘wrapped insert’. I used two different inserts – 15mm black grosgrain ribbon and 10mm wide gray twill/herringbone tape, which I use on the back necklines of some stretch garments.
Yellow/Pink sample strip was cut to recommended width 3/8” (or 30mm) – test sew showed a gap on the back were ribbon was visible. I cut another strip at 1 5/16” (33mm) and this one covered all the inserted ribbon on the back, with fabric edges meeting.
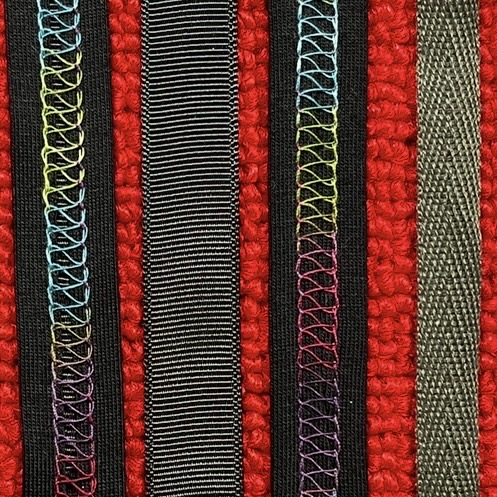
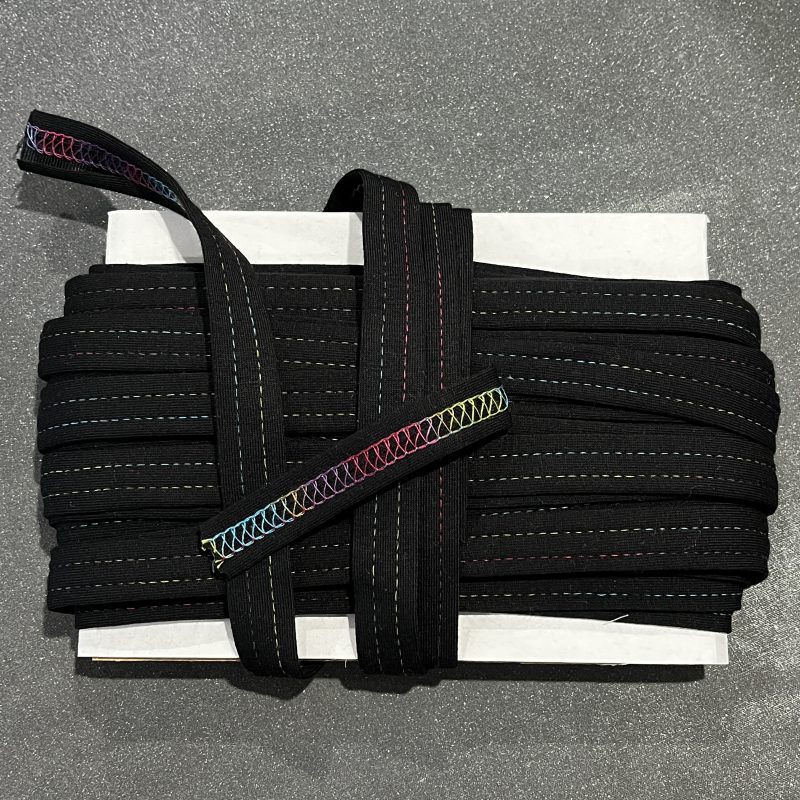
Black Knit sample – I have several rolls of precut knit fabric that is 35mm wide (which should be slightly too wide for this folder) and I stitched another strap with the 15mm grosgrain ribbon in – the strip ran through quite well, but the ribbon was still not covered at the back (I’ll add a closeup photo below) – I’m thinking that the fabric was stretching slightly as it went through. So I changed ‘tack’ and inserted the 10mm wide tape instead. Well, that worked out fabulous! I then proceeded to stitch metres of that black knit. It’s now rolled up ready for a project I have in mind.
Machine Setup – all samples: 3-Thread Coverstitch Wide Stitch #22 All default settings
Needles and Chain Looper – Maxilock Swirls Colour Tie Dye Punch
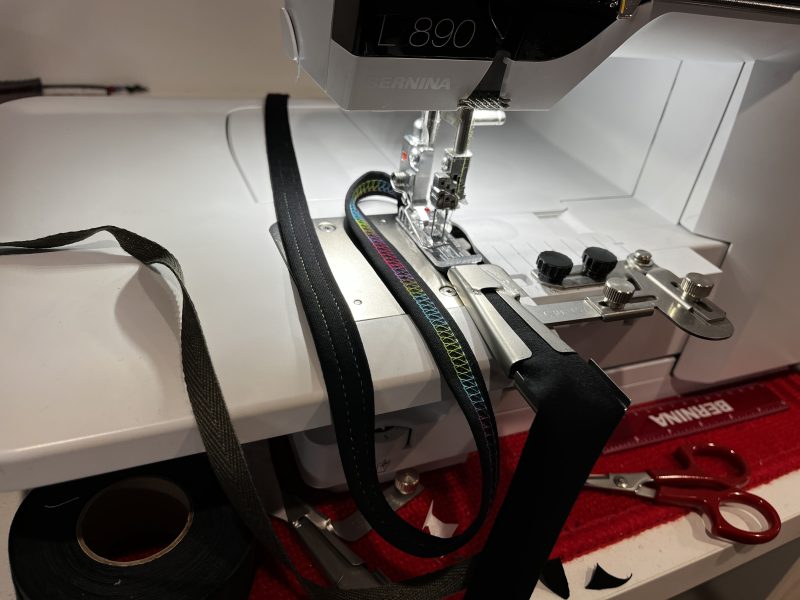
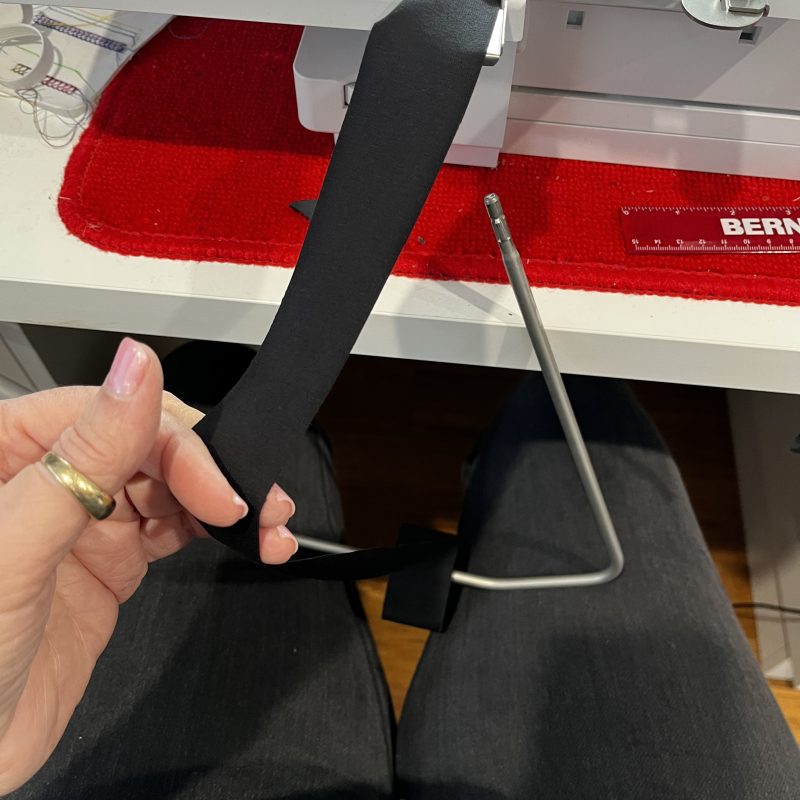
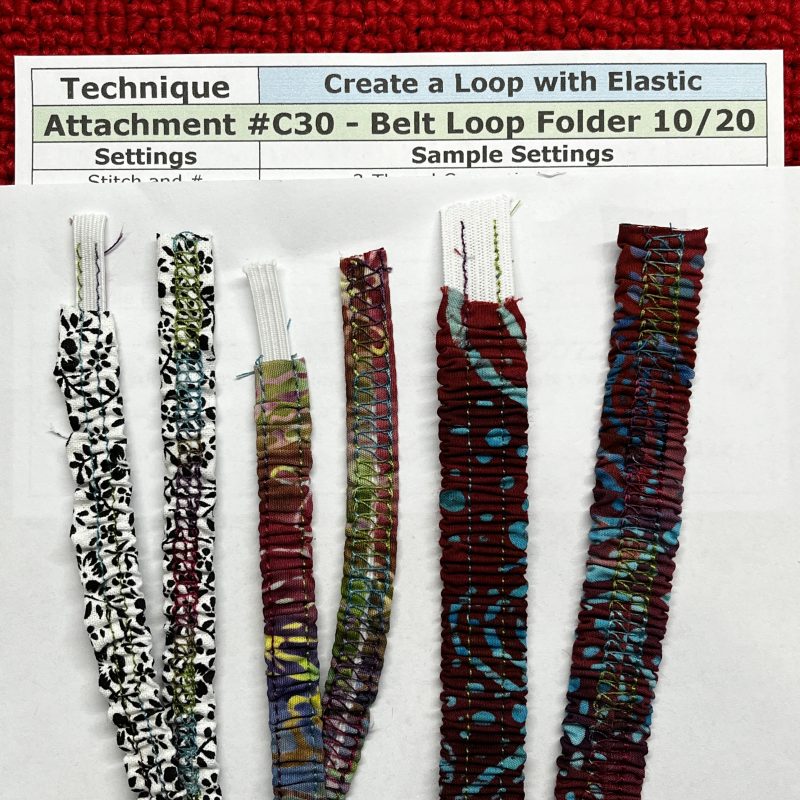
‘Create a Loop with Elastic’: Again, allowance for the elastic thickness needs to be taken into account when cutting strips for the Folder. Increase stitch length to maximise the stretch of the finished strip. Stretch elastic, supporting the fabric behind the foot as you stitch – sometimes I think I need 3 hands when using these Folders! I coudn’t take photos, stretch elastic, and stitch at the same time – but here’s my setup with a roll of ribbon (on the knee lever placed on my legs!) … I’m sure many can relate to the challenges we have at times to get a smooth delivery of trims/fabric/elastic!
Black and White sample had 6mm elastic enclosed in the strip which I cut scant 1” wide, instead of the usual 7/8” – I used the 10/20 Folder. The stitch was too narrow at times to catch the elastic with both needles, resulting in a curved finish. A better choice of stitch would have been the 4-Thread Coverstitch!
Needles and Chain Looper – Maxilock Swirls Colour Tie Dye Punch
Multi Colour sample also had 6mm elastic and 10/20 Folder with strip cut scant 1” wide. I changed to a wider stitch, and this sample finished better. A better choice of stitch would have been the 4-Thread Coverstitch!
Needles and Chain Looper – Maxilock Swirls Colour Tie Dye Punch
Red/Blue sample had 12mm elastic and 15/30 Folder with strip cut 1 3/8” wide. I really liked the finish o this sample, and as it was a wider Folder, felt more in control. Would make a really nice little sundress strap.
Needles and Chain Looper – Maxilock Swirls Colour Tie Dye Punch
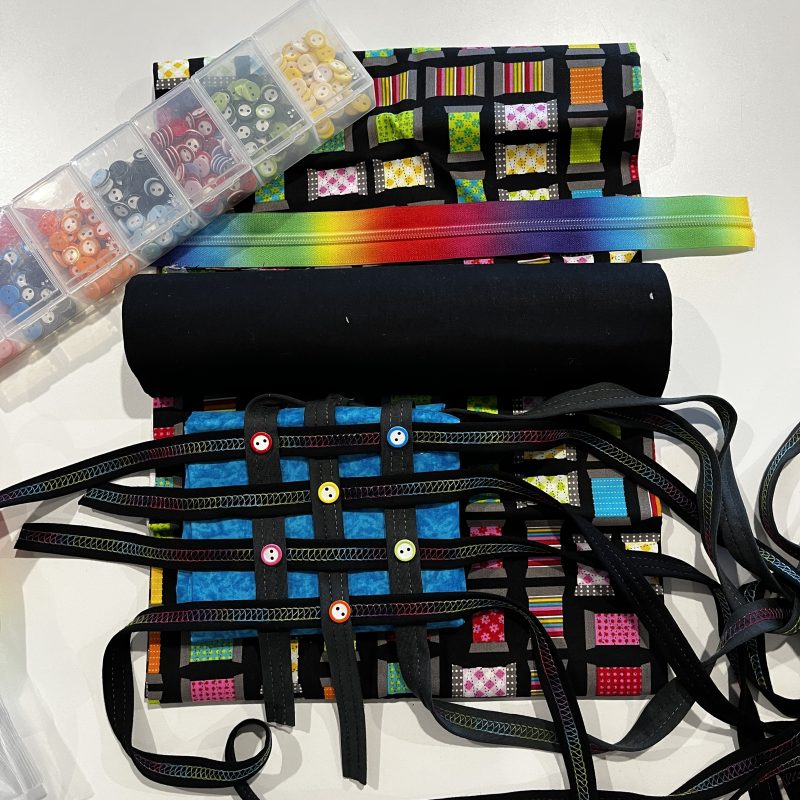
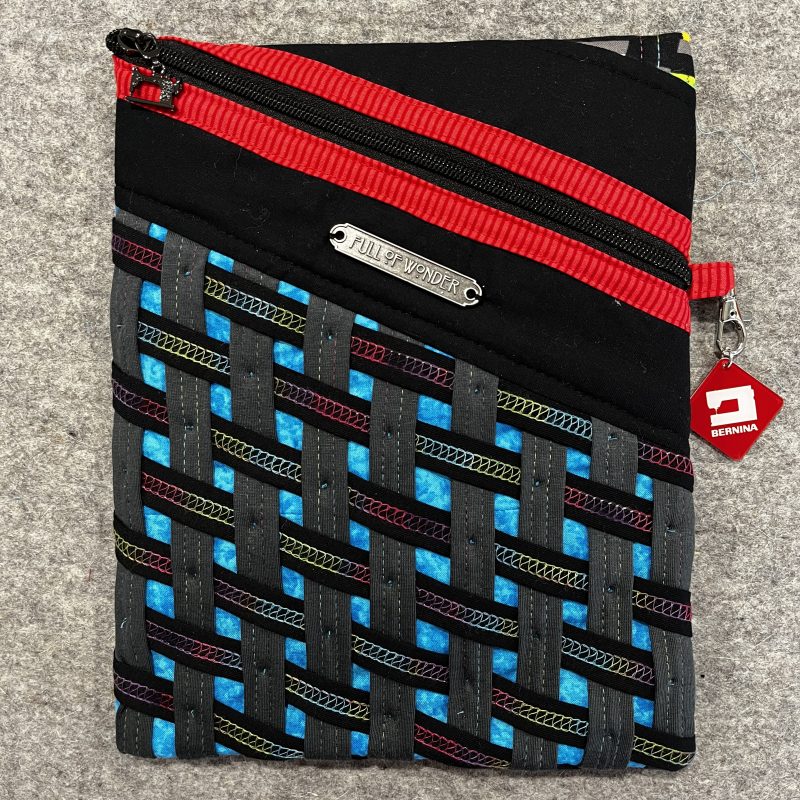
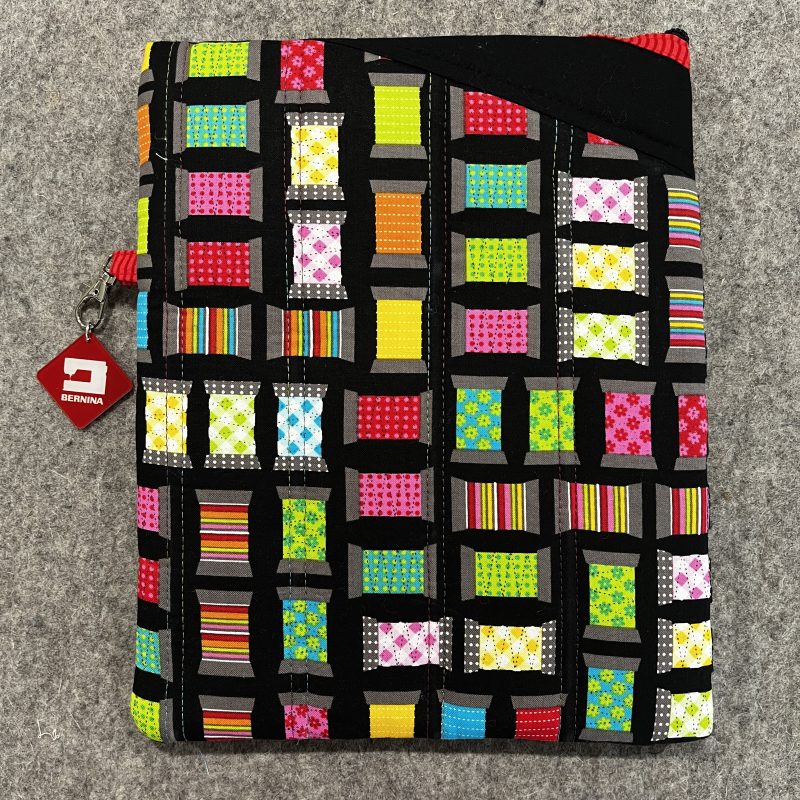
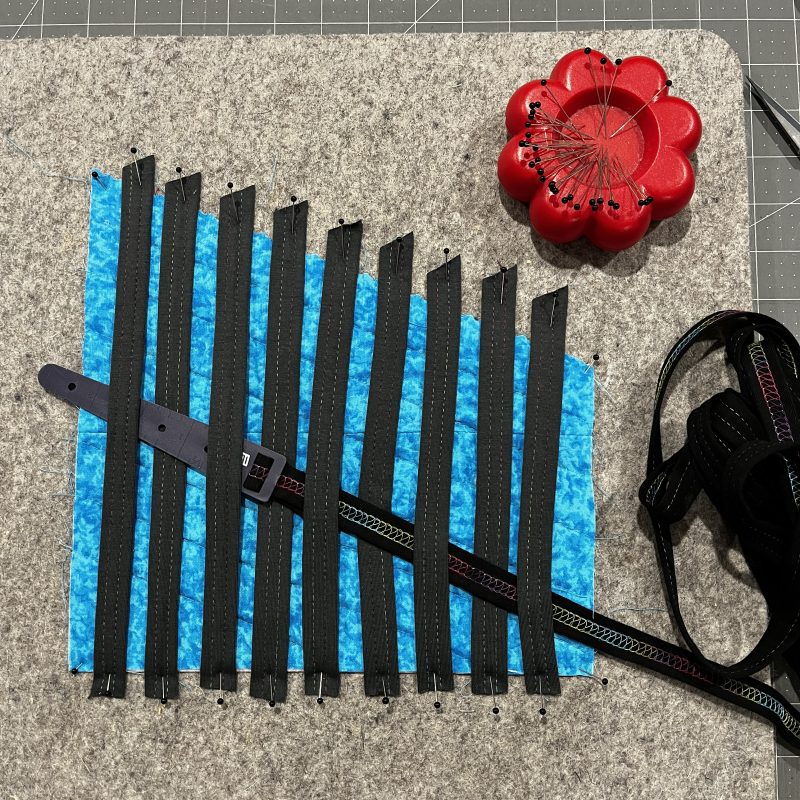
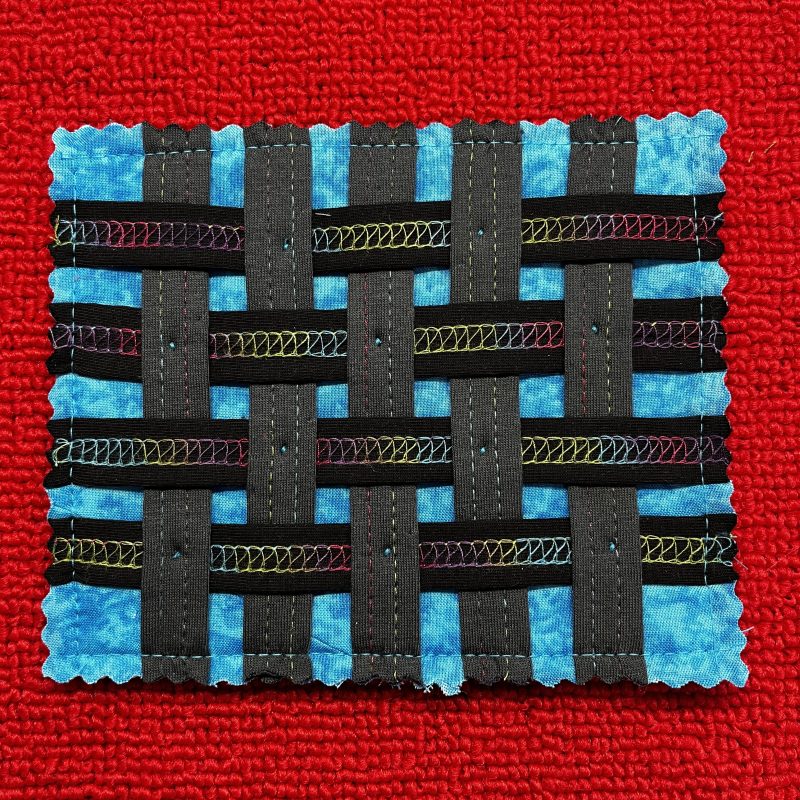
‘Create Ribbons for Weaving’ : I love to weave with fabric strips, and have used both the Belt Loop Folder and #C21 Double Fold Binder strips, (and the Double Fold Binders from my sewing machine accessories) in quite a few projects over the years.This week I made myself a new iPad cover, using the Hemingway Pouch pattern from Center Street Quilts as my base guide, a pattern I use often. I was going to add small buttons on the intersections to keep the grid intact, however I decided on using Stitch #60 on my Bernina sewing machine – Button Sew On Stitch, SW at 2.0 to hold them all in place. Also decided a black zipper looked better than the rainbow one I’d originally chosen. (Colours don’t line up when you only use one side of the zip – can’t have that can we hehe) Quilted the back of the cover with Coverstitch as well.
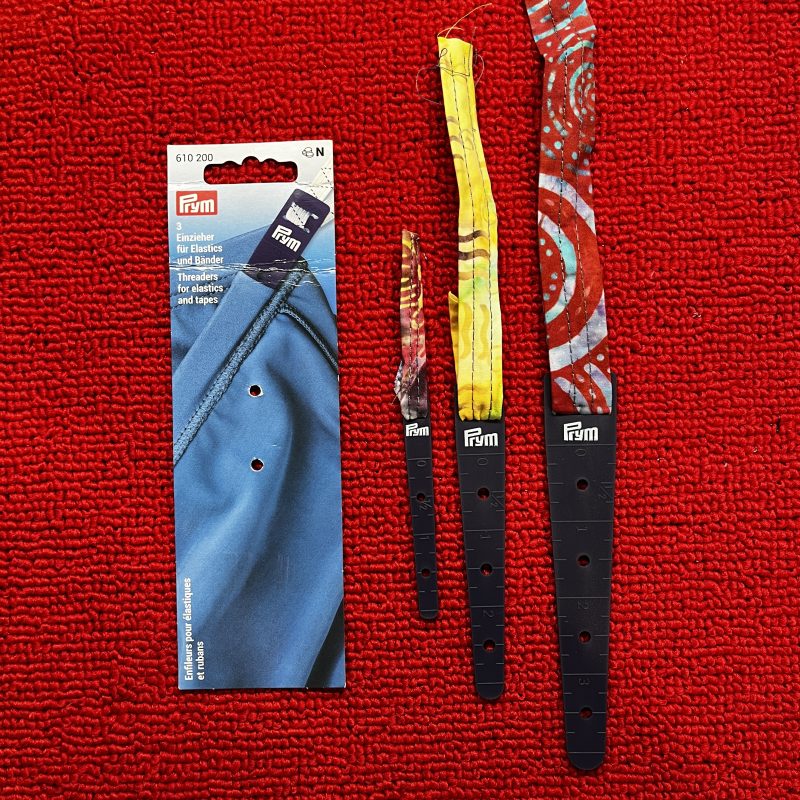
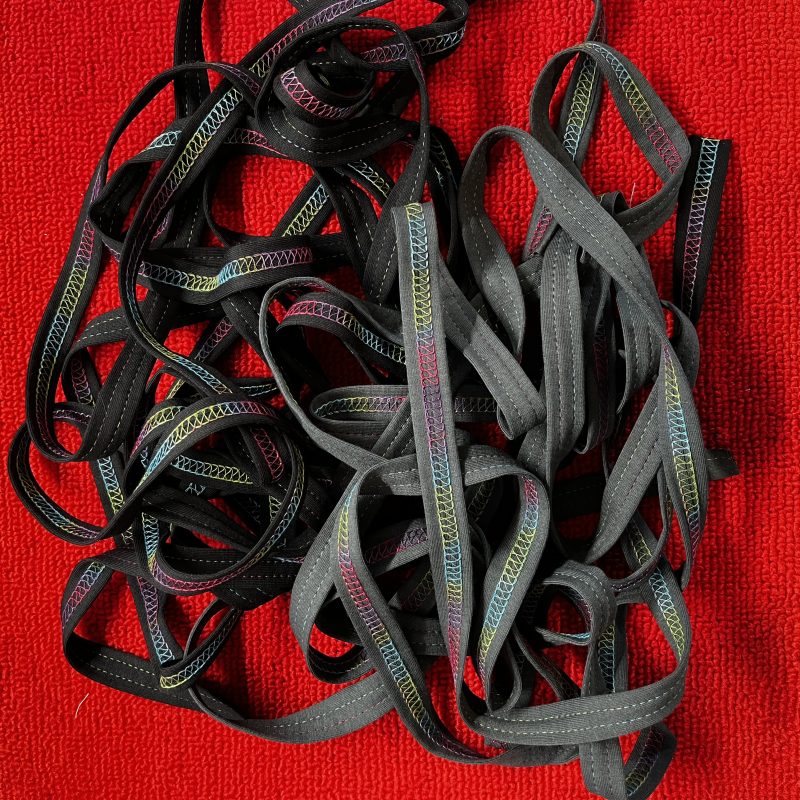
Black and Gray samples – I used my rolls of precut knit strips in both black and gray for these strips. Even though they are cut 35mm across the grain of the fabric, they run quite well through the #C30 15/30 Folder. I made many metres of each colour as I wanted to use them for an Ipad cover with woven strips on the front. To control my strips as I weave, I use Prym Threaders for Elastic and tape, and I used the largest size, although the middle one would have been ok as well.
Machine Setup: 3-Thread Coverstitch Wide Stitch #22 All default settings
Needles and Chain Looper – Maxilock Swirls Colour Tie Dye Punch
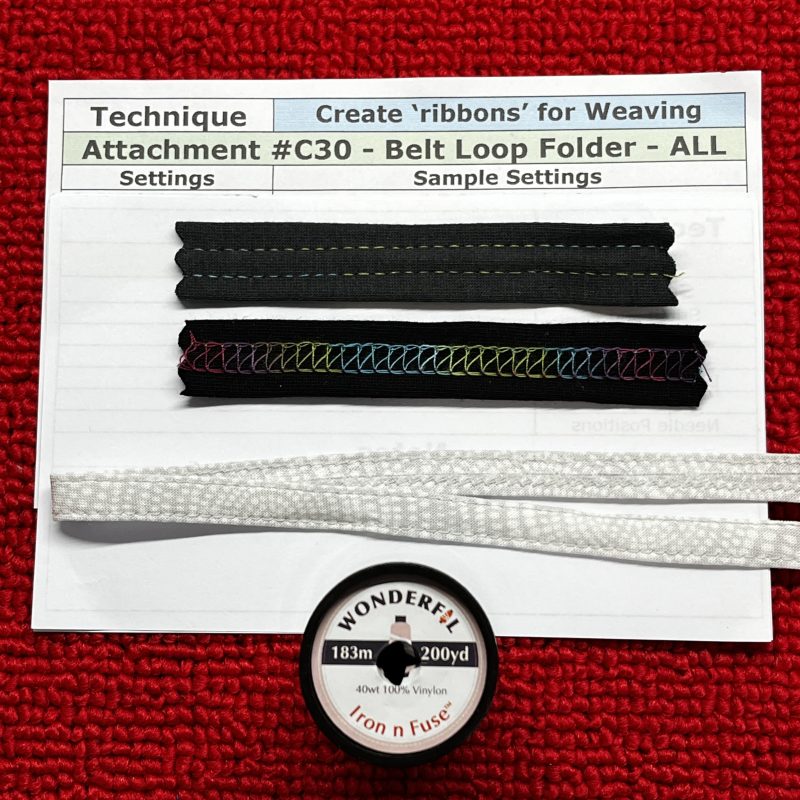
Pale Gray and White sample – Some years ago now, I made the ‘Bloom and Grow Quilt’ , and used the #C30 10/20 Folder to create the stems on the flowers, with Wonderfil Iron ‘n Fuse thread in the Chain Looper – pressed/fused into place on the quilt, and Chainstitch appliquéd it down. I had a leftover strip in my Overlocker case so added this to my samples this week.
Machine Setup: 3-Thread Coverstitch Wide Stitch #22 All default settings
Needles – Seracor Overlocking threads, Chain Looper – Iron ‘n Fuse
Wonderfil’s Iron ‘n Fuse is a great thread which you could use also when weaving, but you will need to think how your strips are to be placed before creating them – if needle threads are uppermost, place the Iron ‘n Fuse thread through the Chainlooper … if looper threads are uppermost when finished, the needle threads would need to be Iron ‘n Fuse.
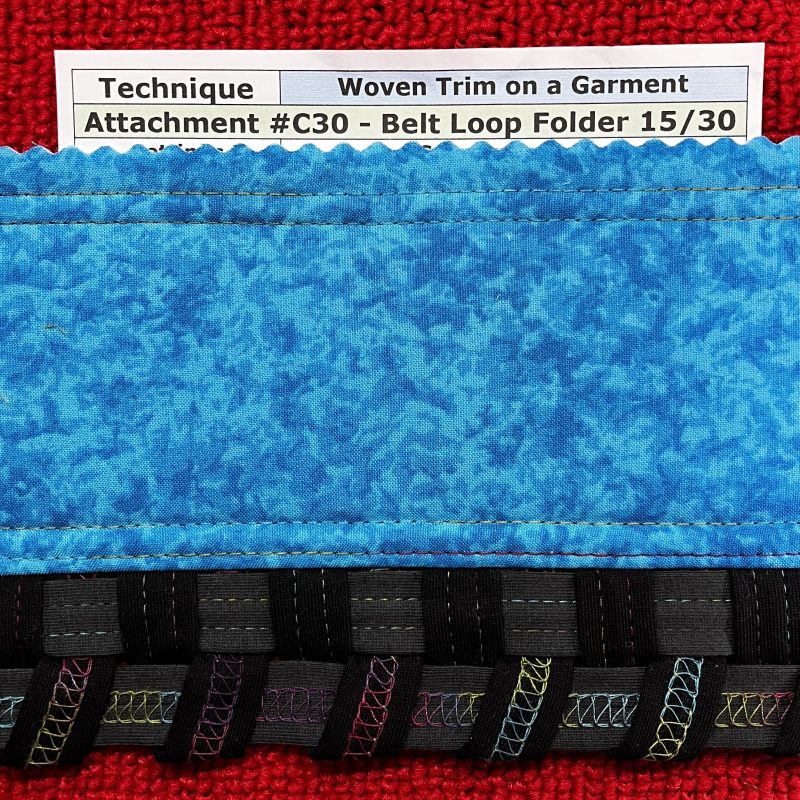
‘Woven Trim on a Garment’: This sample was created from leftover strips that I had from the iPad cover, and I simply looped the black ones, and enclosed them between two pieces of fabric in a seam, and then threading/weaving the gray strips alternately through the loops. This ‘trim’ would be nice at the bottom of a sleeve, skirt hem, or pants. An insert for a bag would be nice as well.
Machine Setup: 3-Thread Coverstitch Wide Stitch #22 All default settings
Needles and Chain Looper – Maxilock Swirls Colour Tie Dye Punch
Tips for the Belt Loop Folders
Cut fabric strip ends with a centre point
Foot swings out for easier loading of fabric/trim
Insert right side up using tweezers to assist feeding fabric through
Swing Folder back into place and adjust
Align needle markings on foot with front of Folder
Cutting Width Dial can be used for minor adjustment to the right
Ensure foot is close but does not touch the accessory.
If strips don’t meet in centre on back, cut the fabric a little wider
When inserting tape/ribbon/elastic, cut the fabric strip 2 – 3mm wider to allow for thickness of inserted item.
Summary
Quite a few samples to stitch again this week, and a lot of changes in stitches, Folders and threads. I find it extremely beneficial to have a second Coverstitch Insert, which I keep my Accessory Holder attached to. These can be ordered from your preferred Bernina Dealer, and I think they are around $20 – a great investment!
... A Little Something Extra ...
Foot User Manuals
On the Bernina Website, you can download a User Manual for each of the #C30 Belt Loop Folders
And here’s a link to the We All Sew Blog where they first introduced the Belt Loop Folders – since then of course, Bernina have produced the #C28 Cover/Chainstitch Foot, and as I mentioned, it is my preferred foot to use with these Folders. The markings on the foot really help with lining up the folders.
I’ve also added in an extra link to another Blog post for a fun Coverstitch Cuff – I’ve made a few of these as trims for some containers I used to have in the Studio. They are packed away at present in a suitcase of samples that I need to sort! I’m sure you can imagine what they look like … think … tin can with a cosy on it 🙂
We All Sew also has a Pinterest board with literally hundreds of ideas for using your Bernina machines and accessories – here’s a link ‘down that rabbit hole’ … my pleasure!!
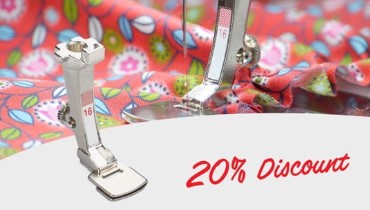
is #16 Gathering Foot – 20% off – contact your preferred Bernina Dealer for this fabulous offer. … and this foot is used for gathering individual fabric layers or for gathering … and simultaneously sewing onto a flat piece of fabric … A very handy foot!
*Australia and New Zealand Promotion Only – ends … 31st July 2026
July 2026 Special Offers
Discover limited-time offers on selected BERNINA machines and accessories. Whether you’re upgrading or starting your sewing journey, there’s something special waiting for you.
Here’s a link to details on this month’s promotion …
Chat again in just a couple of day’s time, with the #C31Coverstitch Hemmer … as I aim to stitch and squeeze in two more Blog Posts before I head to Bernina Academy which starts on 10th August with the first 2 days dedicated to the Dealer/New Product Training. Wednesday the 12th is when all the Academy Classes start!