Winter in South East Queensland has been putting on a rather beautiful show—crisp, clear days that still hold a gentle warmth in the sunlight.
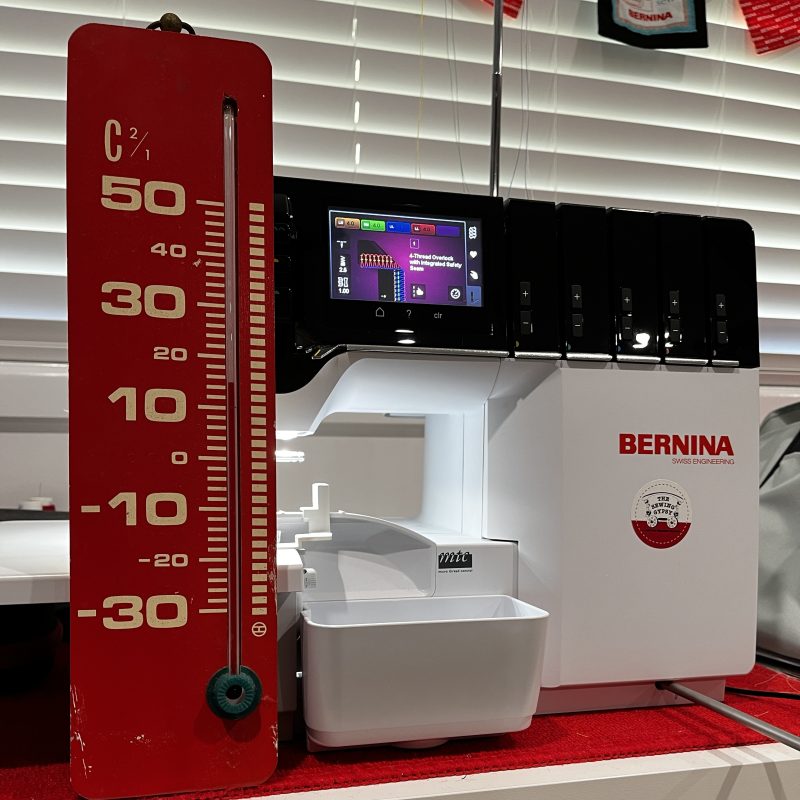
I’ve also found myself especially grateful for reverse cycle air conditioning, which makes the Studio such a comfortable place to spend time. It usually greets me at around 15 or 16 degrees when I walk in, but after a little while it settles into a perfect working temperature of about 22 degrees—just right for sewing.
Last week’s school holiday activities with Sally, Ambah and Leo, included a lovely trip down to the Gold Coast to visit Gemma, Bobby and Summer. Gem and Bobby made a lovely batch of fresh scones for morning tea, fish and chips for lunch, following up with an outing to a nearby lake close to her home. It was one of those simple, easy-going days that stay with you—plenty of time to sit and chat while the ‘lads’ made full use of the climbing frames, and a bit of friendly competition breaking out over stone skimming. Gemma, I have to say, proved herself the undisputed champion of the day.
With school holidays in full swing, things have been lively on one hand and very quiet on the other. This last week Ambah and Leo headed off for a five-day Scouts camp, leaving the house unusually still—always a strange contrast during holiday time.
That quiet has been the perfect invitation back into the sewing studio. There’s been time to experiment, play, and explore a few new ideas, including creating shapes for some fabric stamping projects I’ve been wanting to try. It feels good to be back at the cutting table with something new taking shape.
Watch this space …
... The ‘Piecemaker’ ...
Patchwork Piecing and Quilting with your Overlocker
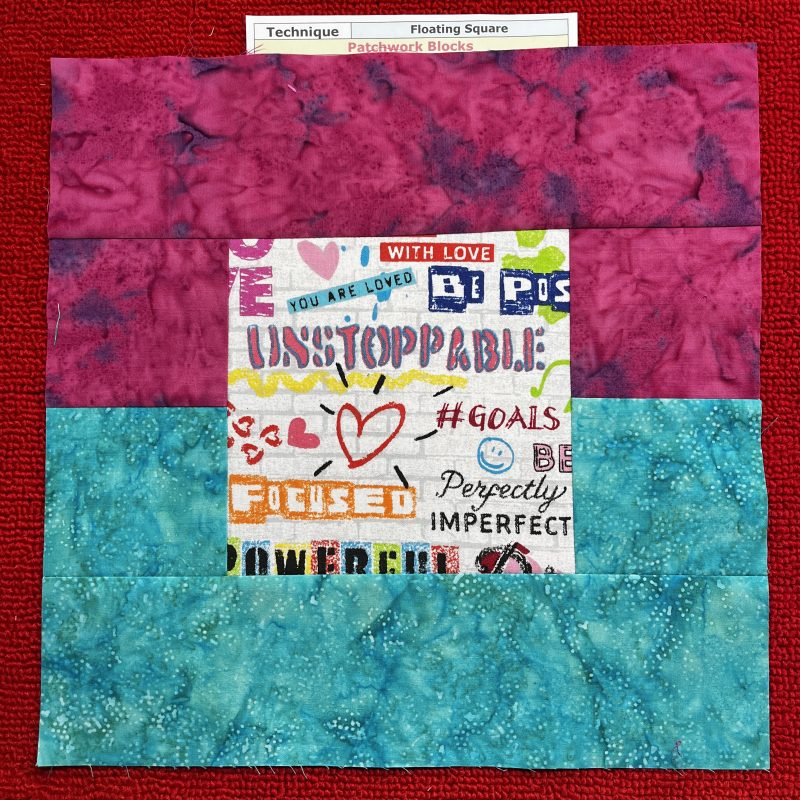
This week’s first patchwork block is Floating Square. Big Book of Serger Quilting P137 Made up of one large centre square, ideal for a ‘hero’ fabric, and surrounded by two coordinating low volume/tone on tone fabrics, this is an easy block to piece on the overlocker.
To make one 12” finished block, cut one 6 ½” centre square, two small 3 ½” squares and one 3 ½” x 12 ½” rectangle from each of the coordinating fabrics.
I used a 4-Thread Overlock Stitch #1 to seam the block together. Changed my LN tension to 4.3 to eliminate seeing the needle thread when pressing out the seam.
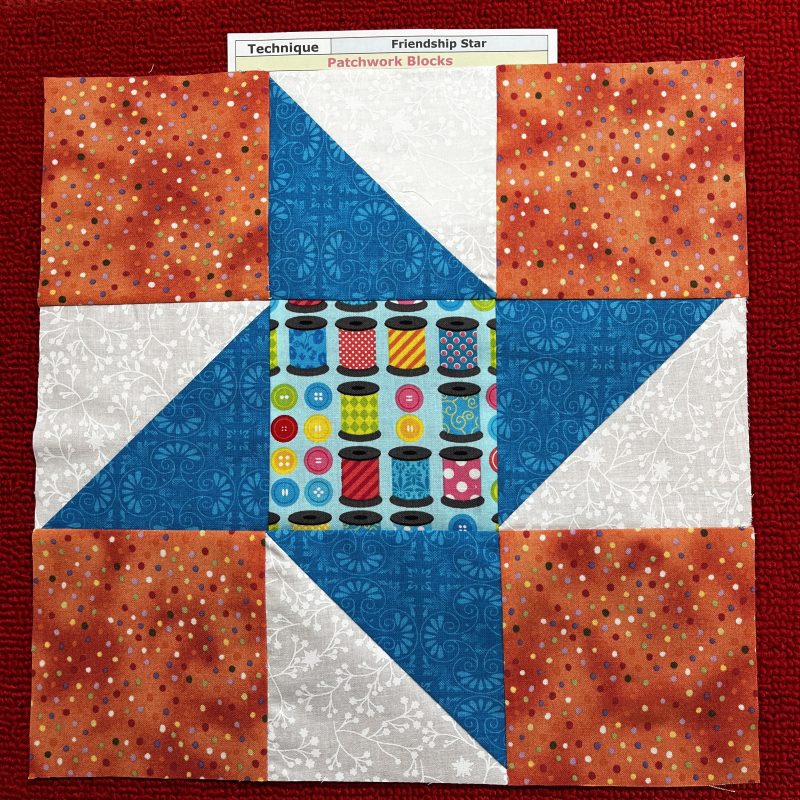
The second patchwork block is Friendship Star.Big Book of Serger Quilting P138 This is a simple 4-point star, often used in friendship or signature quilts, where the centre square was used to either write or embroider names on. I used a feature fabric instead. The four corners of the block are full squares and the four remaining sections are ‘half square triangle units’
To make one 12” finished block, cut one feature fabric or plain fabric centre that measures 4 ½” square, four squares measuring 4 ½” square from the corner block fabric, and then cut two 5” squares from two different tone-on-tone fabrics, used to construct 4 half square triangle units.
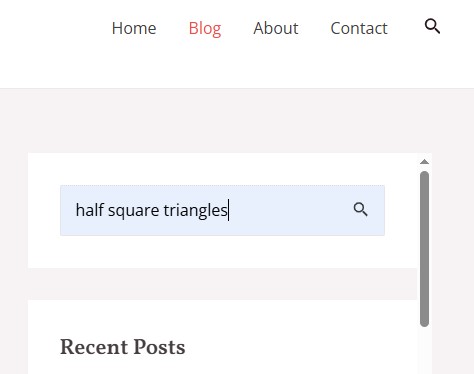
I used the 2-Thread Chainstitch method discussed before – Foot C17 posted back in April 2026. A simple way to find earlier blog topics is to use the search bar at the top of the blog. Just type in a keyword or description—such as half square triangles—and you’ll see any posts that match.
If there are several results containing similar terms, you may need to browse through them to find the exact information you’re looking for.
I used a 4-Thread Overlock Stitch #1 to seam the block pieces together. Changed my LN tension to 4.3 to eliminate seeing the needle thread when pressing out the seam.
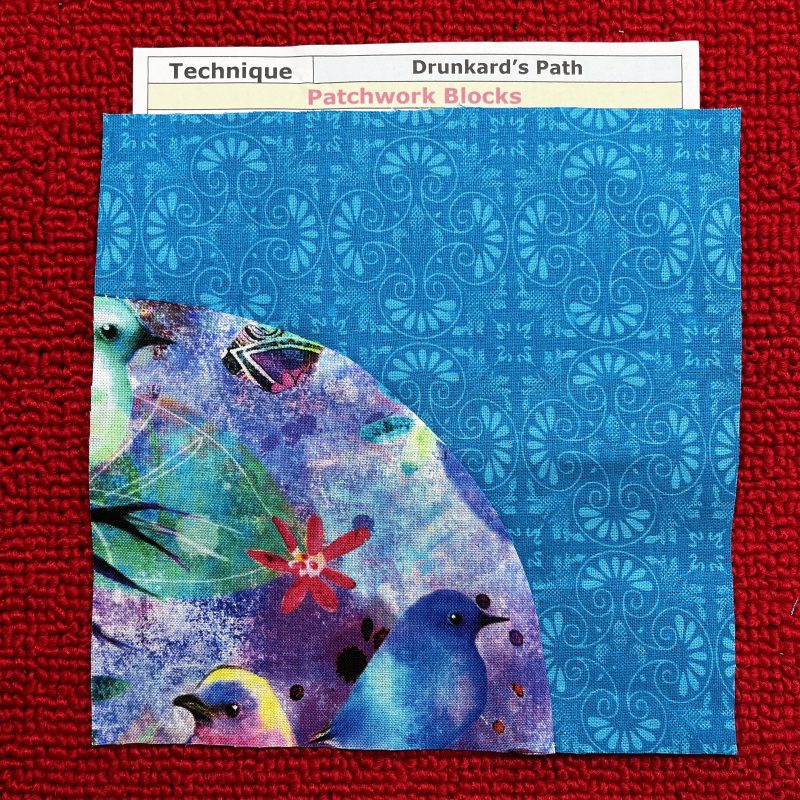
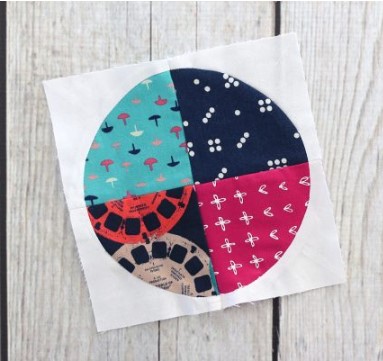
The last patchwork block in the Challenge is the Drunkard’s Path. Big Book of Serger Quilting P139 This is a curved block made up of two matching pieces—one concave and one convex. I’ve always enjoyed a bit of maths and geometry, but for anyone who needs a quick refresher, concave describes a curve that bends inward (like the entrance of a cave), while convex describes a curve that bulges outward.
I made up my own block … graph paper, compass, pens, templastic and pattern notcher.
I traced the shapes onto the wrong side of my fabrics and cut them out, ensuring I had placed the ‘matchup point’ markings on each edge. I pinned the seam, heads out of the way. Note: I repinned before completing as I wanted to stitch from the ‘concave’ side to eliminate the chance of a tuck forming in the seam.
I used the Clear Curve Foot #C23, and a 2-Thread Chainstitch #32, which I find gives a flatter seam , rather than the 3-Thread Narrow Overlock stitch.
This is a fun block to make a quilt out of as there are quite a few ‘setting variations’ possible. Now I won’t write much about what the possibilities are or I’ll lose my ‘writing focus’ … again this week! Check out these two Blogs for some ideas.
We All Sew blog on ‘Drunkards Path’ Basics and this blog post from Villarosa Quilts will send you down the ‘Drunkards Path’ rabbit hole!
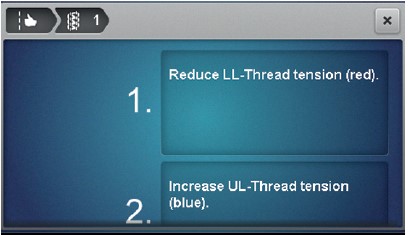
This is a feature available on both the Bernina L 890 and L 860 overlockers, each equipped with a colour touch screen on the front of the machine. The screen allows you to compare your current stitch with an on-screen visual and then guides you through the adjustments needed to achieve a better result. It may suggest changes to the thread tensions, stitch length, Differential Feed, cutting width, Micro Thread Control (mtc), Rolled Hem settings, and more.
It’s almost like asking your machine, “What do I need to adjust to get a better-looking stitch?”—and having it guide you through the answer.
The How-To
Once you have a sample of the stitch you want, Tap the Stitch Optimizer Function …
Pictures of faulty stitches can be selected, scroll down until you find one that describes/looks like your sample …
Compare the sewing test and tap on the matching stitch picture – corrective measures are proposed …
After each adjustment, evaluate the test sample and repeat the procedure until the perfect stitch formation is achieved.
This is a great tool/function to have on the machine, particularly if you are unsure of what exactly the stitches are doing, and how to correct the sample you have stitched.
Speciality Threads
The plan for this week was to also include a section on decorative threads, as we’re featuring two accessories designed to make stitching with them much easier. However, there are only so many hours in the day, and with so many patchwork and accessory samples to stitch, something had to give! So, I’ve decided to save that topic for the next blog post.
The Bernina International videos referenced in this week’s accessory section are well worth watching. They cover many of the options and choices available, and they’re a great way to build your knowledge and confidence before you give these accessories a try yourself.
In the meantime, read on to discover two great accessories that make working with those sometimes finicky decorative threads a whole lot easier.
... Must-Have Accessories for Decorative Threads ...
L25 Decorative Thread Guide
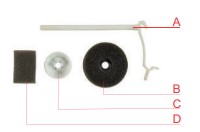
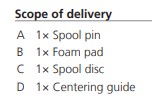
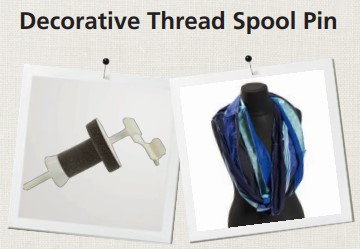
and L26 Decorative Thread Spool Pin
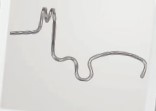
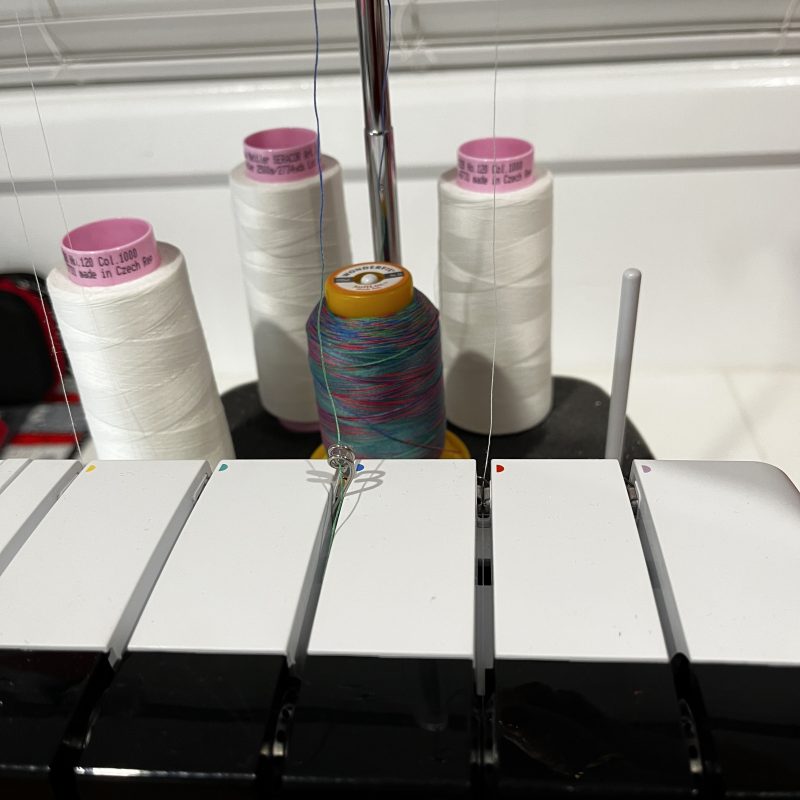
These two essential accessories enable the use of heavier weight and ‘sometimes a problem’ type of decorative threads, both in the needles and loopers with long and wide stitch settings, in particular. Whether they are used in the threading paths (L25) or to actually change the way the thread spools off (L26), the simple design of both these accessories ensure a perfectly balanced stitch.
The L25 Decorative Threads Guide is ideal for wide and long stitches with thick decorative threads. The thicker the yarn, the longer the stitch and the lower the thread tension will need to be. With the decorative threads guide, the pre-tension is bypassed and little or no tension is applied to the thread.
L25 Decorative Thread Guide was used to stitch out 8 different samples and 8 different stitches, including 4-Thread, 3-Thread, 2-Thread and a coverstitch and chainstitch, with a variety of decorative threads.
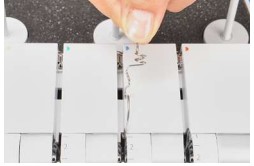
The L26 Decorative Thread Spool Pin is designed to support smaller, parallel-wound spools, (I have always referred to these as ‘stacked threads’ as they are stacked one after the other) as well as metallic threads and fine yarns. By delivering the thread more consistently, it helps produce smoother, more even stitches, whether you’re sewing with the needles or the loopers.
If you’ve ever found metallic threads temperamental or struggled with small decorative spools feeding evenly, this accessory is well worth having. It takes much of the frustration out of the process, making it easier to enjoy beautiful, consistent stitching.
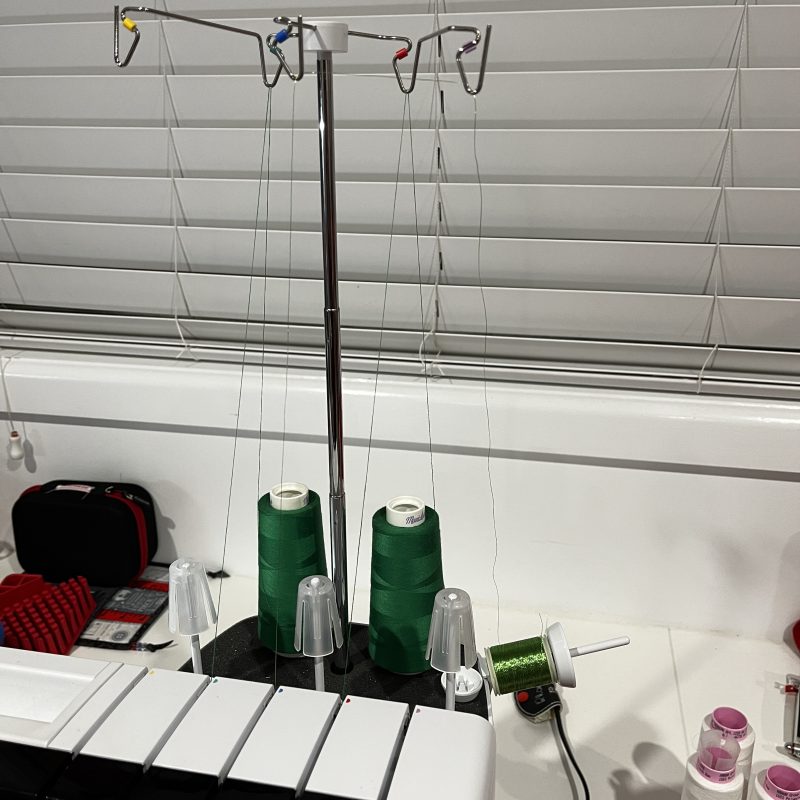
L26 Decorative Thread Spool Pin was used to hold a small reel of metallic thread, well known for creating a few little issues, when place on the usual thread stand position. This sample was a Rolled Hem Stitch.
Here are the links to the Bernina International videos for these accessories.
Bernina L850 and L860 – L25 and L26 suitable for both models
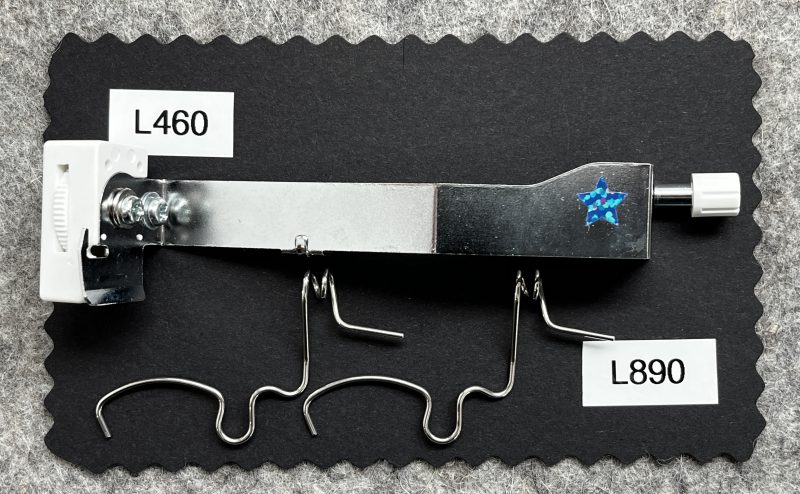
Bernina L450 and L460 – Decorative Thread Guide – this accessory when fitted bypasses pre-tension guide and tension, as it is equipped with its own thread tension dial. A Decorative Thread Spool Pin is also available.
Bernette Funlock 40 Series (b42, b44 and b48) and Airlock 60 Series (b62, b64 and b68) – The bernette 64 has a decorative thread guide (2 positions) for the looper threads, it is even a standard accessory. The bernette 68 has a guide with 3 positions. I am unaware of one suitable for the b42, b44 or b48 … possibly may be a special spare parts order if the 60 series one fits. Anyway, check with your Dealer if this refers to your machine.
Its handling is detailed in the video tutorial in the link below.
One of the biggest challenges I face each week when writing the blog is deciding which samples to stitch to accompany the featured foot or accessory. My previous challenge was easy—I simply worked my way through all the techniques in the Big Book of Feet. Unfortunately, neither of the Bernina Big Books for sergers is organised in quite the same way, so I found myself spending much more time deciding what to demonstrate.
Then, while rewatching this week’s Bernina International YouTube videos I’ve been sharing with you, I had one of those “why didn’t I think of that before?” moments. Taking inspiration from the videos, I decided to stitch every sample they demonstrated and add my own notes and observations along the way. I only wish I’d thought of it sooner—it would have saved me a lot of planning time!
L25 Decorative Thread Guide
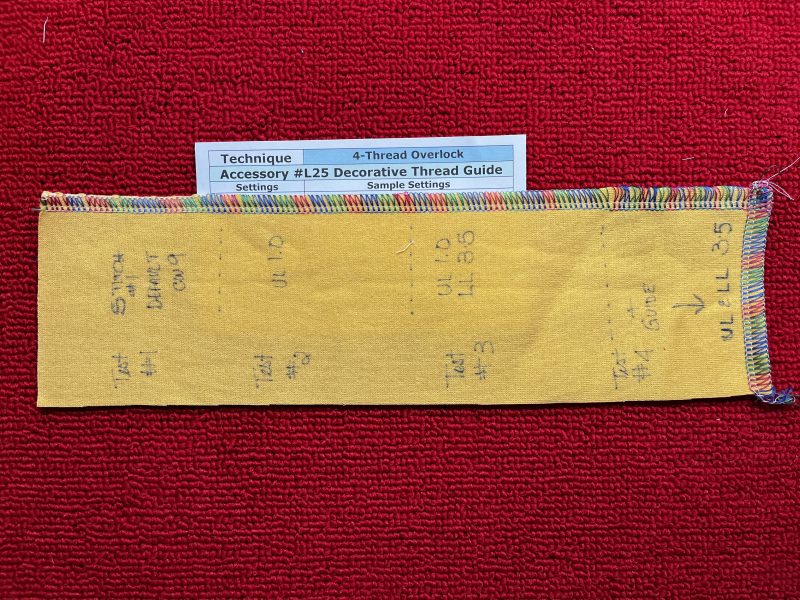
‘4-Thread Overlock’ I followed along with the suggested settings … sample was Fleecy Sweatshirt fabric
Section 1 – CW 9 and default LN RN UL LL … Result – Upper Looper thread coming around to the front
Section 2 – reduced UL to 1.0 … Result – edge still a little ‘cinched’
Section 3 – keep UL 1.0, reduce LL to 3.5 … Result – looking ok but still not 9mm wide
Section 4 – Add Decorative Threading Guide in UL path – UL 1.5 rest default – UL Way too loose, but stitch now widest possible. Seems I did not have it correctly in the tension disc, as I rethreaded and the final setting UL and LL both 3.5 which resulted in a lovely 9mm edge covered with Woolly Poly Thread.
Machine Setup: Stitch #1 – Seracor Overlocking Thread in Left and Right Needles and Lower Looper. Wonderfil Softloc Wooly Poly Thread – Colour SLM31 in Upper Looper with guide.
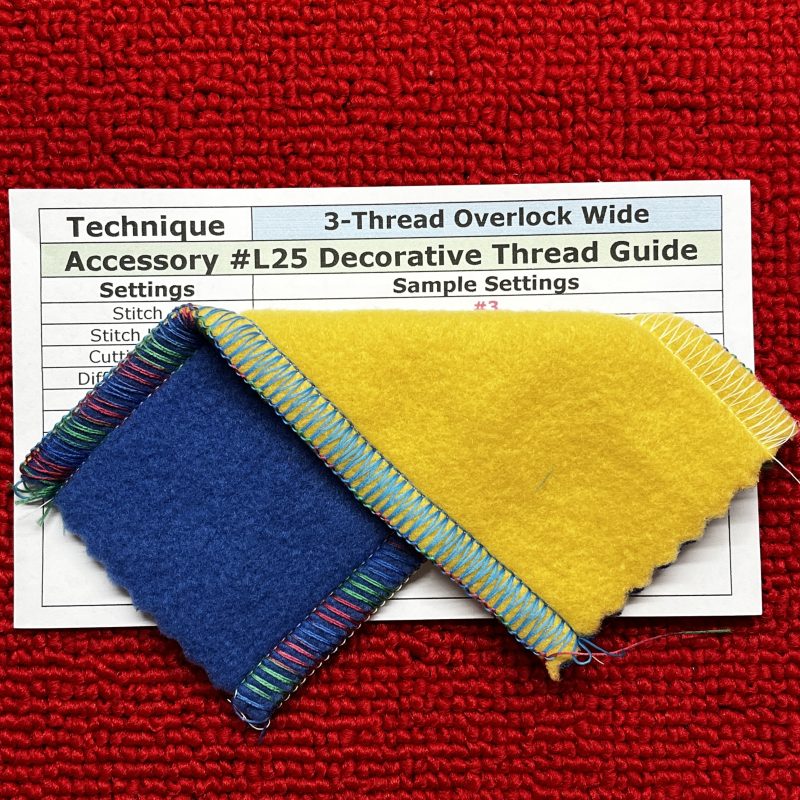
‘3-Thread Overlock Wide’ – I followed along with the suggested settings … sample was 2 layers of Fleecy Sweatshirt fabric – first pass I had previous setting and decorative thread in UL only – second edge was 2 reels of Softloc UL and LL – two guides attached. Lovely finish!
Machine Setup: Stitch #3 – Default Setting LN Seracor Overlocking Thread … UL 3.3 with Guide Wonderfil Softloc Woolly Poly Thread – Colour SLM31 and LL 3.0 with Guide Wonderfil Softloc Woolly Poly Thread – Colour SL08 … CW 9
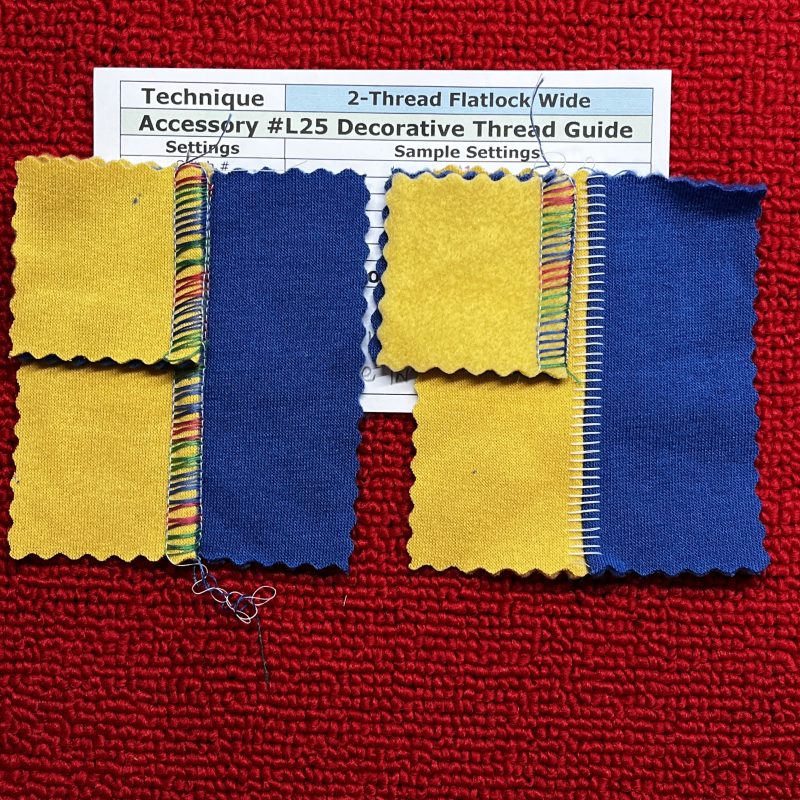
‘3-Thread Flatlock Wide’ – Three pieces of fleecy, stitched to show loops on finished right side, stitched with blue fabric on top, and wrong sides together. Ladders on finished right side, stitched with yellow fabric on top, and right sides together.
‘2-Thread Flatlock Wide – sample was 2 layers of Fleecy Sweatshirt fabric – next I removed the Upper Looper thread from that spiral section of the guide and detached the Decorative Threading Guide. I then reattached it to the machine on the Lower Looper threading path. 2-Thread Flatlock stitch is achieved with the Left Needle and thread, Upper Looper Convertor in place (so no thread) and a Lower Looper thread. Sample with loops as the feature, was stitched with wrong sides together (yellow on top) and then opened out. Sample with ladders as the feature, was stitched with right sides together (with yellow on top) and then opened out.
Machine Setup: Stitch #11 – Tensions … LN Default and Seracor Overlocking Thread – UL with Convertor – LL with Guide 4.0 Wonderfil Softloc Woolly Poly Thread … Colour SLM31 – CW 9
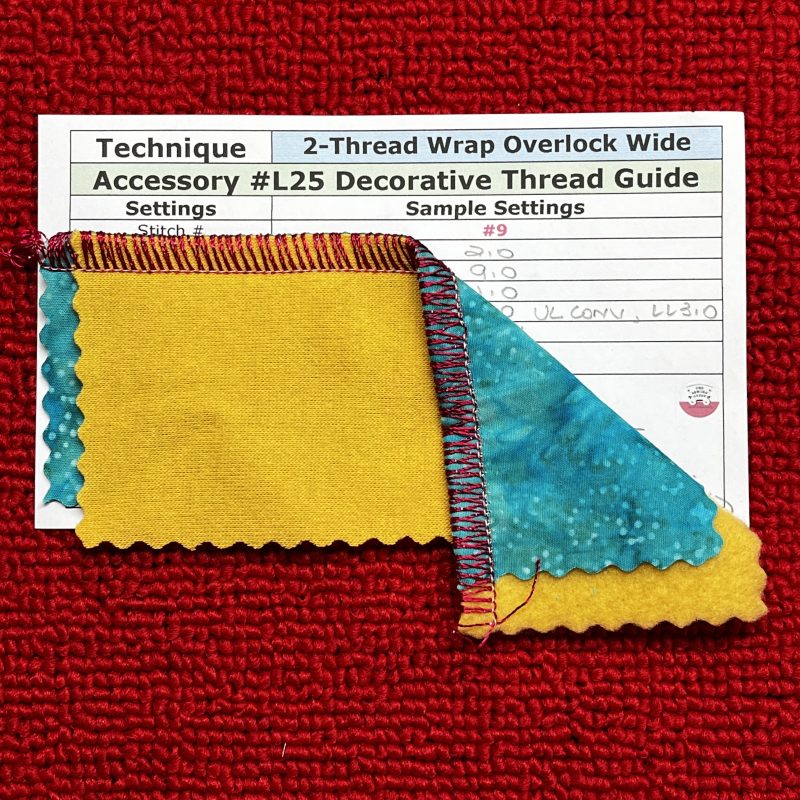
‘2-Thread Wrapped Overlock Wide’ – sample was one layer of Fleecy Sweatshirt fabric and one layer of Batik fabric. This stitch is achieved also with the Left Needle and thread, Upper Looper Convertor in place and a Lower Looper thread. Again the Decorative Threading Guide is placed in the Lower Looper Threading Path.
Machine Setup: Stitch #9 – LN Tension increased to 5.0 to obtain the best looking stitch. Reduced Stitch Length to 2.0 for a better cover on the edge, and reduced lower looper to 3.0 (with the Guide in place). Seracor Overlocking thread in the needle and Wonderfil Glamore 12wt thread (Rayon and Metallic) Colour GM45 in the Lower Looper. Test sewing is essential!
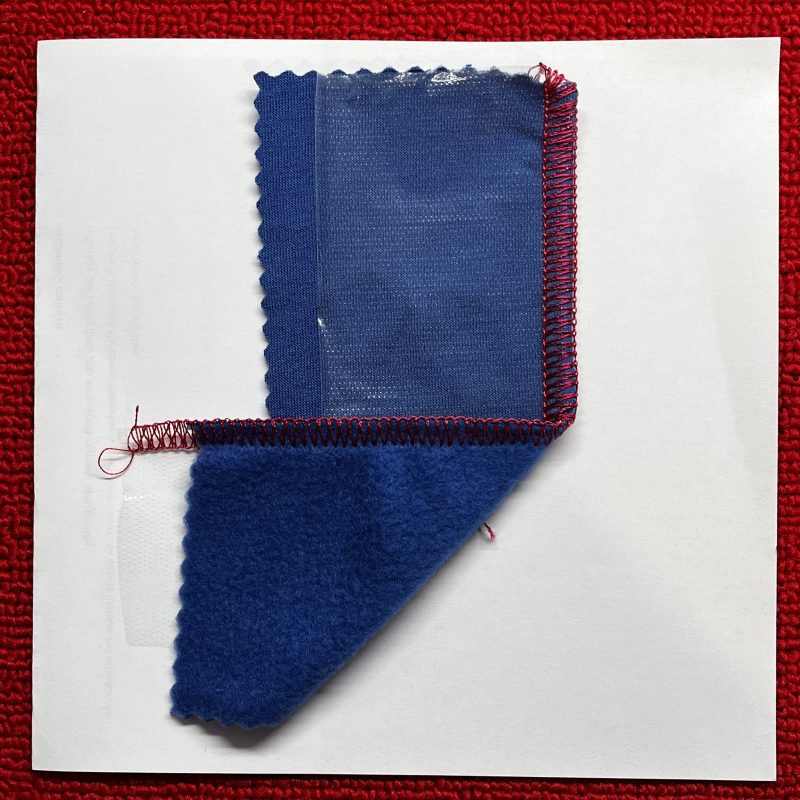
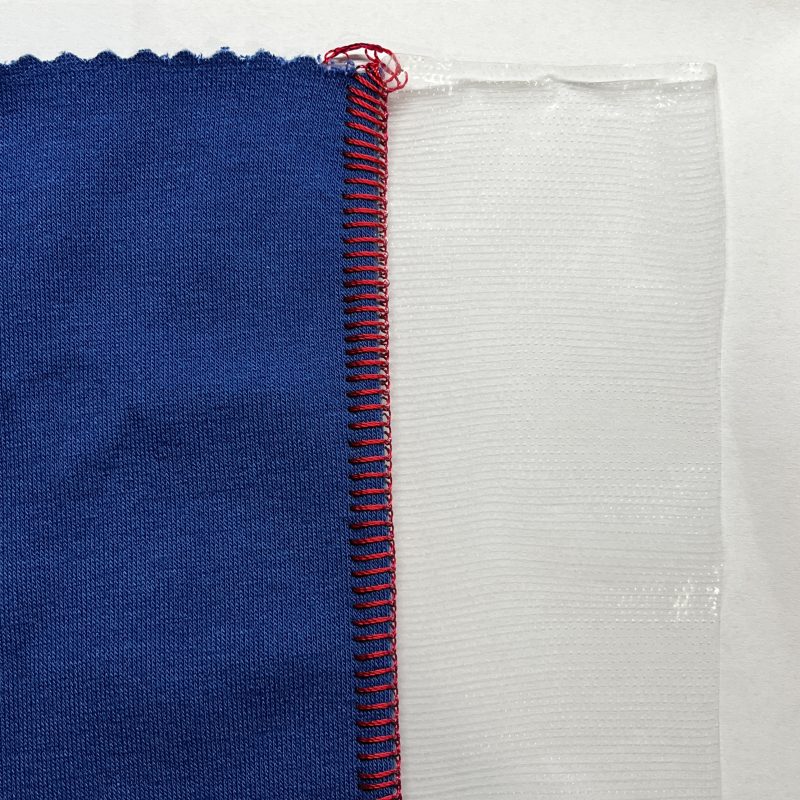
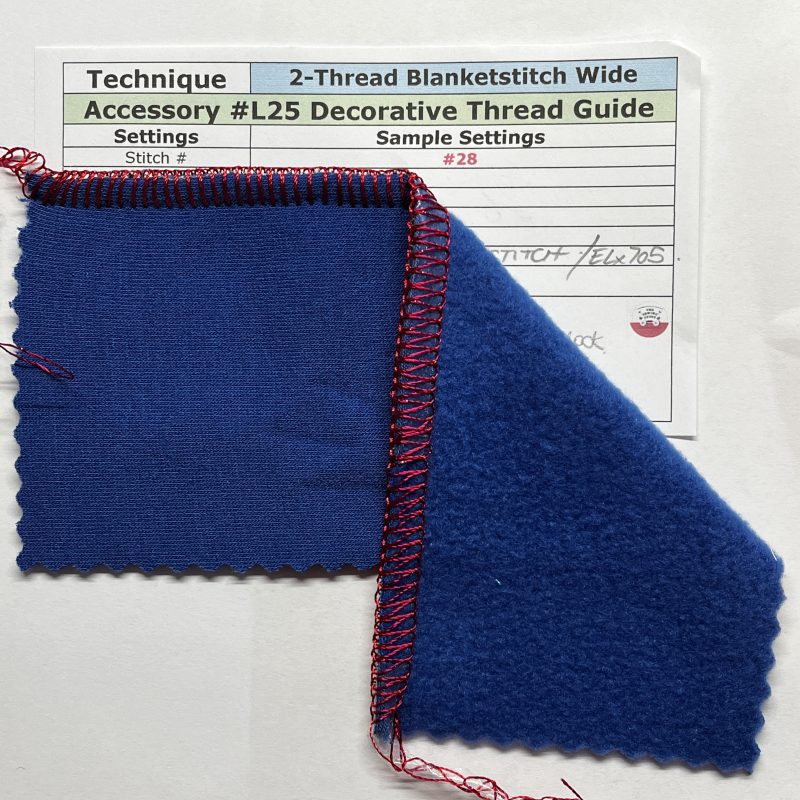
‘2-Thread Blanketstitch Wide’ – Fleecy fabric with water-soluble stabiliser on top. This stitch is achieved also with the Left Needle and thread, Upper Looper Convertor in place and a Lower Looper thread. This time the Threading Guides are placed in the Left Needle and Lower Looper Threading Paths.
Tip: test sew and optimise the stitch without the water-soluble stabiliser first.
Machine Setup: Stitch #28 – A 12wt thread was used in the needle, which was a size 90/14 ELx705. Needle thread Wonderfil Accent 12wt Rayon Colour AC1267 and I left the Glamore 12 wt in the Lower Looper from the last sample. I lowered the LN tension to 1.8 even with the Guide in place. CW 9 SL 4.0
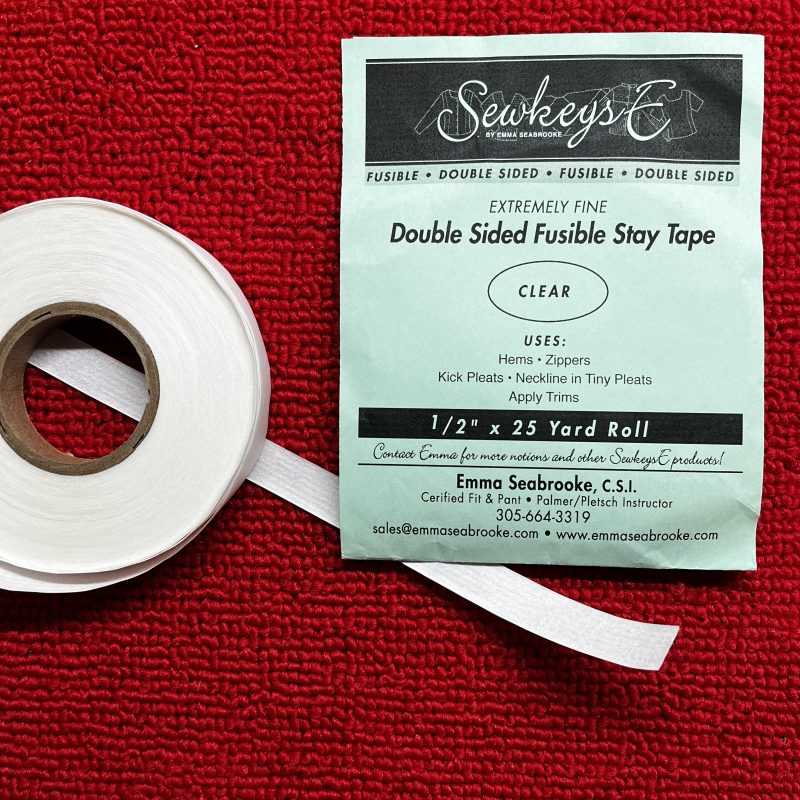
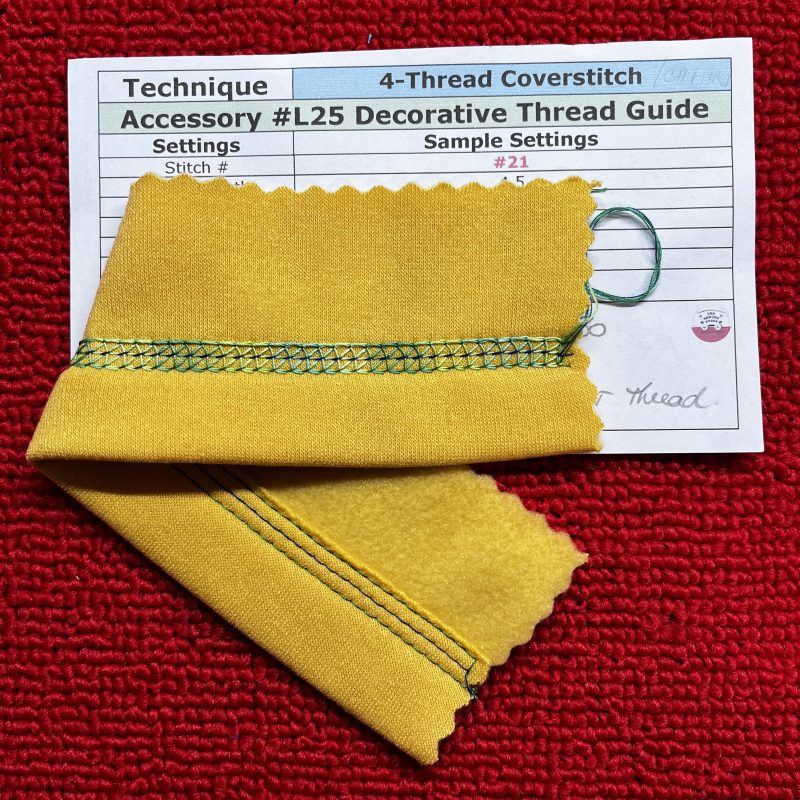
‘4-Thread Coverstitch’ – My sample was stitched on a single layer of fleecy sweatshirt fabric. Before I even went near the machine, I pressed up a 1″ hem and reached for one of my all-time favourite haby products—Sewkeys E Knit Stay Tape. I applied it to the underside of the hem edge to stabilise the crosswise grain of the knit, which helps prevent the fabric from stretching out of shape while you’re stitching.
I use this product all the time. It’s brilliant for stabilising hems before sewing, and the knit versions I have come in both ½” and 1″ widths. There’s also a ½” double-sided version for woven fabrics, and I probably use that just as often! Don’t let the name fool you—it’s not just for hems. I regularly use it when inserting zippers, stabilising necklines, holding tiny pleats in place, or positioning trims before stitching. It’s one of those haby items that, once you start using it, you’ll wonder how you ever managed without it.
Machine Setup: Stitch #21 – I increased the stitch length to 4.5 and reduced the Chain Looper tension to 1.0 (including having the guide attached). Maxilock Overlocking threads in all three needles and Wonderfil Fruitti 12wt Colour FT30 in the Looper.
‘2-Thread Chainstitch’ – this sample was denim and I stitched from the wrong side so that the decorative thread would feature on the front. Chain- and Coverstitch decorative work with heavier threads is something I really love to play and experiment with re designs and thread options.
Machine Setup: Stitch #16 – Default Settings for stitch length and tensions – I did have the Decorative Thread Guide attached to the Chain Looper threading path.
While the Decorative Thread Guide isn’t needed for every overlocking project, as I’ve mentioned before, it becomes invaluable when working with long and/or wide decorative stitches. The L8 Series can sew stitches up to 9 mm wide and 4.5 mm long, making them perfect for highlighting the decorative thread combinations you can put together.
L26 Decorative Thread Spool Pin
‘3-Thread Rolled Hem’ – Strip of quilters weight cotton – I had a small reel of Wonderfil Metallic thread from a curated thread pack from some years ago – I do have some larger reels of this but for the purpose of this accessory I needed a ‘stacked thread’ – larger reels are crosswound and work great on the regular thread stand.
Machine Setup: Stitch #8 – Default Tension settings – CW 5 – I placed the Spool pin on the right hand side of the machine near the Chain Looper position, with a large spool cap on it – this thread wanted to spin really fast and spool off the end so this position worked best – and I placed the thread through the chain looper and upper looper top guides on the antennae.
Summary: I’ve owned the equivalent accessories for my L460 for many years, so I already appreciate just how useful they are whenever I want to experiment with threads beyond standard overlocking thread. I enjoy working with a wide variety of thread weights and fibre types, and these accessories can make a noticeable difference to both the stitching process and the appearance of the finished results.
Take the time to watch the Bernina International You Tube videos on decorative threads, different threading paths and in particular Stitch Optimization.
… is #16 Gathering Foot – 20% off – contact your preferred Bernina Dealer for this fabulous offer. … and this foot is used for gathering individual fabric layers, or for gathering and simultaneously sewing onto a flat piece of fabric … A very handy foot!
*Australia and New Zealand Promotion Only – ends … 31st July 2026
July 2026 Special Offers
Discover limited-time offers on selected BERNINA machines and accessories. Whether you’re upgrading or starting your sewing journey, there’s something special waiting for you.
Here’s a link to details on this month’s promotion …
Chat again next Friday with Clear Feet #C27 and #C28 … a double treat … as well as a couple fun stitch techniques, and snippets of what else is happening here in The Sewing Gypsy Studio.