This week I’m blogging about two different presser feet due to having had lots of prep work to do prior to heading up to Kimz Sewing and Patchwork at Warana, for a weekend of L890 fun!
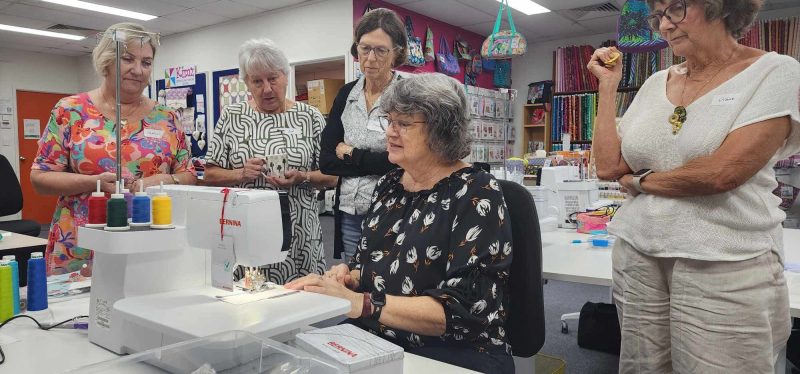
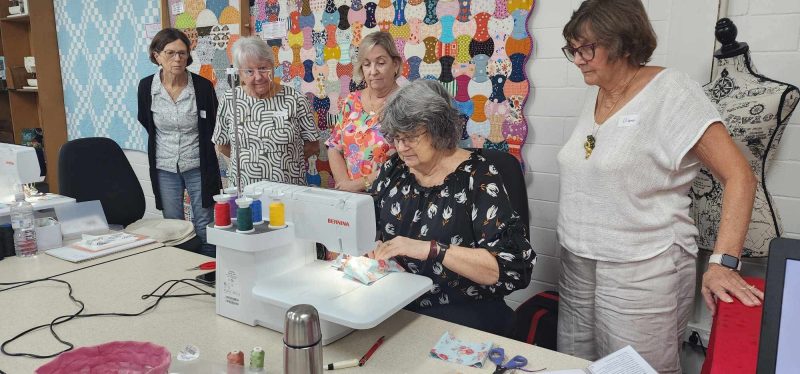
Here are a couple of photos from the weekend, and it was a busy classroom! Thank you Christine for taking these (she works and teaches in the store), and was in the class.
Kim joined in on Sunday with all the extra fun feet and accessories, and I remembered to at least take these two!
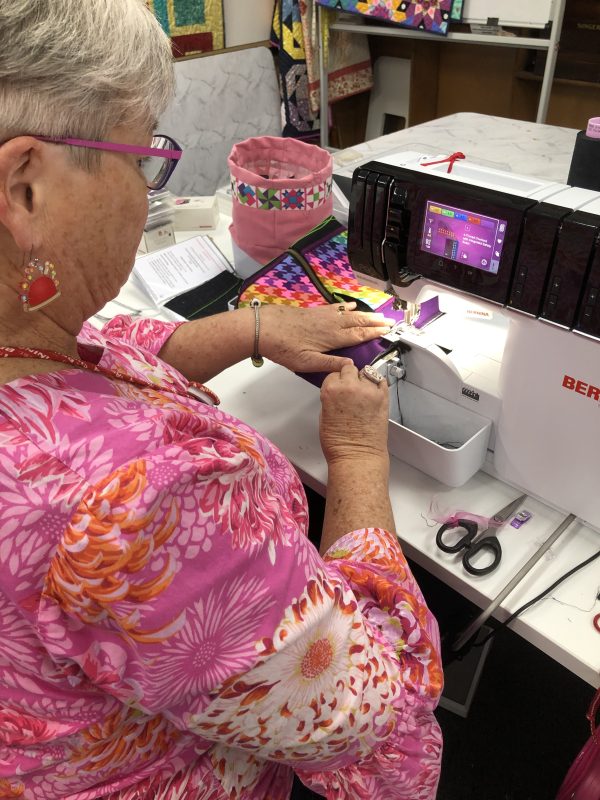
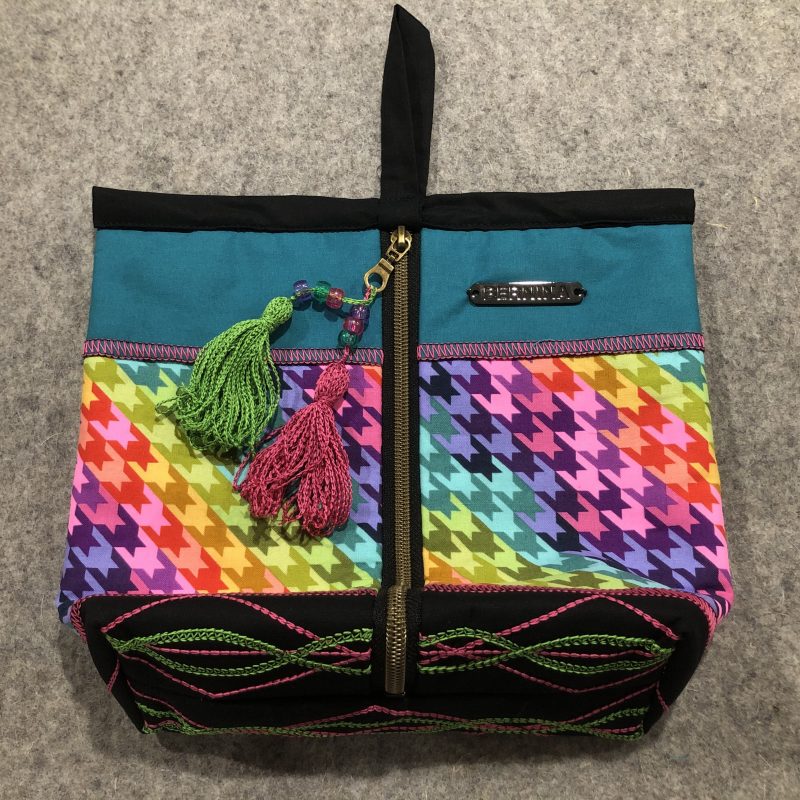
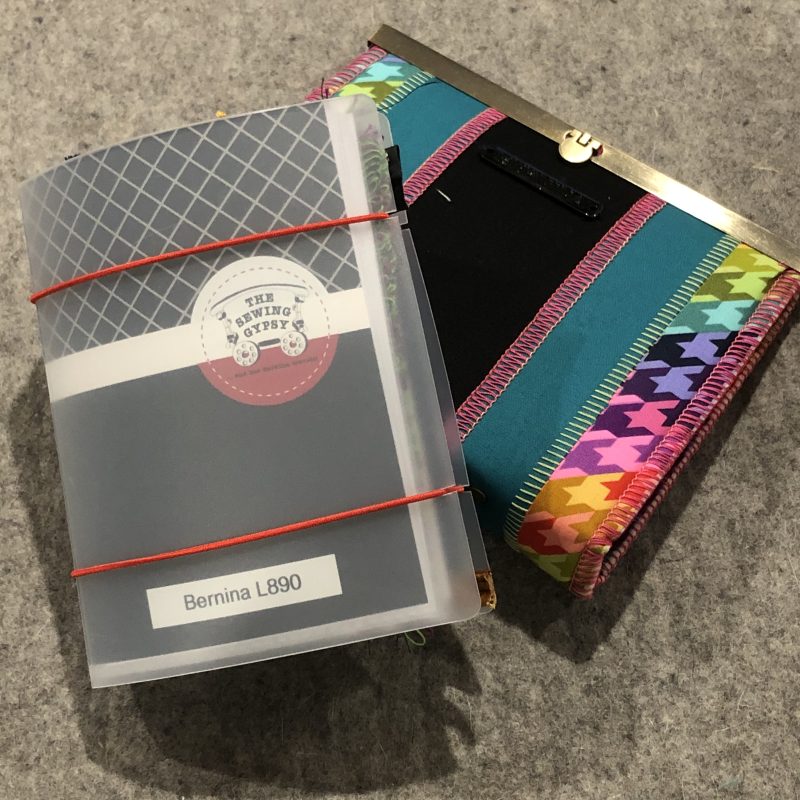
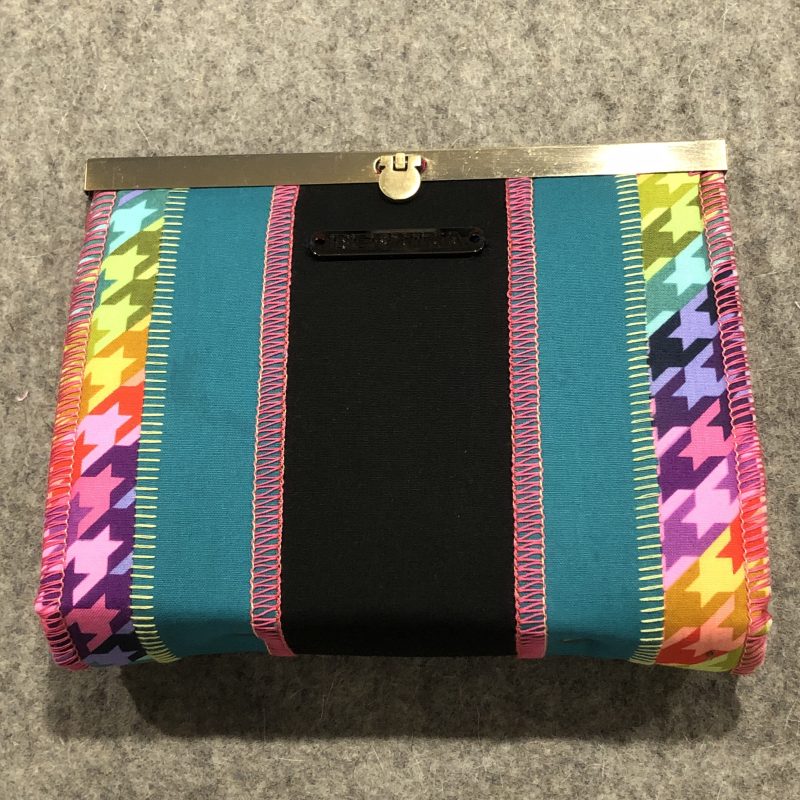
The ladies completed their Technique Folders and Covers on Day one, their Technique Samples on Day Two and most finished their Zippered Bags by late on Sunday.
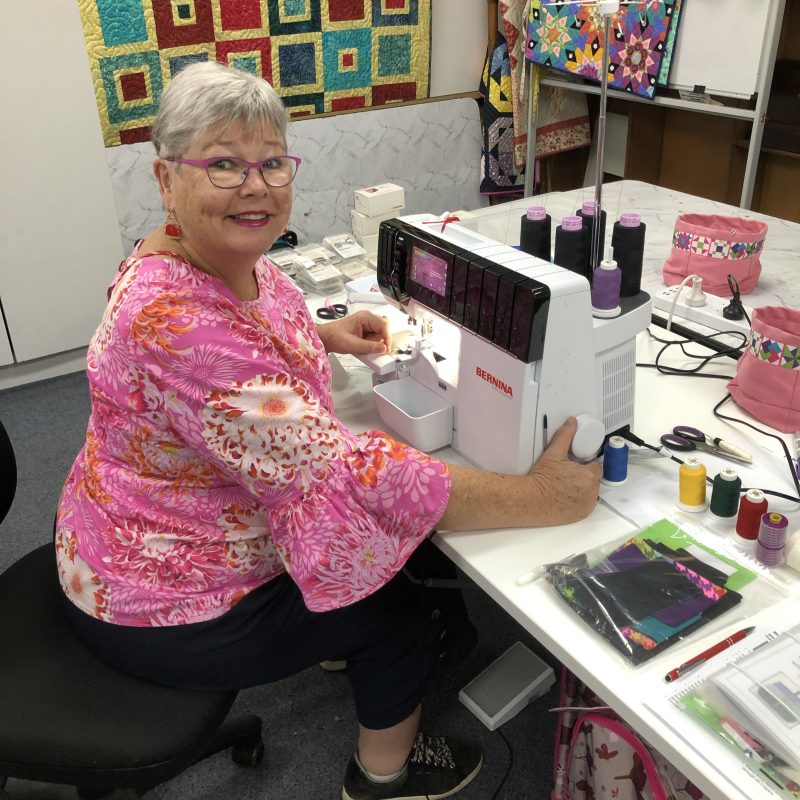
Here’s a photo of the samples I made for the weekend with some lovely bright Tula fabric as the feature.
... Adjustable Options ...
Adjustable Stippling Foot #73 and Gliding Cup Foot #74
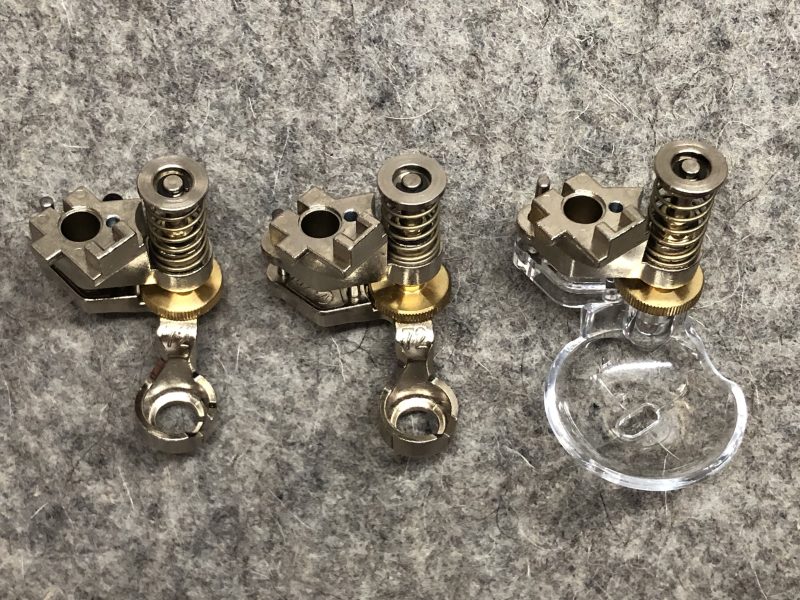
It’s getting very close now to the end of the Bernina Big Book of Feet Challenge, and these two feet complete the collection of Adjustable Freemotion Quilting Feet available for our Bernina domestic sewing machines.
Both feet have an adjustable dial to either raise of lower it, to accommodate the thickness of the fabric underneath. This same adjustment is available on Foot #72. Here’s a photo of the three feet together.
Let’s look at this week’s foot anatomy and features.
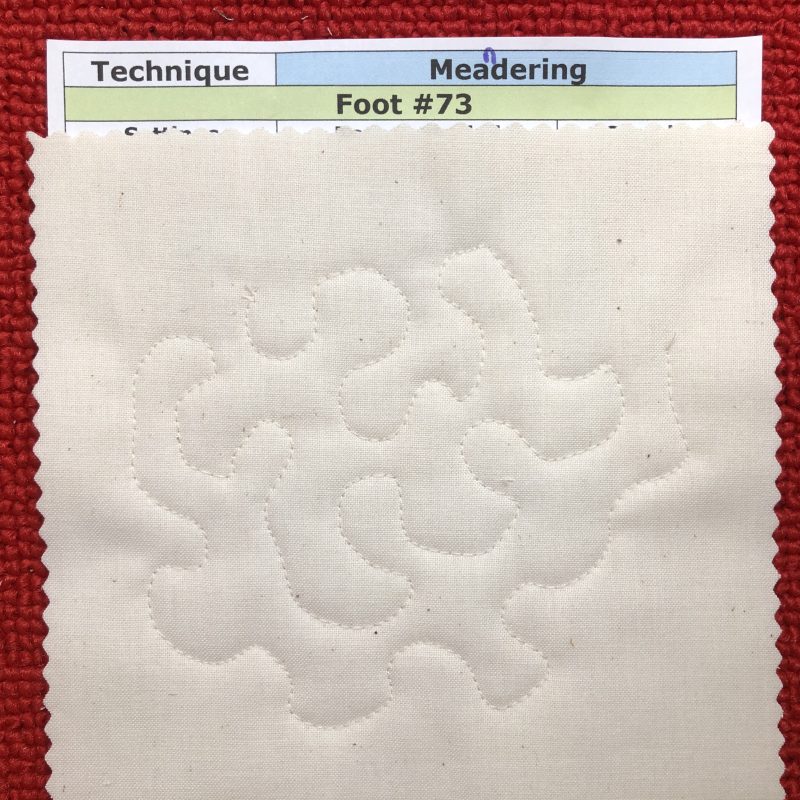
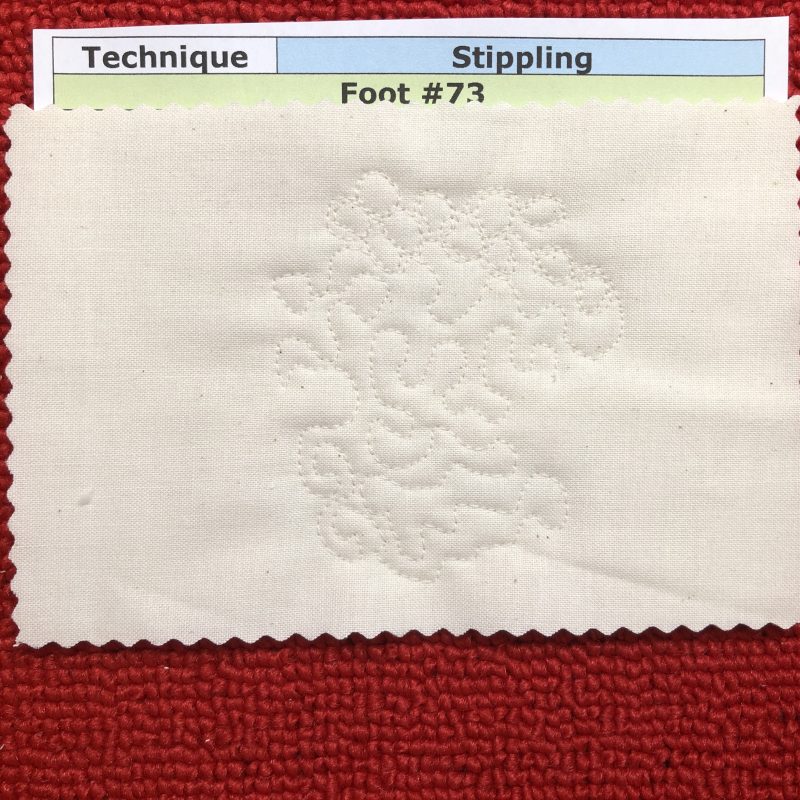
Stippling Foot #73 Designed for stippling, micro-stippling, and swirl patterns, this foot has a wide opening for better needle visibility. Its matte gray finish reduces glare, minimizing eye strain during detailed stitching.
The engraved markings on top of the sole, situated at the 9-12-3 o’clock points when the foot is in position, assists with directional stitching.
Gliding Cup Foot #74
With a clear, cup-shaped sole, this foot glides smoothly over appliquéd shapes, or heavier dimensional elements on a quilt, effortlessly moving across raised or uneven seams. It’s perfect for quilting art quilts with embellishments on the surface.
The grooves on the top of the sole, help with precise positioning of your stitches.
Options available for the feet – They are available in a regular version suitable for all models.
Each foot had3 or4 differenttechniques to stitch out, some already covered by other feet in the range, however, I stitched them all out!
... This Week’s Foot Highlights or Challenges ...
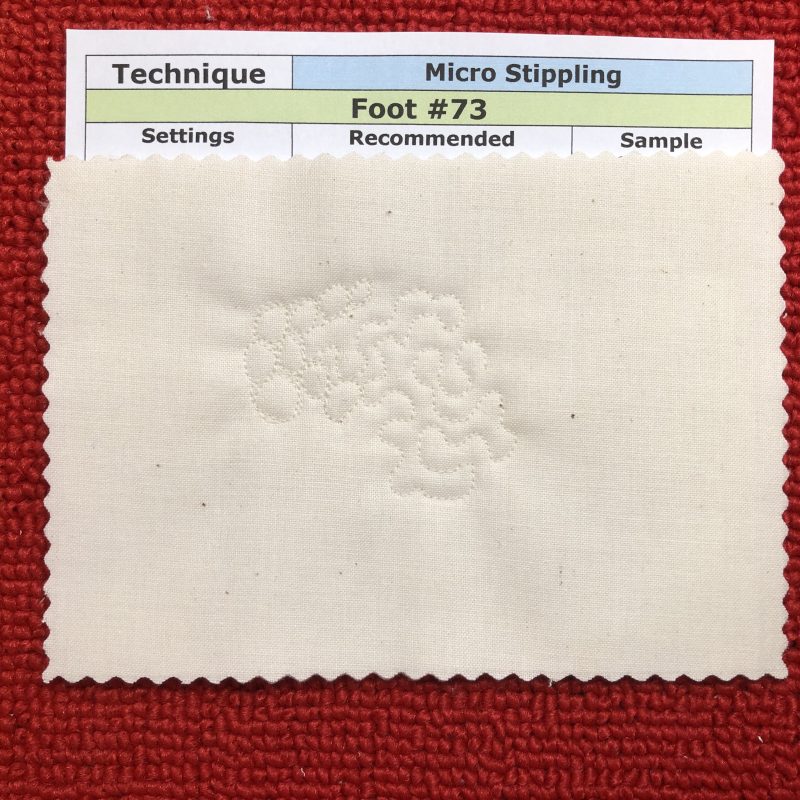
Adjustable Stipping Foot #73
I chose BISR (Bernina Integrated Stitch Regulator) on my B990 and had the Kick Back Start Stop function activated for all Foot #73 techniques. You will notice the different stitching size of the samples by comparing them to the ‘Labels’ which are all the same size.
‘Meandering’ – I set up for SPI (Stitches Per Inch) 10 and ‘wriggled’ my way around the sample. Great to have a regulated stitch with any freemotion foot! Easy to see where I was headed as the foot has a gap in the front.
‘Stippling’ – changed to SPI 12, and love how this foot is great for ‘pebbling’ – stitching small circles to fill a space.
‘Micro Stippling’ – changed to SPI 16 and love how small a circle I could manage with this foot. The cutout in the front is about the size of my circles! The smaller the circle/stippling, the more SPI I change to, giving a nice rounded circle.
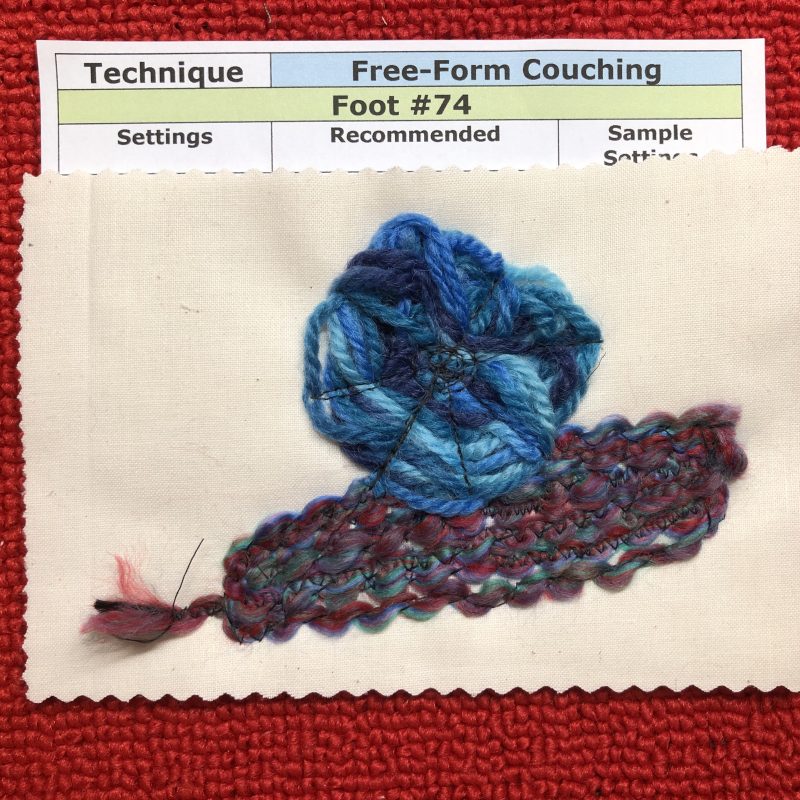
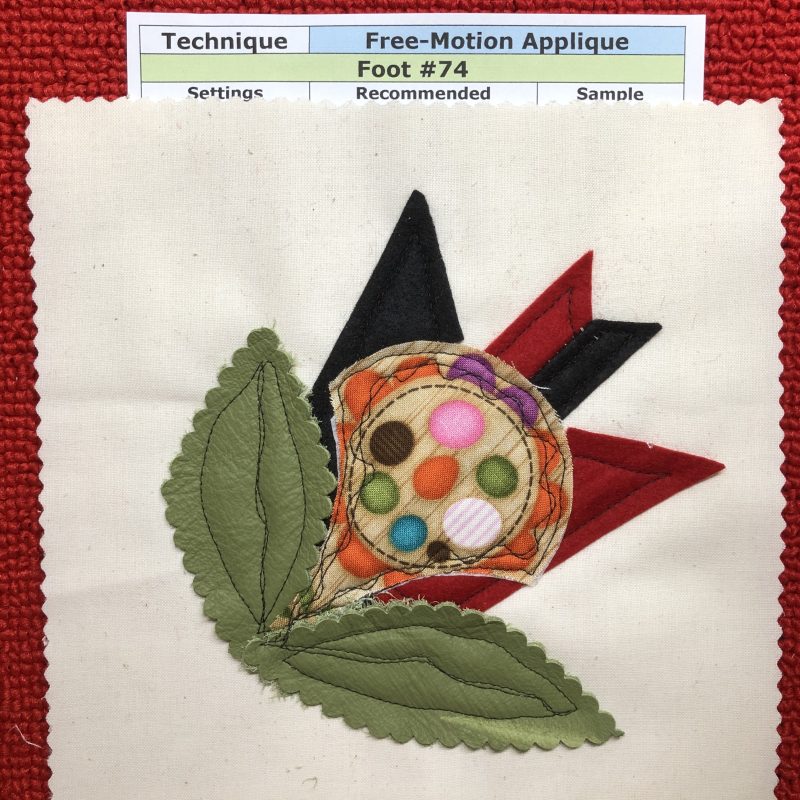
Adjustable Gliding Cup Foot #74
I chose BISR (Bernina Integrated Stitch Regulator) on my B990 and had the Kick Back Start Stop function activated for the all samples except the couching.
‘Free-Motion Quilting’ – BISR set to SPI 10 meant I could do larger curves for this sample.
‘Free-Form Couching’ – I played with straight stitch and zigzag for this sample. I coiled the variegated aqua yarn into a circle shape and stitched over it without anything being caught in the foot. The cup shape foot moved easily over the yarn.
‘Confetti Fabric’ – this technique is one I have used many times over the years, and I love how different coloured net/organza changes the look of the finished sample. I chose cream net over the cream fabric, had little pieces of leather scraps, and frayed some lame fabric for the ‘sparkly’ scattered fibres. I stitched a simple spiral to cover it all, and again the foot glided easily over all the textures.
‘Free-Motion Applique’ – I had some felt offcuts from when I did the CutWork Tool and some leather scraps from the hexagons I cut out to use in another sample. In the basket of fabric samples I use for the blog, there was a clamshell shape already cutout so I used that for the centre of the design. There were some very bulky areas to stitch down, and Foot #74 did a fabulous job, never catching on anything previously stitched down.
Summary: Both of these feet are easy to use, and the gold dial on the side moves the foot up and down smoothly, eliminating drag on the ‘quilt’ when extra layers are added. Definitely recommend these feet to anyone who loves to do ‘arty appliqué and quilting’ !
... A Little Something Extra ...
We All Sew Blog Post
This week I’d encourage you to have a look at this post from a couple of years ago, which covered the three adjustable free-motion feet. Lots of great info in this.
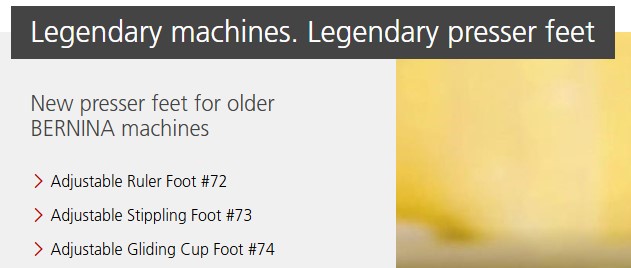
Bernina released older versions of these three feet some time ago now, and they are referred to as ‘Legacy Feet’. Here’s a link to more information for those with older machines.
is the Midi Embroidery Hoop, my most often used hoop in the Studio! It has a fabulous ergonomic twist lock closure mechanism and a handy 265mm x 165mm embroidery area – 20% off for March – get in before the special finishes! – contact your preferred Bernina Dealer for this fabulous offer.
*Australia and New Zealand Promotion Only – ends 31st March, 2025 …